A lot of 2018 has been about trying new things, and over the weekend I tried my hand at sewing my very first leather bag. There’s a lot to learn about sewing with leather! It’s different from regular fabric in that you can’t hold pieces together with pins, you need a special foot that doesn’t stick to the leather to sew it properly, and if you decide to rip out your stitching, the holes in the leather made by the needle are permanent. Plus, it can stretch out when you sew. No pressure, right?
To make my backpack, I used a tutorial from I Can Make Shoes as the base pattern for my backpack and all of the dimensions. I also followed a lot of the sewing techniques from the Craftsy class Making Leather Bags, which explained a lot how the home sewist can work with leather – I highly recommend it if you’re interested in sewing with leather.
But of course, I had to make it my own and veered off course…which presented its own problem. Believe me when I say that my sewing on this project is far from perfect! I’ll show you, too.
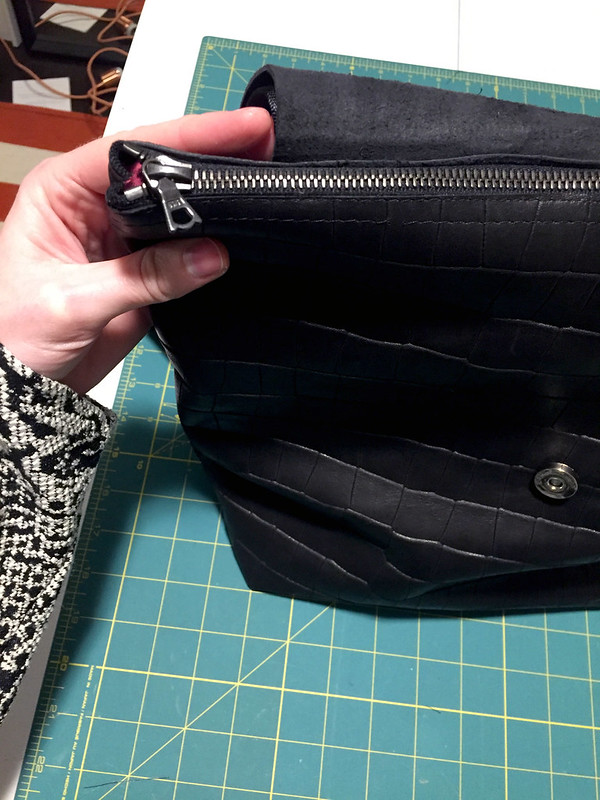
The first thing I wanted to change to the original pattern was adding a zipper top underneath the backpack flap. The original pattern called for snaps (or “poppers” in the instructions) and I wanted something a bit more secure and less pickpocket-friendly. So that was my first challenge: figuring out how to line the leather bag with a zipper. Fortunately, the bag in the Craftsy class had a zipper, so I followed the instructions on how to do that. Where I went wrong, and it’s such a “d’oh!” moment, is that I failed to sew on the backpack flap, straps, and securing the magnetic snap all to the outside before adding the lining. Sigh…rookie mistake. This made everything much more problematic as you will see; I left a huge opening in the bottom of the lining to turn the bag and still allow access to the leather without the lining getting in the way. Famous last words.
All of the seams use cold rubber tape (found on Amazon) applied to the seam allowances to prevent the leather from stretching. I held all of the pieces together with either double-stick tape or my Clover Wonder Clips where possible, and stitched the seams with a long stitch and a Bernina #55 leather foot, which is very similar to feet used on industrial sewing machines for sewing with leather. When I was ready to attach the backpack flap to the top of the bag, my machine just couldn’t do it: the sticky residue from the tapes and the thickness of the nylon straps and leather were just too much.
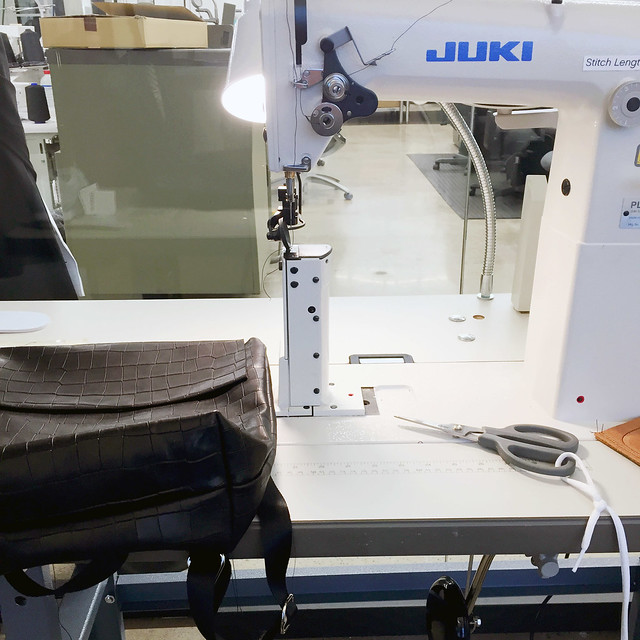
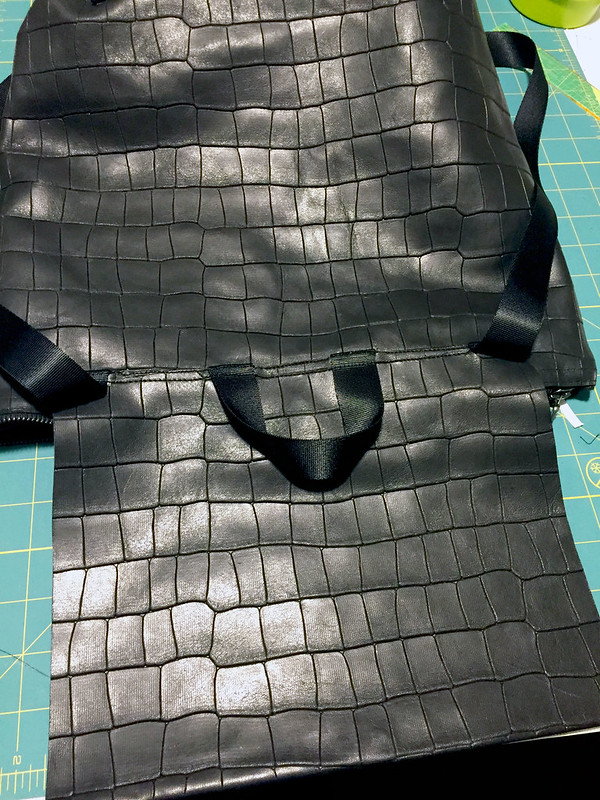
Enter the industrial sewing machines at my office. I snuck away for a few minutes during a break to sew the flap to the top of the backpack and secure the straps to the bottom of the back. There is definitely a learning curve with using the machine pictured above, called a post bed machine. It’s great for sewing curved shapes and projects, like bags, instead of flat pieces, but you can totally sew both. This guy powered through the layers of my project with ease. I sewed two rows of stitching, one very close to the end of the leather and another about 1/4″ in from there, which you can see in the picture further up of the flap. There’s definitely some wonky stitching going on since it was a little tough (and nerve-wracking) to maneuver, but there was no other way to do this!
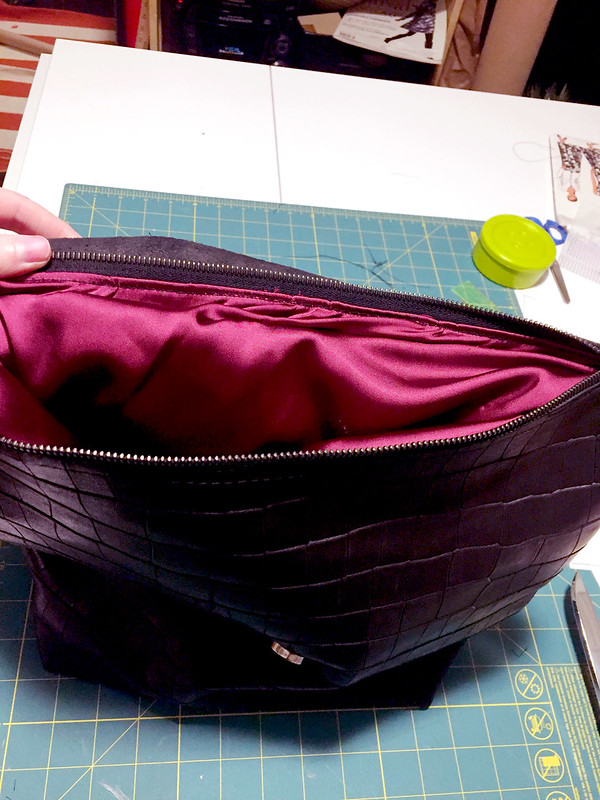
Sadly, this is what happened on the inside of my bag as a I stitched the flap – le sigh. As much as I tried to keep it out of the way, it just didn’t work out and it got all snarled in my stitching. I didn’t want to rip out any of the stitching because of the hole marks already made in the leather, so I’m just going to live with it – it’s in the inside and only I will see it.
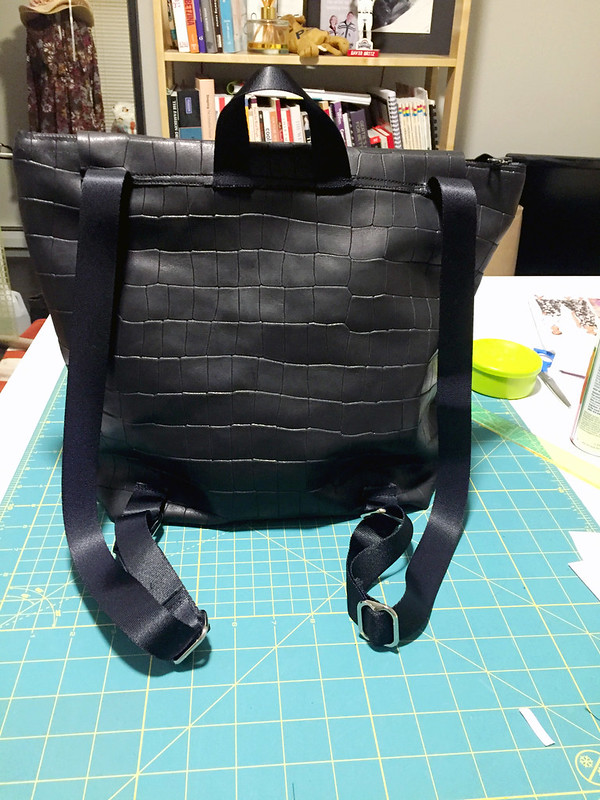
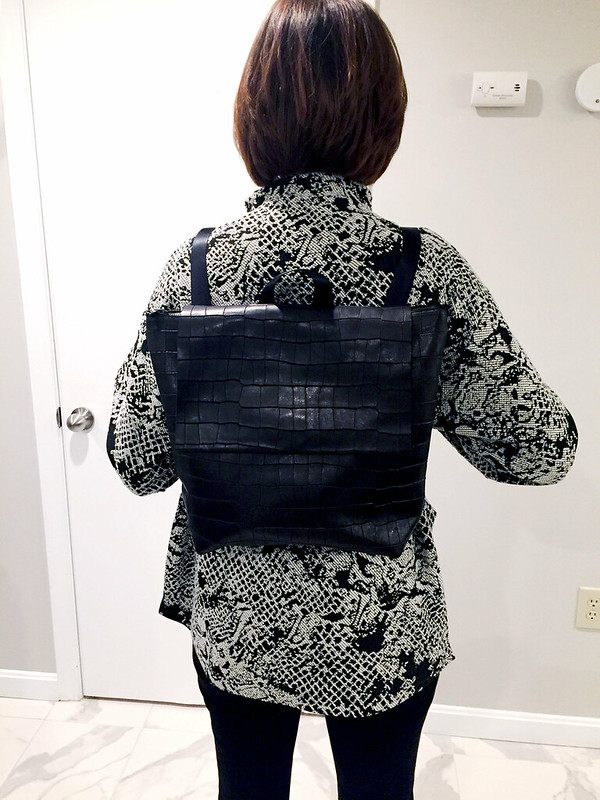
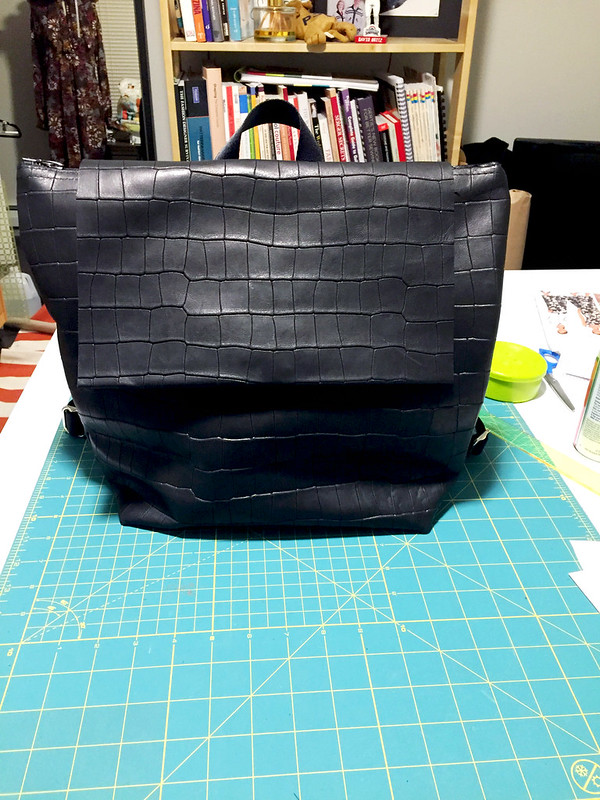
Here’s a view of the back – I totally guessed on where to attach the straps, I think they work ok, but I probably could have positioned them down a little closer to the bottom.
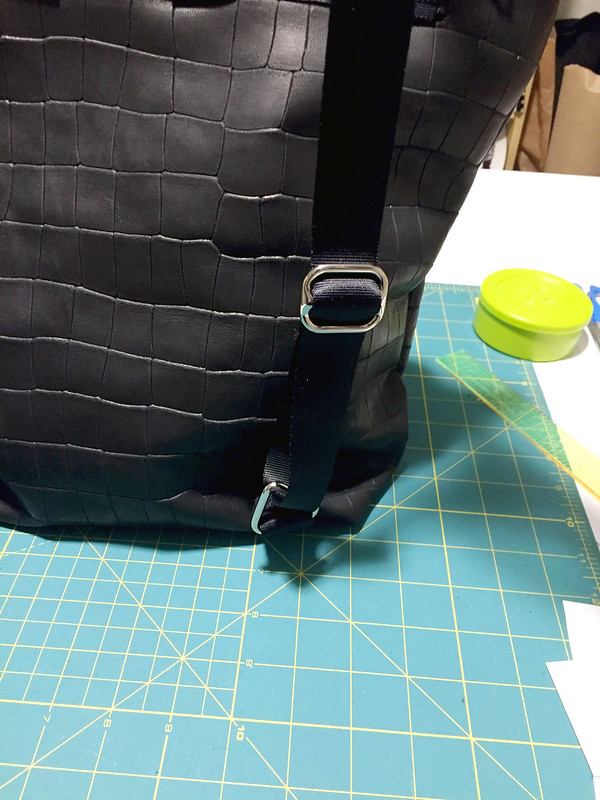
Yummy yummy hardware – I ordered these 1″ sliders and triangles from Lonsdale Leather, they’re my favorite for bag hardware.
Ok, so – this is my first-ever leather bag project, and it’s nowhere near perfection or to the standard I usually have with my sewing projects. I’m totally ok with that, I learned a ton and now I know some things I’d try differently next time. But I’m super pumped with how this turned out! I made a freaking leather bag – I can’t wait to try my hand at some more.

Leather: embossed lamb from District Leathers
Pattern: Square Backpack from I Can Make Shoes
Zipper: Riri from Pacific Trimming
Hardware: Lonsdale Leather
Nylon Strapping: Pacific Trimming
Magnetic Snap: in stash

That turned out fantastic! Love the embossed leather and the lining just adds character. Have some leather to make a bag, have not been brave enough yet.
Author
Try the Craftsy class, it cured me of my leather-sewing fears!