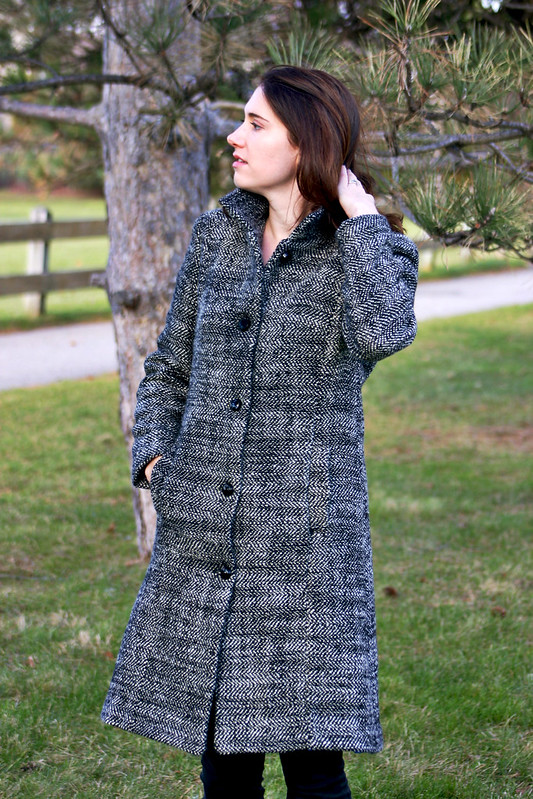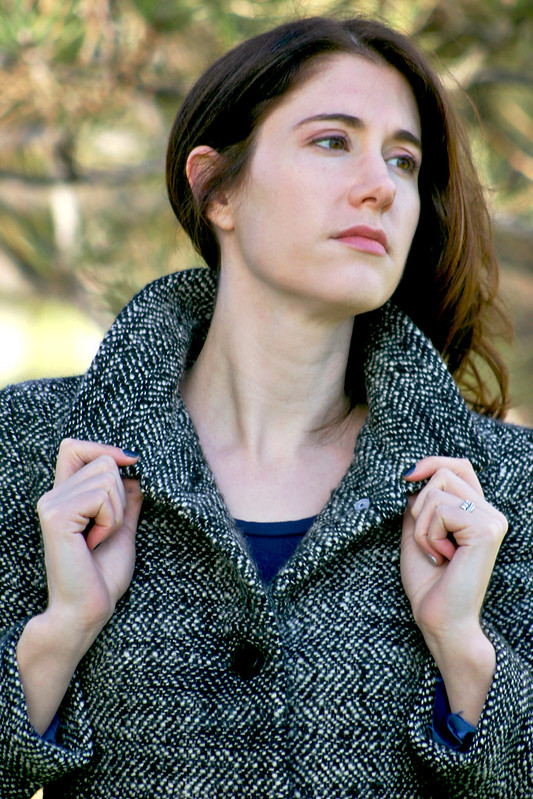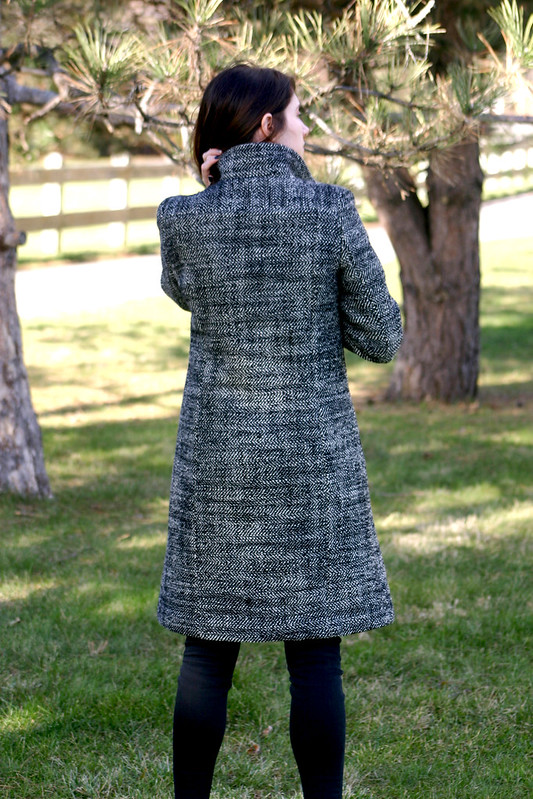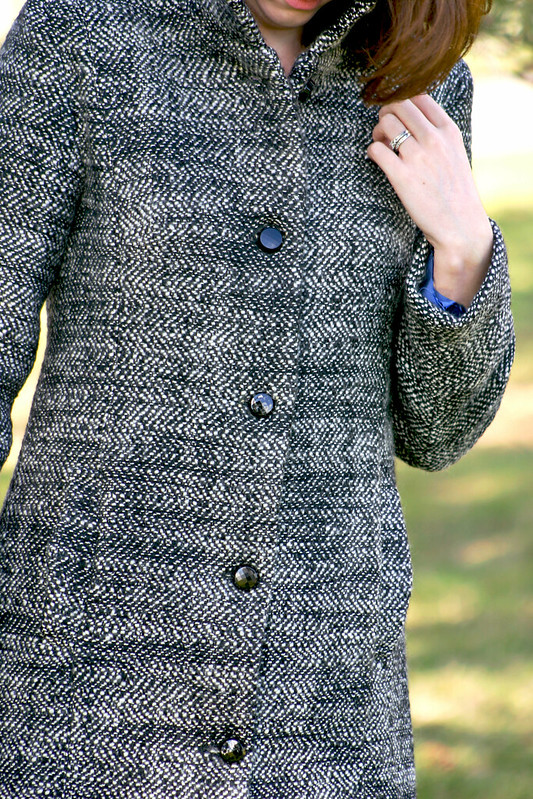
Leopard Fur Coat – McCall’s 7257

leopard fur coat
 

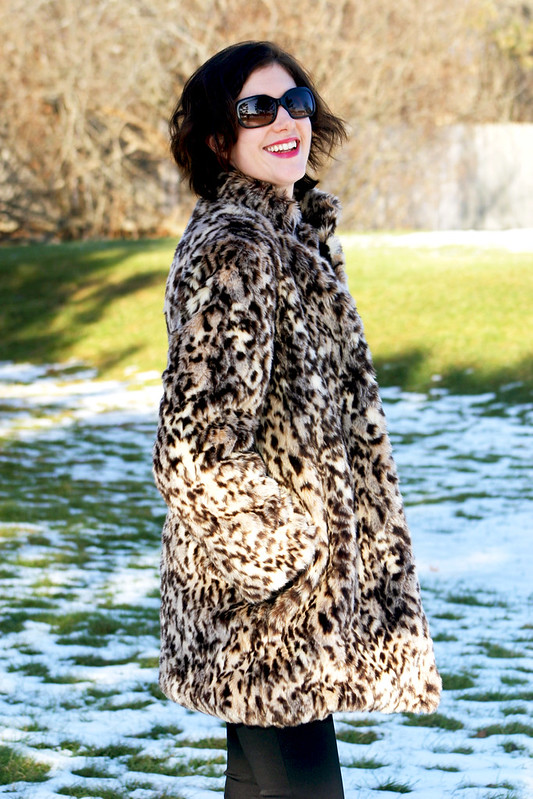
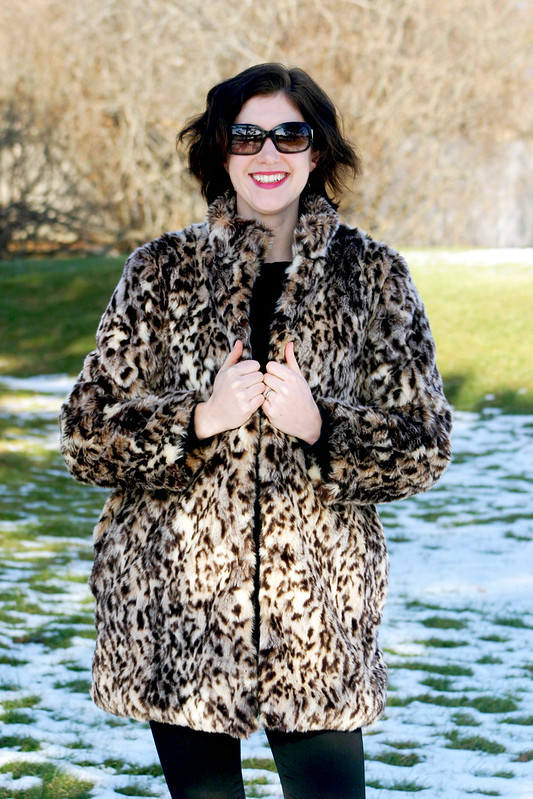
This is my dream coat – I always wanted a leopard fur coat! They remind me of old Hollywood actresses like Jean Harlow, and it adds a certain kind of glamour and swankiness to any outfit…even with my jeans and sneakers. When I got an email alert from Mood that this leopard faux fur, which I wanted for over a year, was back in stock, I immediately snatched it up and started planning the type of coat I wanted to make.
 

leopard fur coat
 

There aren’t a lot of faux fur coat patterns out there right now, and I dug around online to find some vintage (aka 80’s) pattern inspiration. I ended up using McCall’s 7257, which was in my stash, but wanted to add a collar to the neckline based on an older pattern I found – it just felt like it was missing from this coat pattern. Drafting the collar wasn’t hard, it’s pretty much a rectangle folded in half and attached to the neckline, but I used my pattern drafting book to make sure I took the neckline measurements correctly when drafting the collar and marking notches.


leopard fur coat
 

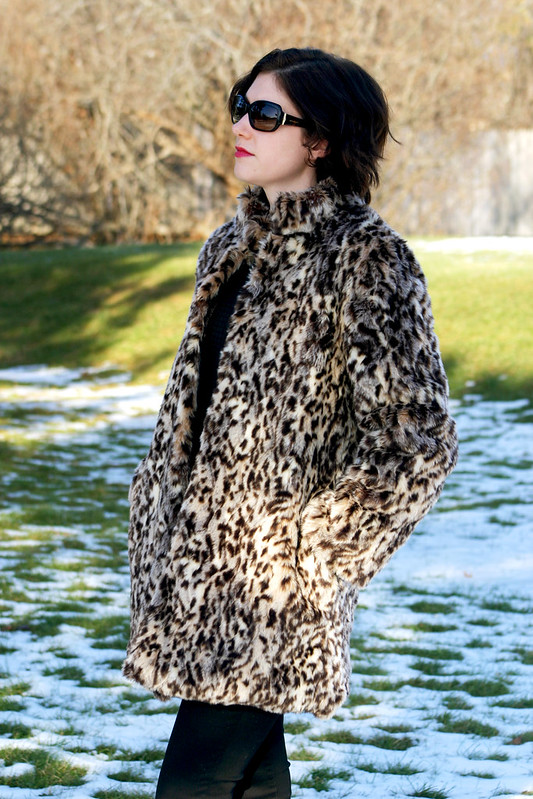
The pattern itself isn’t hard, but this being my first time working with faux fur, I took my time and used some different techniques to work with the fur. For starters, all pieces were traced onto the wrong side of the fur, a knitted backing, with a sharpie and cut in a single layer. However, you can’t cut into faux fur like you would any other fabric, otherwise the fur will look like it got a really blunt haircut. Instead, you make tiny snips through just the knitted backing, which gives the fur an angled look, and these longer lengths of fur will make it easier to disguise the seam line after you sew. If you’re working with faux fur, make sure you have a vacuum with a nozzle attachment handy! After cutting out each piece, I vaccumed any loose fur on my cutting mat and carefully went around all of the edges of my cut piece, sucking up anything else that came loose during the cutting process. It didn’t 100% prevent fur from flying around while I made my coat, but it definitely cut down on the mess, and my husband was appreciative that our bedroom didn’t look like a muppet crime scene as I worked on the coat.
 

leopard fur coat
 

I used a walking foot as I sewed the entire coat; since the backing fabric is knit, there’s a tendency for faux fur to stretch, and the walking foot prevented that.  I also used Clover Wonder Clips for holding the seam allowances together because the fabric was so bulky and they were easier to use than pins. As I sewed, using a long zig-zag stitch, an awl came in handy to poke the loose bits of fur back into the seam allowances.  Then, I used the awl once the seams were sewn to free the bits of looped fur ends stuck in the seam allowances (I also read that a comb is useful for this as well if you don’t have an awl). Some people trim the seam allowances down to a 1/4″ before they sew or shave the fur from the seam allowances, but I opted to forgo those techniques and instead trimmed the seam allowances down after sewing and finger-pressed everything open. That’s pretty much how everything was constructed!


leopard fur coat
 

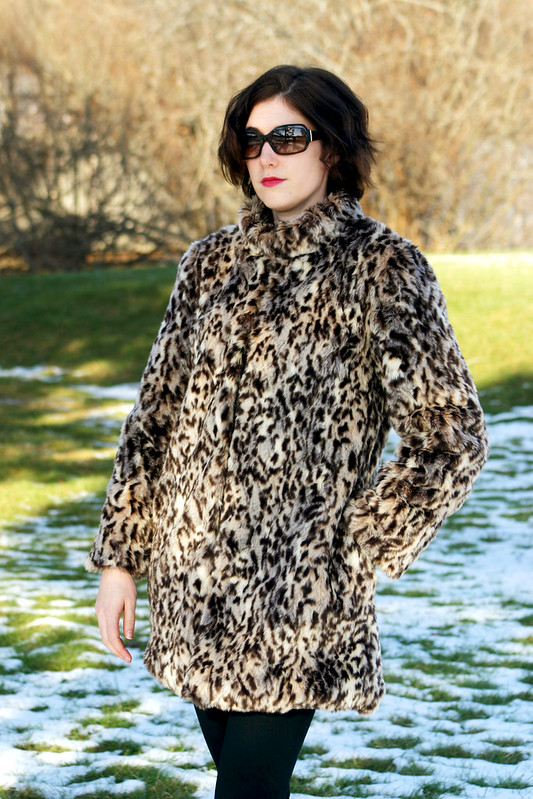
My only sticking-point with this coat is the size of the pockets, I wish I thought to make them bigger. They’re comfortable for just a hand, but when I put my iPhone 6 in the pocket, it’s on the verge of being too small and almost sticks out of the pocket. On top of that, the pockets feel like they’re set back so far because this is an oversized coat, so I have moments of panic where I can’t tell if my phone is still in my pocket or not. In the future, I need to check pocket sizes on coats and re-draft if necessary.

For the finishing touches, I added five brown coat hooks placed exactly as the pattern describes: one at the neck and then each subsequently placed 5″ apart. If you’re using coat hooks, which are pretty large, make sure to tack down the end of the hook close to the bend and on either side of the loop part of the eye. Otherwise, your hook will pull away from the front of the coat and when the coat is worn, it will pull and the lining will be exposed. If you tack down the hook and eye in this way, the coat will stay neatly shut.

I also hemmed the coat by hand at the bottom instead of by machine, which is what the pattern recommends, since the fabric was a little wonky and stretched out. I believe I took the hem up about 1.5″.
 

leopard fur coat
 

This coat is super warm, too! The faux fur is dense to begin with, which helps, but I lined it with a brown flannel-back satin lining and interlined it with lambswool to make certain that I could wear this in cold winter weather. On a recent 20 degree day in Boston, I was toasty-warm waiting for the train!


Pattern: McCall’s 7257
Fabric: faux fur – Mood; satin coat lining – Britex; lambswool – Steinlauf and Stoller
Follow:

An Oscar De La Renta Coat – Butterick 6385

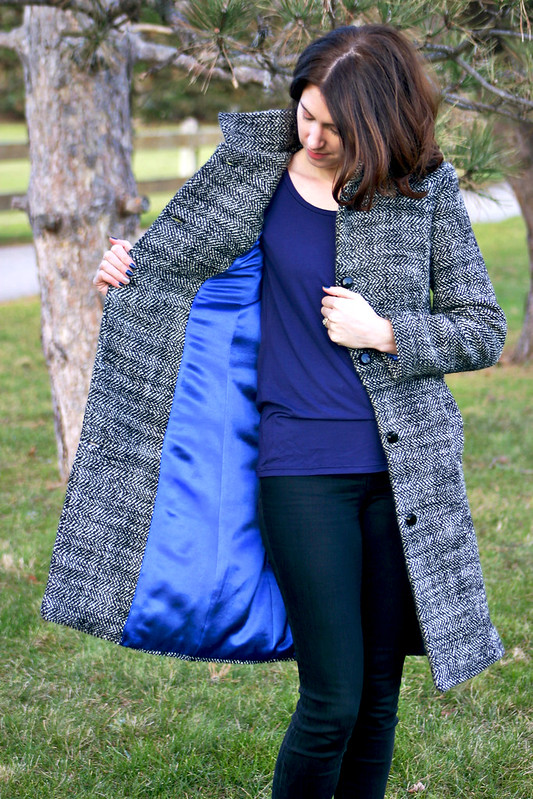
Butterick 6385 1
 

If you’ve been reading this blog for a while, you know that I have an, umm, obsession with coats. Being a New England inhabitant, it almost feels mandatory to have more than one coat to get through the seasons, and who wants to wear the same boring coat over and over for months on end (especially when it doesn’t feel like winter will ever end)?

So when Sew News approached me about writing an article with my top 10 tips for sewing coats for their Sew Daily blog, it was the perfect excuse to make yet another coat to add to my collection!


Butterick 6385 4
 

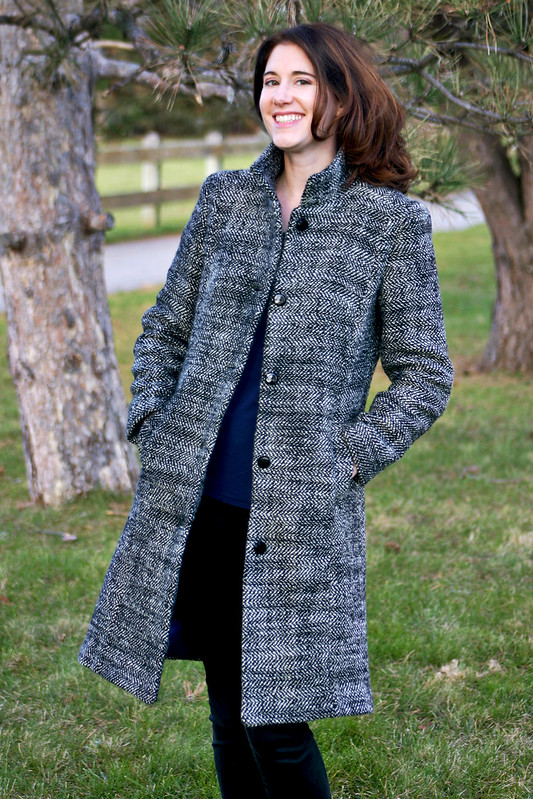
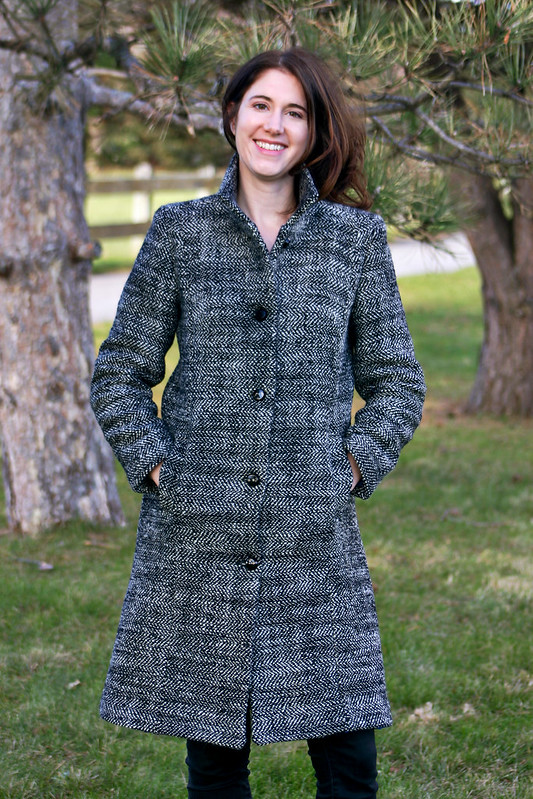
Both this pattern and the fabric were on my wish list for a long time, and the idea to use both of them together seemed like a no-brainer.  I scooped up this Oscar De La Renta double-faced wool from Mood and love the unusual texture that the horizontal herringbone pattern creates.  What’s great about this pattern, Butterick 6385, is that it’s cup-sized – perfect for small-busted gals like myself!  The A cup bodice piece was a perfect fit with the Dior dart, not too much fullness created and I didn’t need to do any adjustments after I tissue-fit the bodice. I also winged it and didn’t make a muslin for the coat, just made my normal adjustment of grading out a size bigger from the waist to the hips.


Butterick 6385 7


Butterick 6385 5
 

When it came to interfacing, I mapped out a plan for where to apply it: the hems of the coat and sleeves, the center fronts, the underarms of the front and back, the sleeve cap, the upper back, and of course, the stand-up collar.  I was under a time-crunch with making this coat (can you believe I made this whole thing in a week??) and used fusible weft-insertion interfacing instead of using a hair canvas. In addition to the weight of the wool, I worried that over-interfacing the coat, especially the front, would make the coat very stiff and not allow for the fabric to drape correctly. The interfacing ends up providing gentle support to high-stress areas, and the steam from the tailoring process shaped the wool.


Butterick 6385 6
 

I wanted to use buttons just as special as the wool and found these vintage glass buttons on Etsy, and backed each button with a small, flat button for extra security on the inside of the coat.  Etsy really has become my go-to place to find notions these days and other special things that I know I can’t find at Joann Fabrics.

Speaking of buttons – the buttonholes were a bitch to make on this coat with all of the thicknesses I needed to sew through.  If it wasn’t for my Bernina compensation plate, I don’t know how I would have made these buttonholes, and it still wasn’t an easy feat trying to get this wool into the compensation plate.  It felt like I was wrestling with a wooly blanket on my machine as I made them!


Butterick 6385 8
 

With the wool being so heavy, and double-faced, I didn’t worry about trying to make this coat extra-warm with interlining since I knew it already would be warm!  I used a flannel-backed satin lining from Britex like I used last year for my Cascade Duffle Coat, which is now my favorite type of fabric for lining coats and provides a bit of extra insurance against a cold wind.  I have some RTW coats that need lining replacements this year, and I’ll probably reach for this fabric when I get around to sewing new linings.


Butterick 6385 2
 

I absolutely adore this coat! It’s the longest coat I own and is much more exciting to wear than a boring black coat all winter.  With all of the details like the top-stitching and buttons, wool fabric, and pattern styling, this feels like an expensive designer coat you’d find at Neiman Marcus.  I definitely would make this pattern again, either the view with the peter pan collar or the regular pointed collar.  Shhh, don’t tell my husband, who thinks I have too many coats and jackets already!

Pattern: Butterick 6385, View C
Fabric: Oscar De La Renta double-faced wool from Mood
Buttons: vintage, Old Thyme Notions
Top: Lark Tee

SaveSave

SaveSave

Follow:

Grainline Studio Cascade Duffle Coat

cascade coat
 

After a two years of sitting in my sewing queue, I can finally check the Cascade Duffle Coat by Grainline Studio off my list.  I knew this project was going to be a major time investment and the only way I could make it for this winter was to work on it during break between semesters – and boy was I right, I’m drowning in finance homework!  No way I could work on a project this size right now with grad school in session.


cascade coat
 

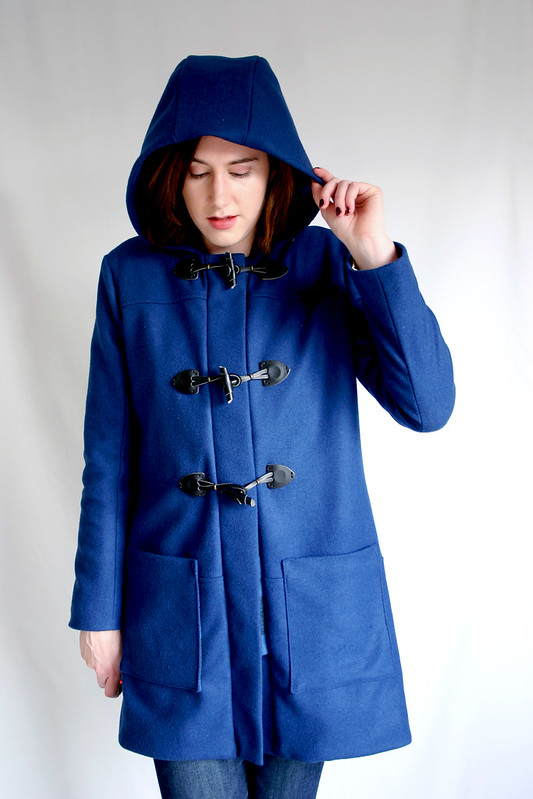
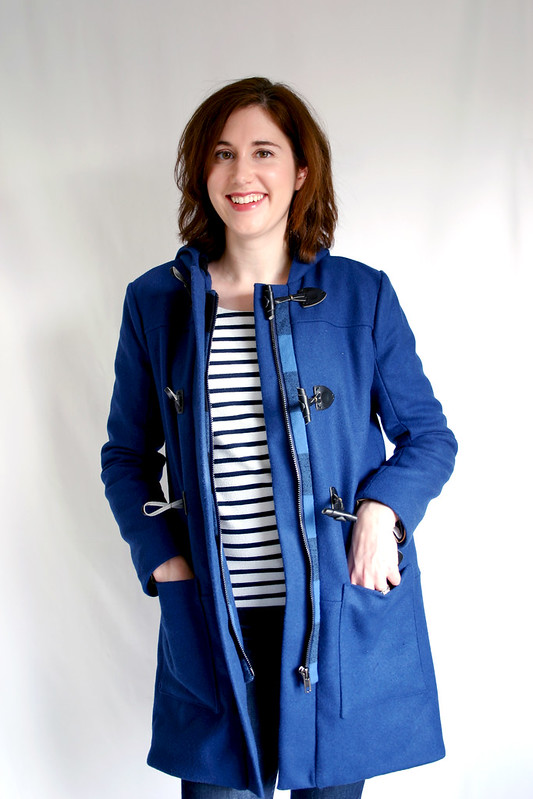
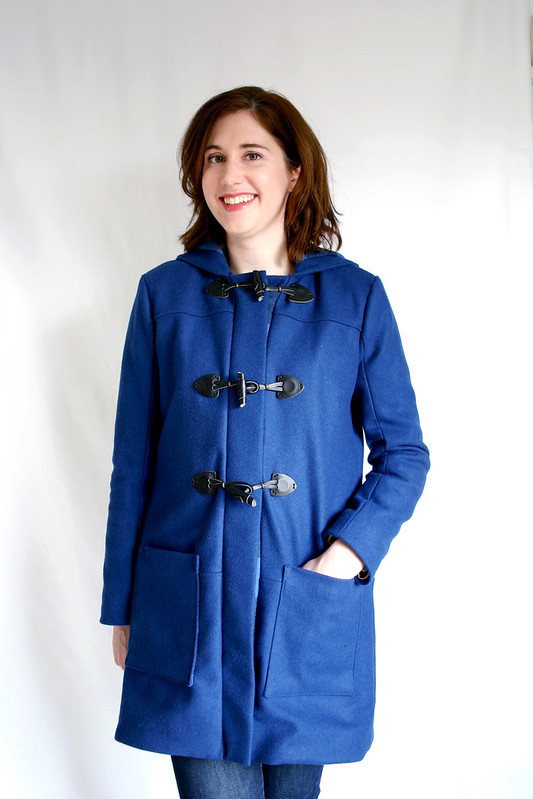
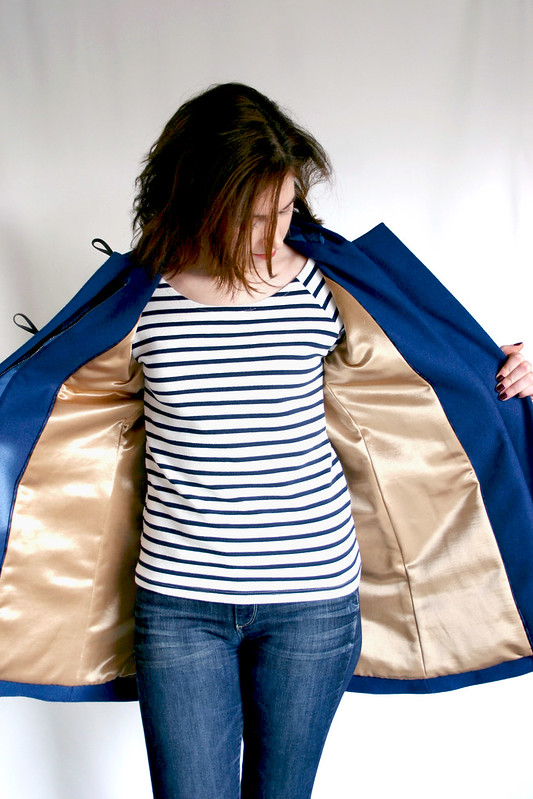
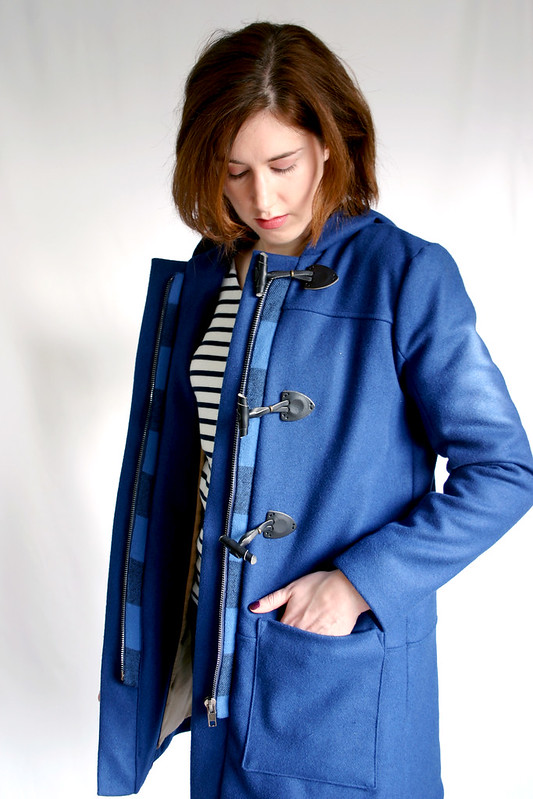
I’m obsessed with this coat – I’ve worn it non-stop in all kinds of weather since it came off of my machine.  If you haven’t read my earlier post, the shell of the coat is a delicious wool melton and the lining is a warm-back coat lining, both from Britex Fabrics.  I was skeptical at first that these two layers alone would make a coat warm enough for Boston weather, but I was pleasantly surprised with how toasty I felt wearing this coat in 20 degree weather.  Melton is a very thick, dense wool, and the warm-back satin lining has a nice flannel feel on the wrong side and a tight weave.  Both of these layers prevent cold air from cutting through the coat.  I wouldn’t want to add any other layers to this coat, like an interlining, because this coat is heavy enough as it is!  I’m also surprised at the amount of drape in this particular wool melton, I always imagined melton to be a stiff wool fabric.  You can see in some of the photos how fluid the fabric is based on how I’m standing or positioning my hands in the pockets.


cascade coat


Like all of Jen’s patterns, this came together in a snap.  The sewing itself isn’t hard at all, it’s just the amount of pattern pieces and layers of fabric you need to sew through that make this project a bit challenging.  Plus, if you make this out of a plaid, that’s a challenge on another level!  The only regret I had was not reading through all of the tutorial posts on the Grainline blog before cutting out the pattern; I missed the errata post about the length of the front band and had to fudge/guess the correct length and make the adjustment.  It worked out fine in the end.


cascade coat
 

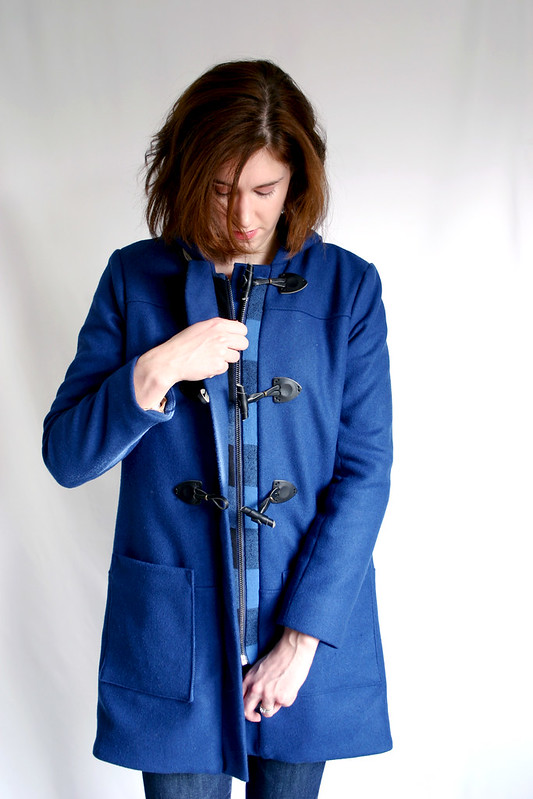
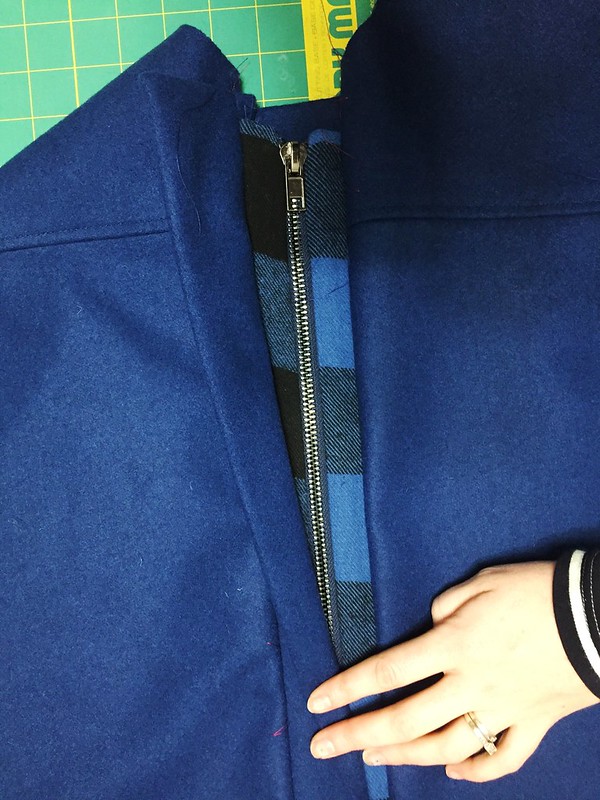
It’s honestly dumb luck that I got the plaid on the zipper band to match – I cut the plaid contrast lining out haphazardly thinking that it wouldn’t matter at all if the plaid didn’t match in the hood!  Completely forgot about the zipper band, hah.


cascade coat
 

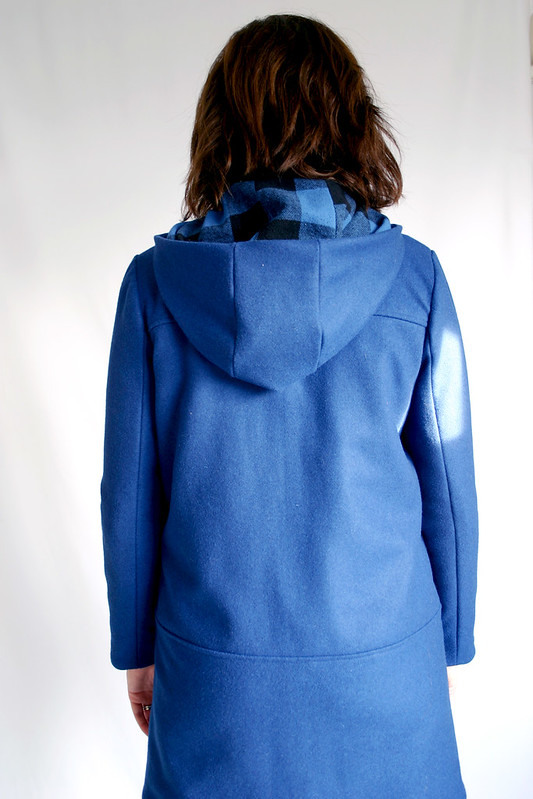
I love that the plaid peeks out from the hood in the back.  The hood is a nice size as well to keep the elements out of my face (and hair).  It would look super cute with a fur trim around the edge.  The construction of the hood is clever, too, with the facing, although I found that there’s too much lining fabric inside the hood for my liking.


cascade coat
 

The lining is where I got hung up on a big, silly mistake, of all places.  I goofed when I cut out the lining somehow and the lining extended 1.5″ too far past the coat facing once the facings were attached.  I didn’t think it would be that big of a deal, and bagged the lining per the directions (which is a brilliant way of lining a coat/jacket/blazer, I need to do that in the future).  When I tried on the coat, everything fit beautifully except that you could see the gold lining hanging out around the bottom of the coat.  No big deal, I ripped out the stitching, carefully trimmed the lining, and sewed the bottom lining hem in place.

Umm…well, that would have worked, except that I trimmed the lining too short this time and ended up getting all sorts of weird pulling across the outside of the coat since there wasn’t enough ease in the lining length!  My fix for this problem, after futzing around for awhile (about three episodes of Poldark, actually), was to attach an extension piece of lining to the area where the lining was too short and with trial and error try to determine the appropriate amount to turn the lining up without getting weird pulling on the outside of the coat.  You can’t see it in the picture above, but there’s a pieced sliver of lining fabric across the bottom of the center back hem.  It’s not pretty, but it solved my problem and no one is really going to see it or know it’s there but me.

I also tried to add some plaid bias around the coat where the facing meets the lining for an extra little detail  – it’s barely visible, I didn’t calculate correctly where I needed to baste it vs where the seamline stitching would be.  Whoops.


cascade coat
 

I love everything about this coat – the flannel-lined patch pockets, the leather toggles, the bright blue wool, and the big, oversized hood.  I’d love to make this in the shorter version for spring out of a waxed canvas or some kind of rain coat fabric.  Well, maybe not this spring, I need some recovery time from this coat!

Pattern: Cascade Duffle Coat by Grainline Studio
Fabric: wool melton and warm-back lining, both from Britex Fabrics; plaid flannel from Mood
(psst! Looks like Britex is having a 20% off sale on wool until 2/6!)
Leather Toggles: Bias Bespoke
Sweater: Lane Raglan (blogged here)
Jeans: Paige Denim

Follow:

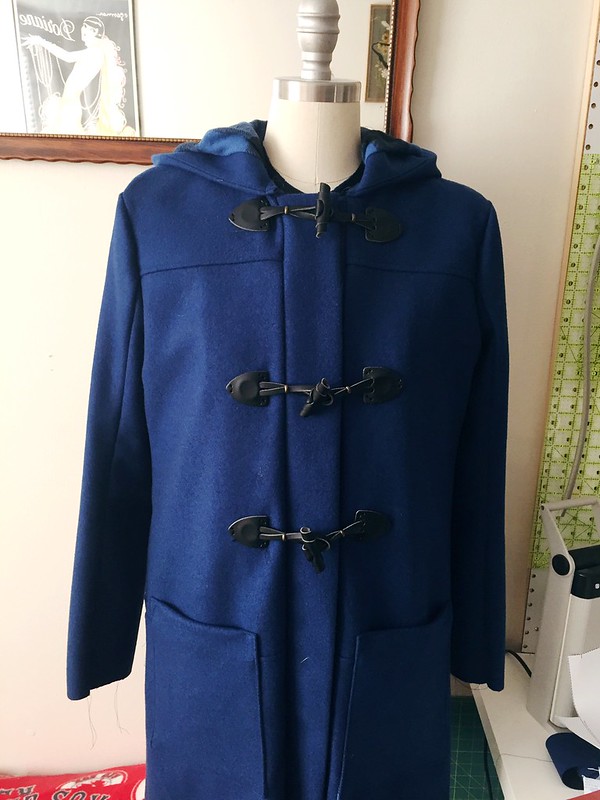
Cascade Duffle Coat Progress

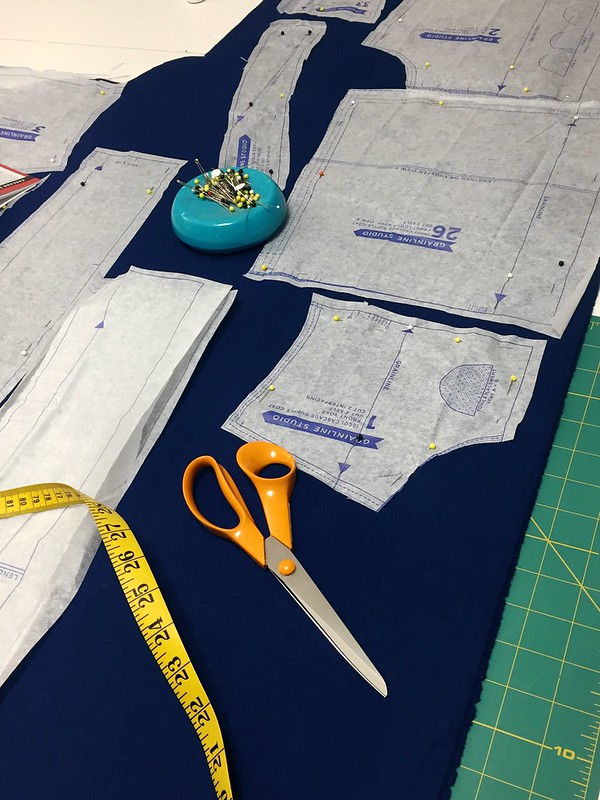
Cascade duffle coat layout
 

What better time than Christmas vacation to cut out a major project like the Cascade Duffle Coat.  Last Christmas, I cut out my wedding dress, hah! This pattern has been on my “want to sew” list since it came out, but I never seemed to get around to making it in past winter seasons.  My friend Karissa’s coat is really what kicked me into gear to make this project, she made one out of plaid and it’s fantastic looking!

There’s a ton of pieces with this coat (hello, 40!), and I knew it would be a big time investment once I got started.  It took about two afternoons of cutting out all of the outer fabric, two types of lining fabrics, and interfacing.  Whew!

The fabric I’m using for the coat shell is a wool melton from Britex – I totally splurged on the materials for this project when they had their Cyber Monday sale in November (kind of made it my Christmas gift to myself, haha).  I’m also using a gold warm-back coat lining so I don’t need to add any additional bulk with an interlining layer to make the coat warm


Plaid zipper band
 

I opted for a contrast hood and zipper band lining fabric, and this plaid in my stash from Mood is a pretty close match to my shell fabric.  I didn’t think I’d need to match up any plaid at all when I cut out my fabric and I lucked out with how closely the plaid matches across the zipper band.  Eeeek!

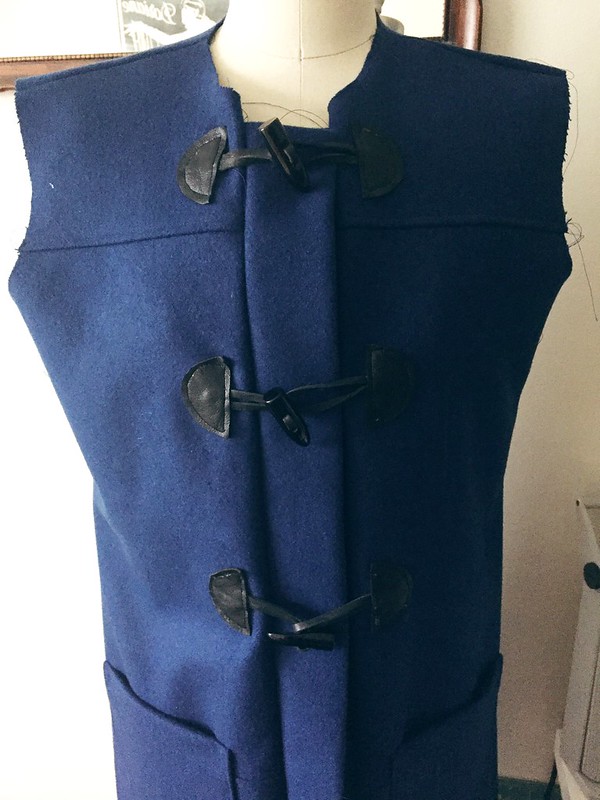
Now, onto the trouble I had with the DIY toggles….


cascade toggles
 

Yuckyuckyuck!!!

I had a hard time sewing these…I don’t have a teflon foot for my machine and I wasn’t about to put tape on the bottom of my blind hem foot, so I used my walking foot to attach the toggles I made.  I’ll be honest – I don’t sew curves well, especially small curves, and I found it almost impossible to stitch close to the edge evenly on these tiny leather pieces with my walking foot.  The stitching should really be more like edge stitching and the above stitching is about a 1/4″ from the edge.  Ugh.  This coat was looking so nice and professional until I added on these crappy toggles.  Plus, I think the leather I used to make the toggle was too thin.

Not to worry, I found a solution:


cascade toggles
 

So much better!!

Etsy is seriously my favorite place to shop for sewing notions and supplies these days.  I bought these beautiful Italian leather toggles from Bias Bespoke and they are absolutely perfect – each point of the toggle has two pre-punched holes for easy sewing.  I’m embarrassed to tell you how long it took me to get all of them aligned evenly across the front because I already removed my tailor tacks and the toggles are longer than the pattern’s toggles…but I eventually got them just right after several attempts.  Hooray!  Those other toggles ruined the effect of the duffle coat.  After all, the toggles are really the defining element of a duffle coat.  Can’t have them looking like crap!

I’m planning on finishing the coat this weekend (maybe squeezing out another project as well, hooray for long weekends) since this is my last weekend of “freedom” before the spring semester of grad school starts next week.  It’s been a good month off from school, hopefully I can still find some time here and there to sew in the next few months.  I missed it so much!

Follow:

McCall’s 7058 | Polka Dot Coat

polka dot coat
 

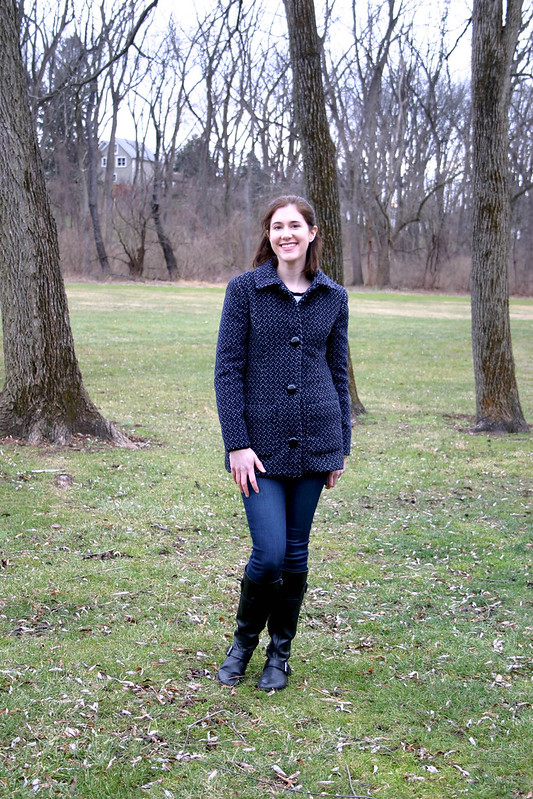
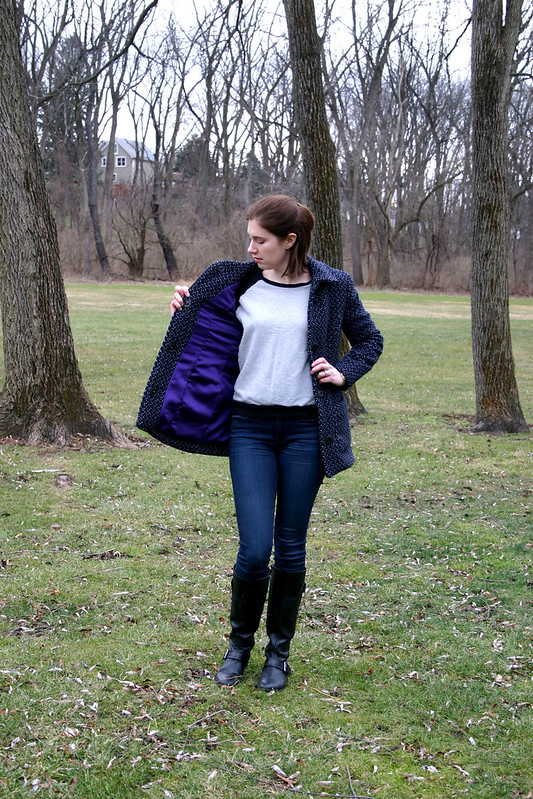
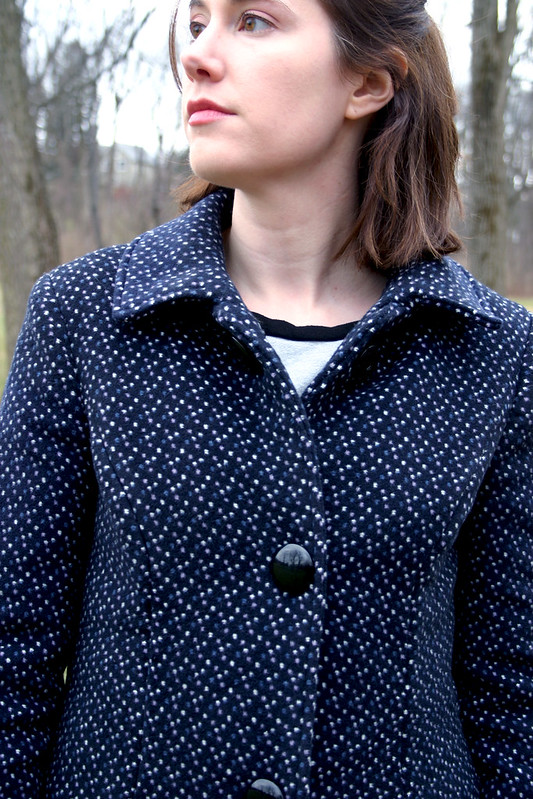
It only seems fitting that I post about a coat that I started, well, a year ago, on the first day of the new year! Last year, I had an idea to create a course on how to make coats and this was the coat pattern I was going to use as my example through the course.  I cut this pattern out in January, but by the beginning of February, I began panicking because I hadn’t started the sewing on my wedding dress.  So, I put aside the pattern pieces and the idea of making a course, and worked on my wedding dress up until May.  With my first semester of grad school winding down earlier in December, I needed something new to work on.  Well, I dug this out of my closet and got right to sewing everything – all of the pieces were cut out, interfaced, and interlined!

polka dot coat
 

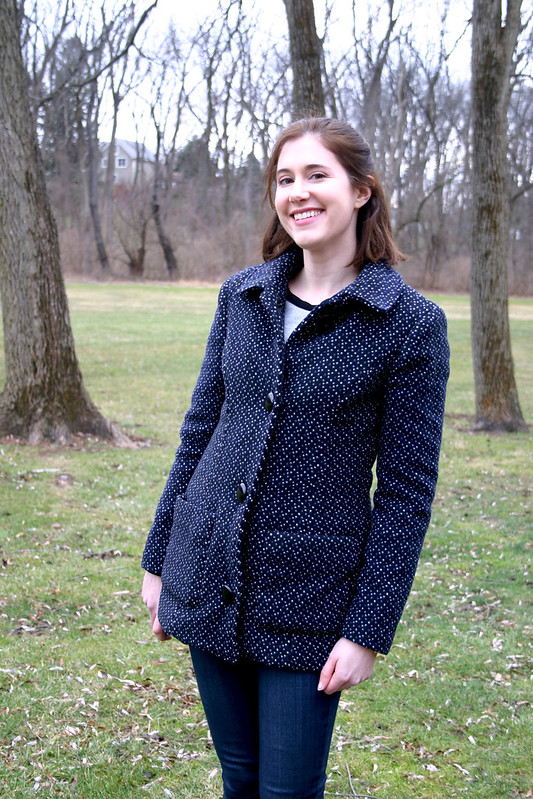
I had a close call with this almost not fitting and turing into a disaster.  Like, it barely met in the center when I tried everything on with the lining installed!  I made a muslin previously and made some adjustments to the fit in the hips since McCall’s describes this coat as fitted and it was a little snug on me.  Heck, when you look at the model wearing this coat on the McCall’s website, it’s pretty tight on her!  Even when I tried on the wool shell of the coat, it fit.  I believe what caused the issue was that I didn’t think that the lambswool interlining I added was going to take away that much ease since it seemed so thin.  Plus, I used a double-face wool that was a bit thick.  After assembling everything, this is how my coat fit:

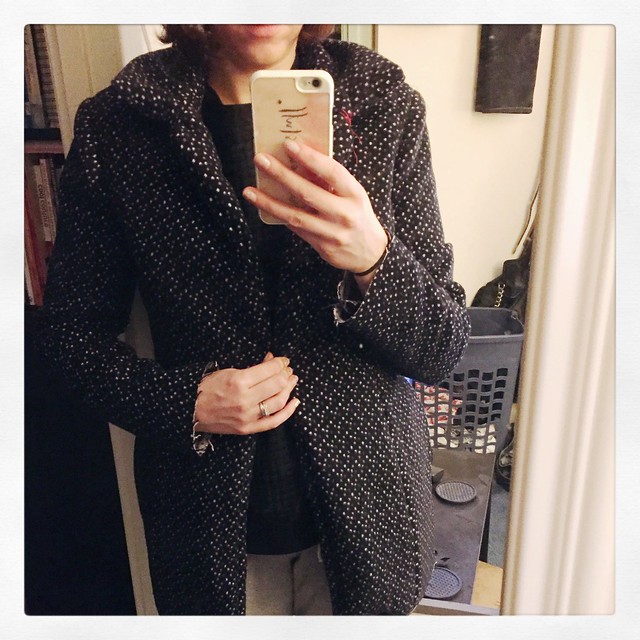
This coat barely fit!
 

Eeeek!!  To fix this, I ripped out all of the seams up to just below the armholes in the wool and lining and restitched all seams with a 3/8″ seam allowance.  This gave back about three inches around the circumference of the coat, which allowed me to properly close it.  Whew!  I also intentionally tried to fit this coat wearing something a little bulky like a sweatshirt since I always wear something like that in the wintertime, not a thin t shirt.  That ensured that the fit of the coat would accommodate at least some layers underneath.

I mentioned earlier that I interlined this with lambswool – it’s good stuff!  I bought it from Steinlauf and Stoller over the phone – all I did was call them up, tell them what I was looking for, and I received it in the mail from NYC in a few days.  They’re great to work with if you need to order tailoring supplies like hymo that aren’t readily available locally.  The lambswool interlining is attached to the all of the lining pieces except the sleeves, and let me tell you, it really makes this coat warm and doesn’t weigh anything.
polka dot coat
 

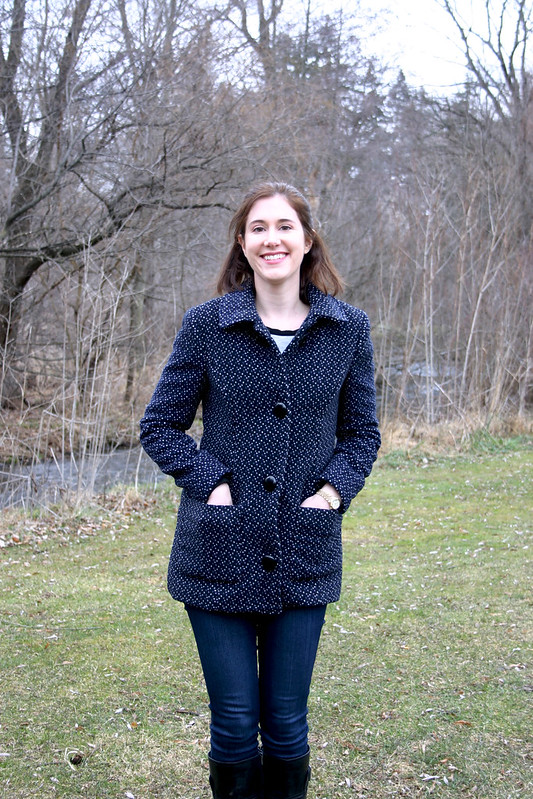
Because the coat is so fitted, I changed the type of pockets.  The in-seam pockets at the side seams did me no favors and bulged open at the hips.  Instead, I took a patch pocket pattern from McCall’s 6172 (a blazer I still need to make!) and spent quite a bit of time with my dress form trying to figure out a good placement on the front and making both sides symmetrical.  It’s a great patch pocket size for a coat, I can fit my iPhone 6 in them comfortably.  The pockets are lined with flannel to keep my hands nice and toasty.

polka dot coat
 

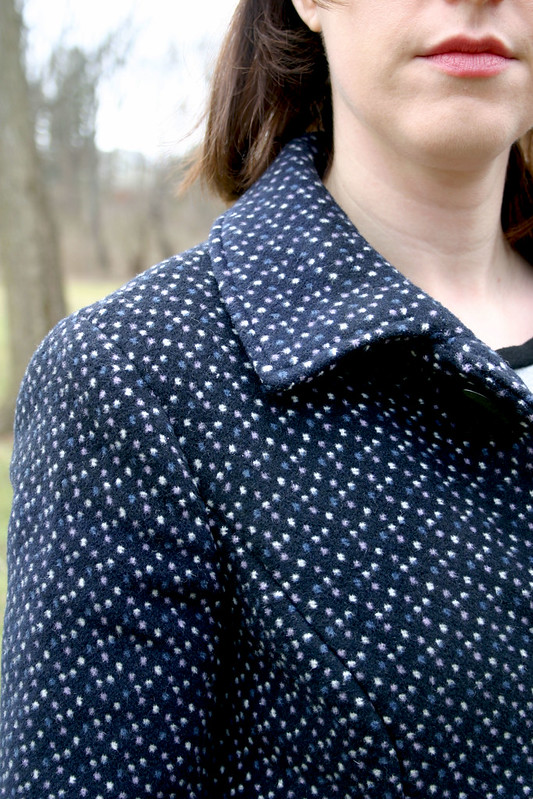
I used hymo interfacing (aka horsehair canvas) for all of the interfacing in the coat, it’s really my favorite for coat making since it shapes so nicely with steam.  Per the recommendation of my beloved tailoring book, I opted to add top stitching along the collar and the front edges of the coat instead of top stitching down the center front of the coat like the directions called for.  I also opted to hand sew all of the hems on the sleeves and bottom of the coat, it looks much nicer that way than by machine.

polka dot coat
 

Sadly, when ripping out all of the stitching in the lining to let it out, I got all sorts of pulls along the old seam allowances.  At least it’s a fun purple color!  The pattern has a pleat drafted into the lining pattern piece, but in my opinion, it’s not generous enough of a pleat to allow for movement of the lining and wearing ease.  If I made this again, I’d go back and redraft the center back piece with a better ease pleat.


polka dot coat
 

How I love big buttons!  The pattern calls for 1″ buttons, but the ones I bought seemed kinda weeny down the front of the coat, especially since there’s only supposed to be four total.  I found these 1.5″ buttons at Pacific Trimming earlier in December that were exactly what I was looking for for this coat.  However, my automatic buttonhole feature on my machine only goes up to roughly 1.25″ buttonholes, and I wasn’t about to try and manually make the buttonholes (I’m truly terrible at doing that, and the automatic buttonhole feature on my Bernina was a big selling point).  Plus, after doing some reading on buttonholes, the bigger the buttonhole, the more prone they are to stretching out and looking wavy.  The only solution seemed to be sewing on giant coat snaps to close the coat and sewing the buttons to the outside of the coat.

I mentioned earlier that this coat is more of a “coat-igan” than a coat because since it’s so tight, the snaps at the bottom pop open when I sit down in the car or bend over to pick something up, rendering this more of a super-warm cardigan.  I think if I made buttonholes, there would have been a lot more strain on the coat closure and seat, so at least the snaps allow the coat some ease even though it means my coat popping open at the bottom.


polka dot coat
 

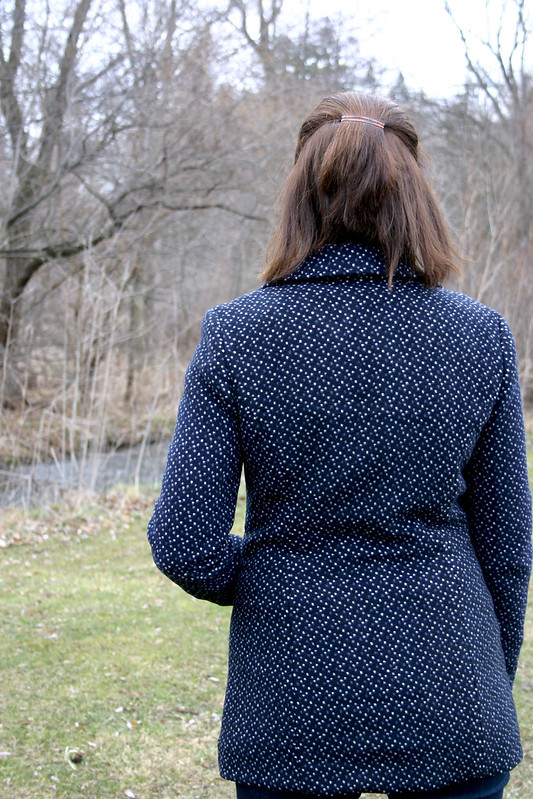
Here’s a view of the back – it’s a little roomy in the back waist, but if you look at the photos on the McCall’s website, it looks like there’s some ease with the way the belt cinches in at the waist (I opted to not make a belt, obvs).  I can move ok through the back and shoulders of this coat, but if I was to make this again, I’d cut a larger size in the back to allow for better range of movement.

Now I’m working on – surprise – another coat!  I’m about 50% of the way through making up a blue wool melton Cascade Duffle Coat and I’m thrilled with how it’s turning out (I’m obsessed with coats, if you haven’t guessed.  It’s the one good thing about New England winters).  I also have some videos I made for my coat course last year that I’m thinking of releasing in chunks throughout the month – I want to get back into making videos for Youtube like I did last year for my wedding dress, they were a lot of fun!  Maybe doing some pattern reviews and actually wearing the garment so you can see how it moves etc.  Depends on how crazy I am next semester with school, I guess!

Pattern: McCall’s 7058
Fabric:
Marc Jacobs double-face wool from Mood Fabrics
Poly lining from Mood Fabrics
Lambswool interlining from Steinlauf and Stoller
Buttons: Pacific Trimming
Coat Snaps: Dritz
Sweatshirt: Linden from Grainline Studio (not blogged)
Jeans: Paige Denim
Boots: Nine West

Follow: