Pattern Review: Minoru Jacket [Sewaholic Patterns]


minoru 1

Pattern: Minoru from Sewaholic Patterns
Fabric: Theory stretch twill from Mood Fabrics
     Zipper: Pacific Trimming
Size: 2

Jeans: Paige Denim
Boots: Nine West

Finally, I now have the jacket everyone has already made – the Minoru jacket!  After seeing some versions in person this past March at the NYC Blogger Meetup, the idea of making one of these jackets this year was solidified in my mind.  Plus, have you seen Lauren’s fantastic orange version?  Yeah, I definitely needed to get on the Minoru bandwagon asap, don’t know what took me so long.

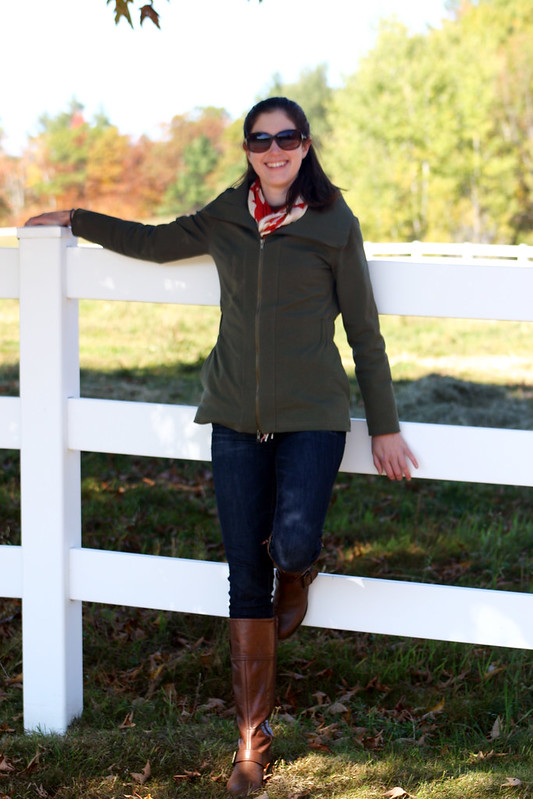
Throw in a last-minute trip to NH and I had even more reason to crank out this jacket in time for the cool fall weather.  These pictures were taken on our last day in the mountains at a place called Castle in the Clouds – we went horseback riding!  It was a great way to take in all of the fall foliage.

minoru 2


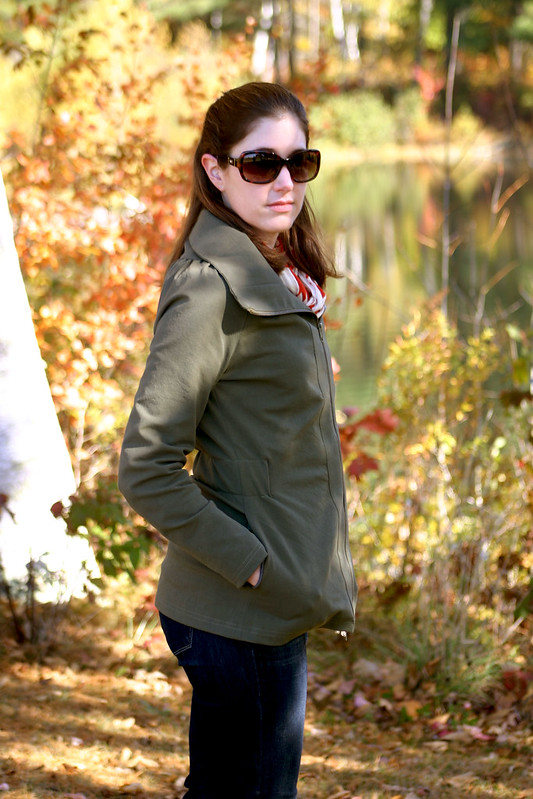
I like my outwear to be versatile and neutral enough that I can wear it with a lot of different clothes in my closet, so crazy colors or prints were not an option for the fall jacket I wanted to make.  Colors like black, grey, or brown would have been good picks, but too boring…something about the styling of the Minoru made me think of military jackets, so I settled on finding on olive green color at Mood Fabrics.  Plus the fact that it was a Theory stretch twill didn’t hurt either, I knew it was going to be great quality fabric for my jacket!

minoru 5

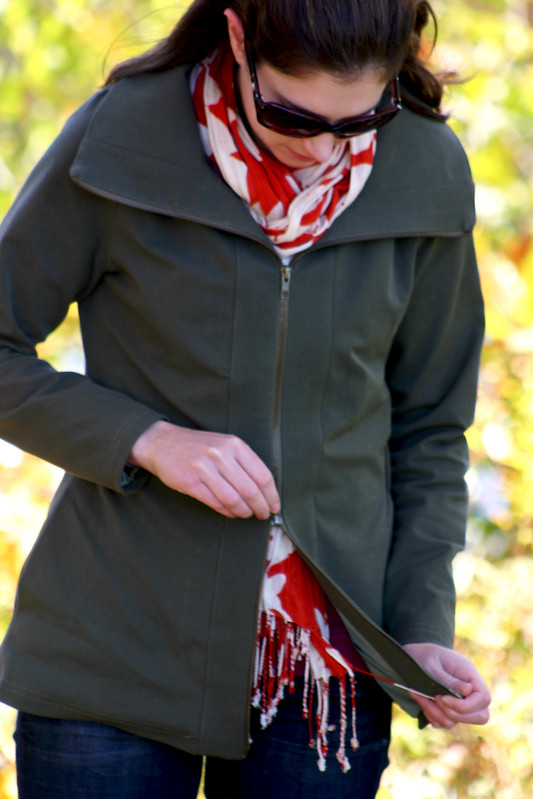
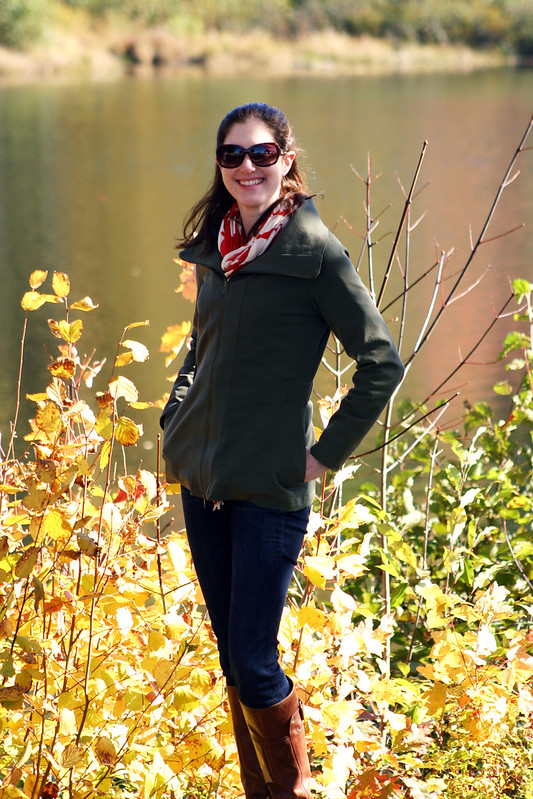
I made a few changes to the jacket, one being the double zipper I found at Pacific Trimmings.  I didn’t originally intend to use a double zipper for the jacket, but it was the zipper that matched my fabric the closest.  It’s really handy when I’m sitting (like on a horse!  Haha!) and makes it more comfortable instead of my jacket bunching up around my hips.

You may notice that my jacket is shorter than other Minorus…well, that’s due to the zipper being cut shorter than I asked at the store.  I had no idea it was too short until I began to install it in the jacket front and saw I was short about two inches.  So, the only real solution was to shorten the jacket so it wouldn’t look weird.  Also, I opted for no cuffs and lengthened the sleeves instead.

Which presented another problem: the pockets I added to the side seams became too long when I shortened the length of the jacket.  Once I sewed the lining shut it wasn’t a problem, they just bunch up a little.  In retrospect, had I known this was going to happen, I would have made the pocket bags shorter/smaller.  Also, how does this jacket pattern not have any pockets?? A little patch pocket in the inside (which I didn’t make) isn’t going to cut it, you know what I mean?

minoru 3

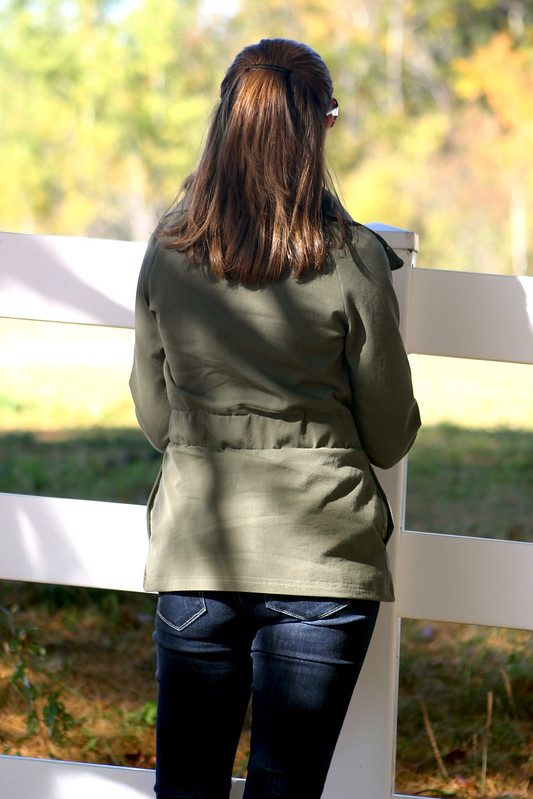
I cut this jacket smaller than the typical 6 I usually cut for Sewaholic Patterns – this is one of those instances of how picking out a size based on finished garment measurements is better than going by body measurements.  Had I picked the size 6 to make, I would have wound up with a very roomy, boxy jacket, and that wasn’t the look I was going for.  Also, I made the mistake of trying to pull the elastic too tight around the waist to make the jacket even more fitted, but ended up getting diagonal pull lines around the waist in the front.  After I cut a longer length of elastic and adjusted the fit, the lines went away.  So, if you’re experiencing that with your Minoru, the elastic length is probably why.

minoru 6

See? Fitted, but still room to wiggle around.  I wore this jacket at the driving range a few days earlier and hit two large buckets of golf balls and had no problem swinging my driver.

minoru 4

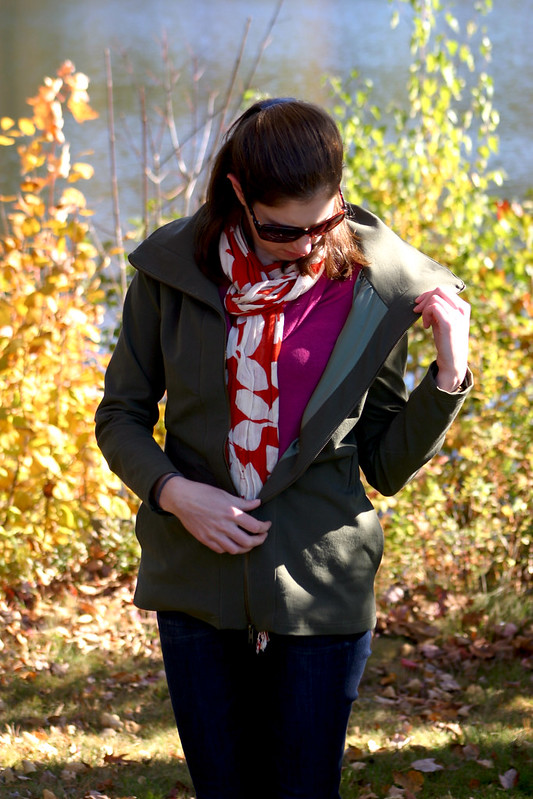
A quick peek at the lining – I ended up bagging this lining instead of however the instructions tell you to line the jacket.  The stretch in the poly charmeuse made it pretty challenging to hem the lining, and truth be told, I need to go back and fix how I sewed it.


We went horseback riding in the NH mountains today #latergram #longweekend #NH

I’ll leave you with a photo of Chris and I on horseback!  One of the guides was nice enough to take photos as we went along the trail.

 Well that’s two jackets I made now for fall!  I’m currently working on a fancy lace dress for a wedding in less than two weeks (more on that to come later this week) and then I’m back on to sewing for fall.  My latest idea – an oversized leopard print wool coat.  Does fabric like that even exist?
Follow:

Finished Project: Lonsdale Dress [Sewaholic Patterns]


lonsdale 2

Pattern: bodice Lonsdale by Sewaholic
              skirt By Hand London Charlotte Skirt
Fabric: stretch cotton sateen from Metro Textile
Size: bodice – 4; skirt – 8

Earrings: Charming Charlie
Sandals: Nine West
Sunnies: Tommy Hilfiger

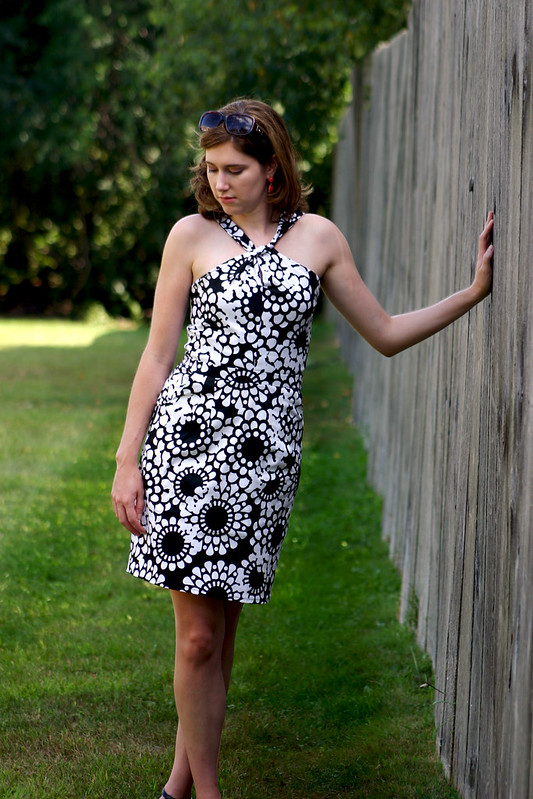
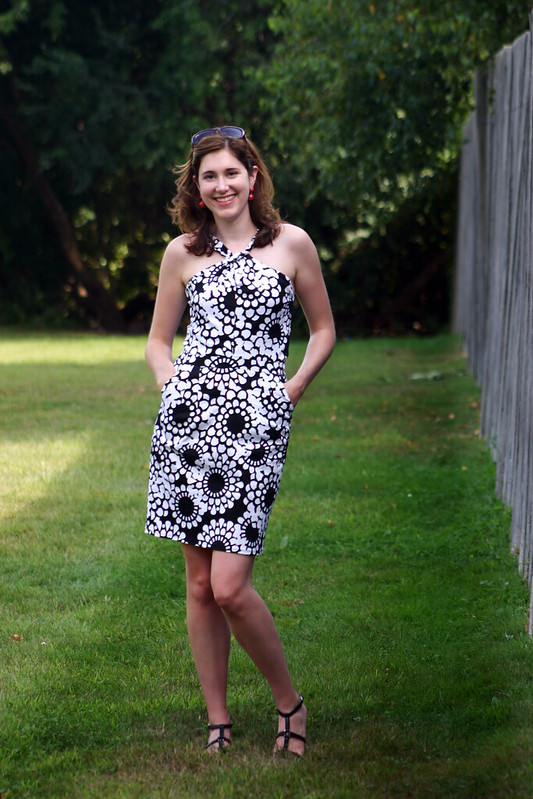
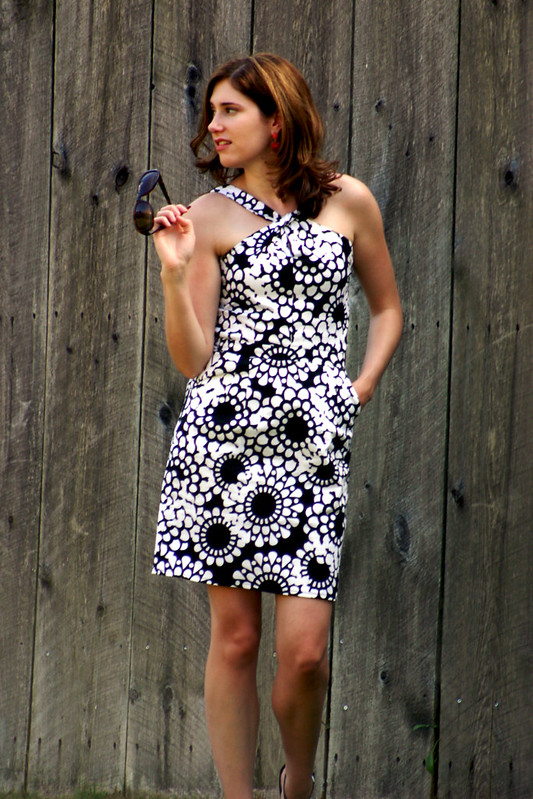
That Sarai, she’s got some great ideas – did you see her white Lonsdale dress a few weeks ago?  Pure fabulousness, especially in all white for summer.  Sue gave me this pattern last year during the spring sewing swap and I’ve been saving it for just the right fabric; I thought my paisley rayon in my stash would be perfect, but realized just before cutting into it that the paisleys were directional.  Darn it!  But what I loved about Sarai’s version is how she changed the dress from a flowy skirted number to a form-fitting silhouette.  When I considered that design change, I discovered I already had the perfect fabric all along.


lonsdale 4

I make a point of going into Metro Textile with a focused shopping list of what I need to find, but always walk out with something unexpected that I’m not sure what I’ll end up using it for…such is the case with this fabric from my last shopping trip.  “Buy three yards, make a dress,” Kashi said.  Those three yards were exactly what I needed to make this dress, what luck!  I love the body and weight of this cotton sateen, and with the little bit of stretch, it doesn’t wrinkle at all and makes the skirt easy to sit and move in.


lonsdale 1

So how did I go about making this pattern hack?  Well, I didn’t have the confidence or pattern drafting abilities that Sarai has to alter the original skirt pattern for the Lonsdale dress – it was on the bias, a-line…didn’t want to touch that puppy and risk screwing up.  Instead, I turned to my trusty and beloved Charlotte skirt pattern.  The waist of the Charlotte skirt measured the same as the Lonsdale bodice in my size, so it was a no-brainer to go that route instead of drafting my own pencil skirt.  What I did end up drafting was the curved pocket, to emulate the pockets on the original Lonsdale skirt…I do love me some pockets in my skirts and dresses.

The pocket drafting was pretty simple: I copied the curve of the original Lonsdale pocket onto my Charlotte skirt pattern (traced, of course) to get a general shape, and tweaked it a little to fit the shape of the sides of the skirt.  I also took the original pocket pattern piece of the Lonsdale dress, altered the curve, and shrank it down slightly since I was worried that the original pockets would be too big for a tight fitting skirt.  Easy-peasy change, and now I can make my future Charlotte skirts with pockets!


lonsdale 3

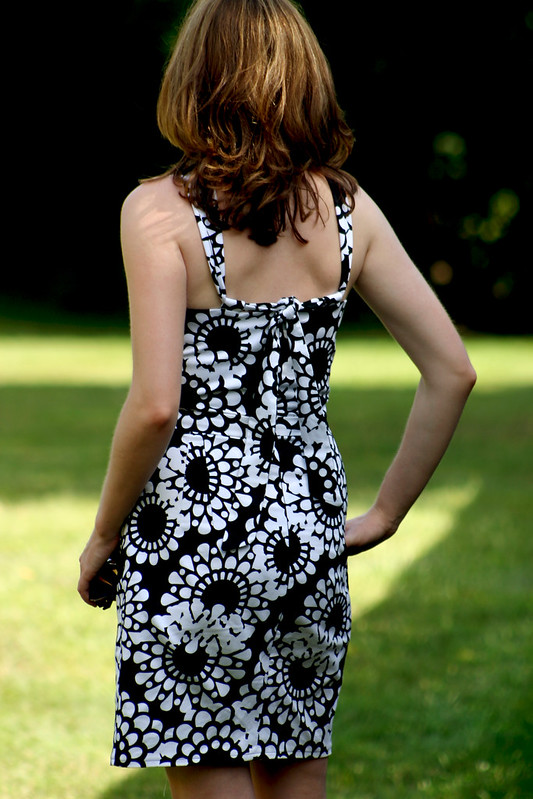
With the fabric being a bit stiff, it’s easier just to knot the ties instead of tie them into a bow.  I think the straps are my favorite detail, they make the dress so different than other patterns out there and RTW dresses.  This is why sewing is awesome!!


lonsdale 5

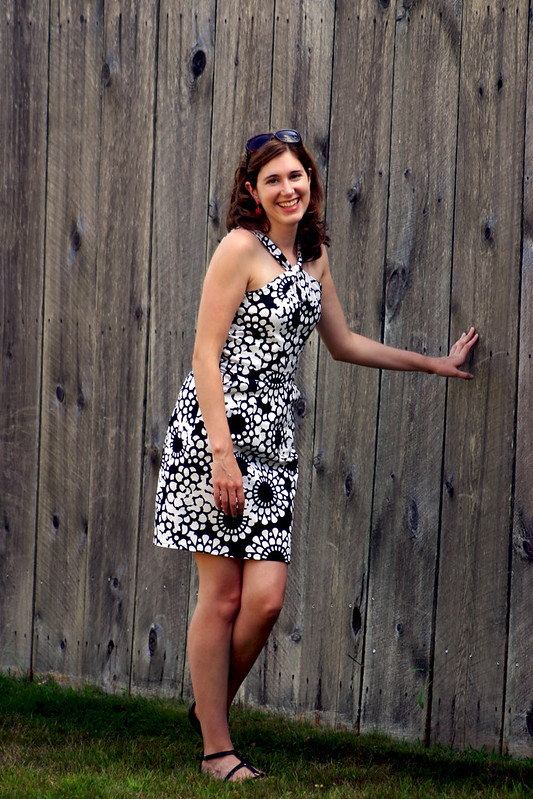
Ok, I had to include this shot – Chris took pictures, unbeknownst to me, of me peeking through a crack in the fence at the horses next door and I couldn’t stop laughing!

Well, that’s my last garment of the summer.  I finished this a few week’s ago to wear to a party with Chris and his family, and now I’m tucking it away until our winter vacation somewhere warm in January (I hope!!).  So far for 2014, this dress just may be my favorite garment of the year…but I have a long list of garments to make for the balance of the year, so who knows!!

Follow:

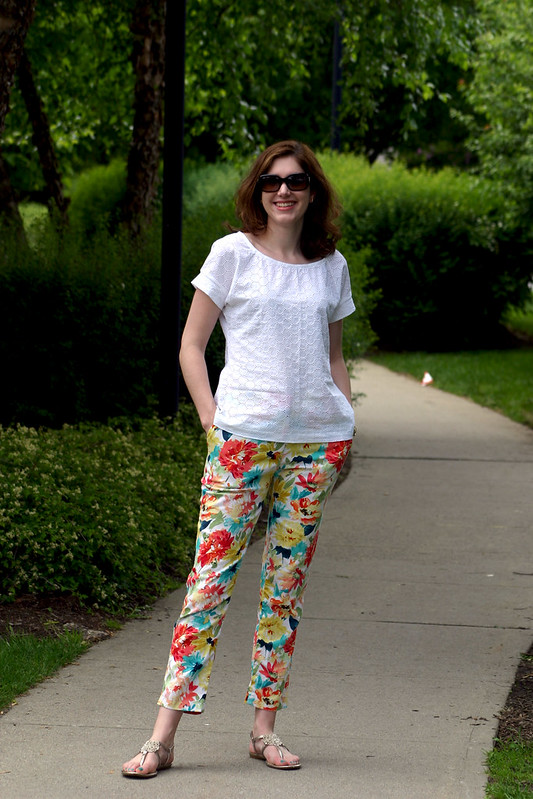
Pattern Reviews: Belcarra Top and Floral Pants [Sewaholic and Simplicity]


belcarra and floral pants 1

Patterns: Belcarra, Simplicity 1696
Fabrics: top – eyelet from Joann Fabrics; pants – stretch cotton from Metro Textile
Size: top – 6; pants – 10

Sandals: Tahari

Before I share two of my newest makes, I wanted to thank everyone for posting their thoughts on my last post about fast sewing – when it comes down to it, it’s really all about what’s right for each individual sewist, and we should (and do!) applaud each other for our efforts.  Imma do what’s right for me from here on out, ya know?

So yeah – I made pants!  Floral ones, to boot!  The fabric is leftover from the dress I made for my trip to Florida earlier this year and these pants were intended to be a muslin for this pattern, but they ended up being a wearable muslin – even better.


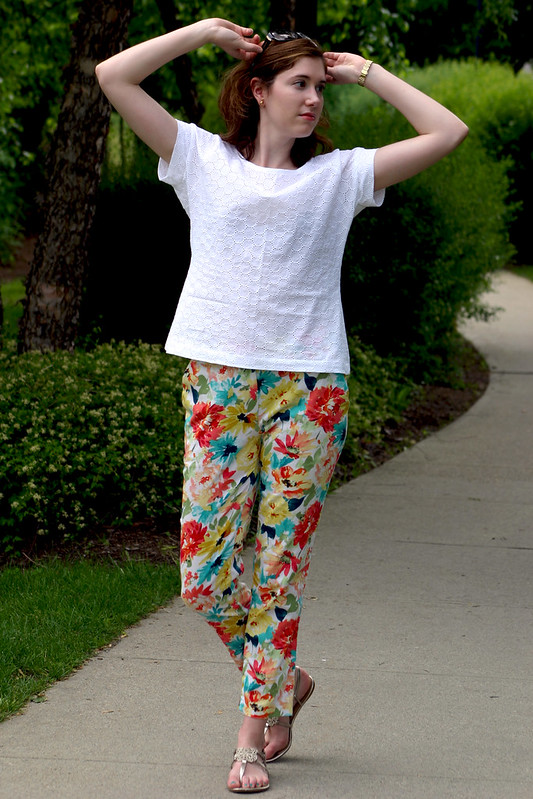
belcarra and floral pants 2


I would say I have the fit about 95% of the way there.  I went down a size than I would normally cut out for pants, based off of the way I wanted the pants to fit and to account for the stretch in the fabric.  The fact there’s different pant blocks based off of body shape is great too, I used the slim block based off of my measurements and the adjusting I needed to do wasn’t anything major.  I took in the inseam quite a bit in the back to get the butt to fit better, and took a small amount in at the front center crotch seam.  I think the waist could still use some adjusting.

Here’s my problem with these pants – the longer I wore them, the more they grew!!  When I left the house in the morning, they were nice and fitted, a bit loose in the waist.  By the time I got to lunch, these pants were huge on me all over – maybe because of my body heat and sitting at my desk all morning?  Luckily I had a pair of jeans to change into (I was travelling that day), otherwise I would have needed a safety pin or something to keep these up.  I never saw a baggier-butt pair of pants in my life.

Why did this happen with my stretch cotton, oh wise sewists of the sewing blogosphere?  I’m planning on making more of these pants in stretch cotton after I tweak the fit a little more.  After I washed the pants, they snapped back to normal, but I can’t always change my pants halfway through the day when they stretch out again, hahahaha.


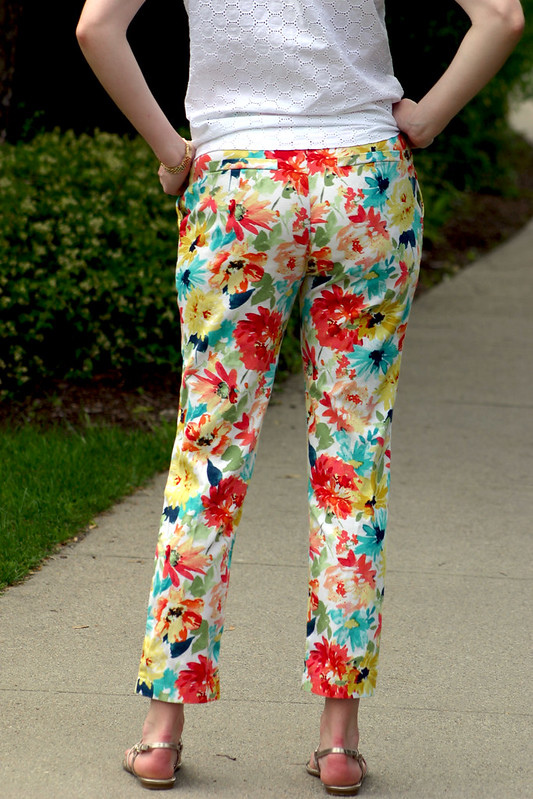
belcarra and floral pants 3


Can I get a “what what” for faux welt pockets?!  They’re my new favorite sewing detail.  I don’t need real welt pockets in my pants, and I never use my back pant pockets, but I like having the look of a pocket on my backside.  They need to be lowered a bit on the next pair, they’re up a bit too high for my liking.


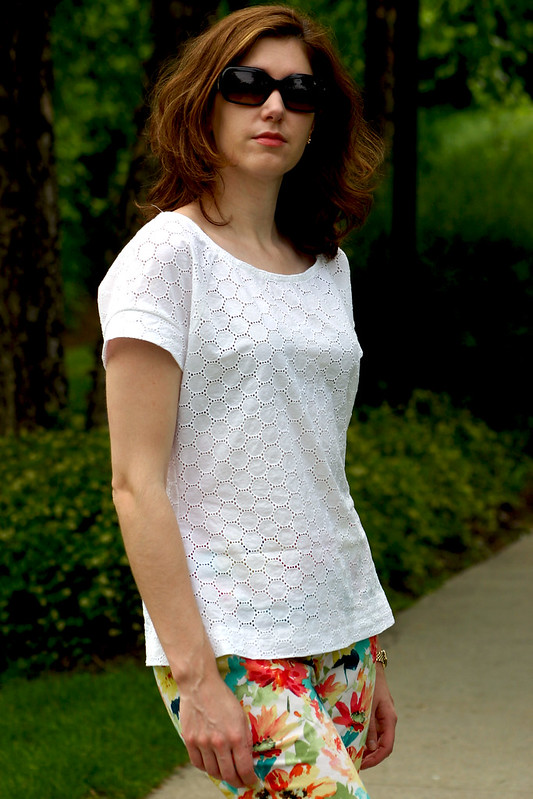
belcarra and floral pants 4


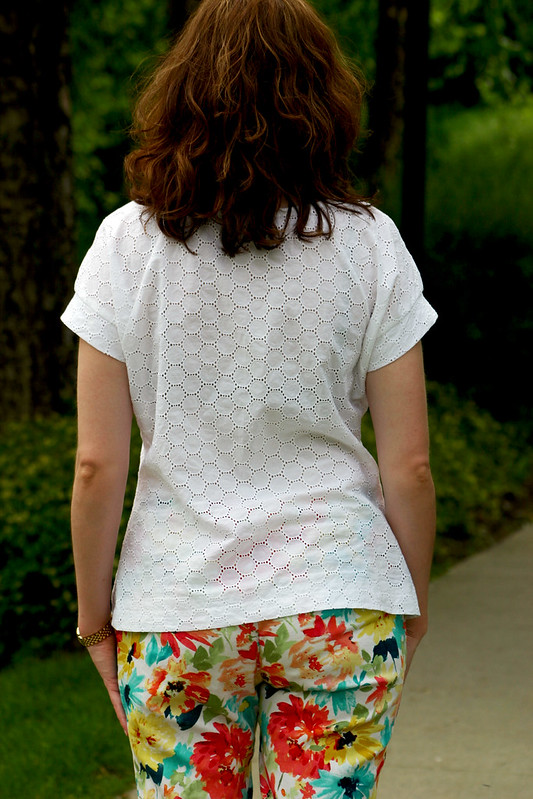
On to Belcarra – this is my go-to summer top this year.  It’s a beautifully drafted pattern!  The shape is really flattering – I don’t feel like I’m wearing an oversized woven top like some other patterns I made in the past.  Raglan sleeves are always a winner with me as well.


belcarra and floral pants 5


Since I made this, I’ve worn it several times already, and I have plans to make a few more with some variations.  This top goes together so easily (I think it took me two hours max to cut/sew this?) and can be paired with high waisted skirts, skinny jeans, jackets, you name it  – this is a brand new TNT for my sewing pattern arsenal.

Follow:

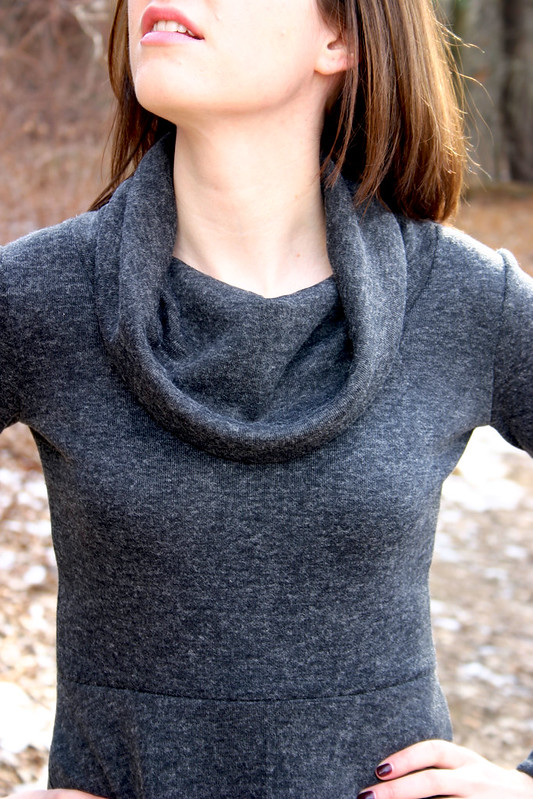
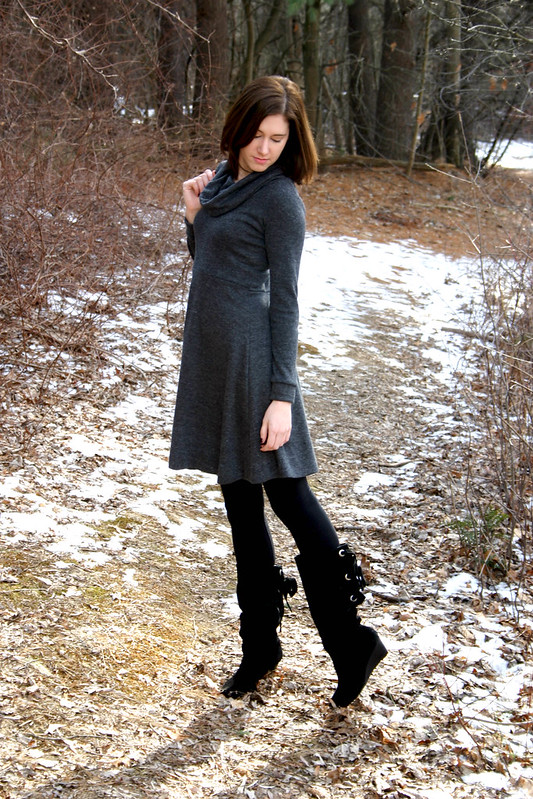
Pattern Mash-Up: RenVogue Dress


renvogue1


renvogue2

Pattern: Renfrew bodice/Vogue 8663 skirt
Fabric: sweater knit from Joann Fabrics
Size: Renfrew – 2; Vogue – 8

Boots – Nine West

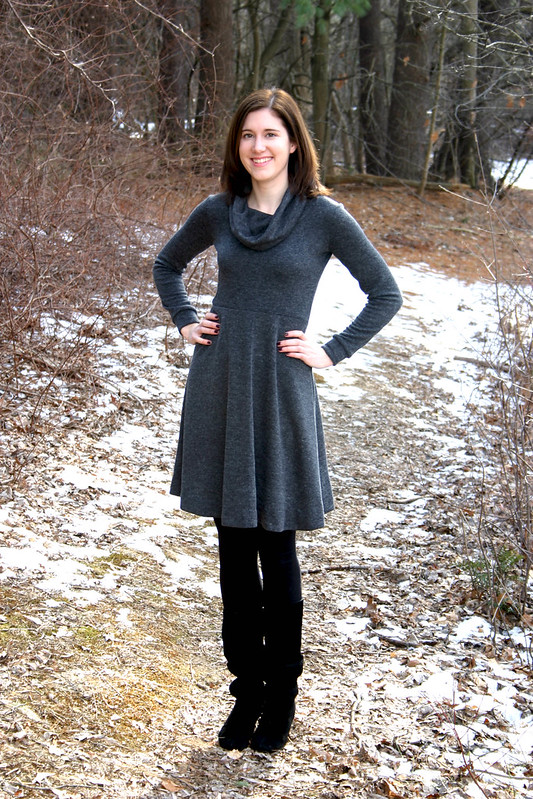
The idea for this pattern mash-up came from Sarah’s awesome SkaterFrew dress over at Katie and Laney – the Renfrew is a great pattern that I’ve made many many times (like most sewists in the sewing blogosphere!), and I loved the fit-and-flare style of Sarah’s dress.

I can be a bit of a lazy sewist – I’ve curbed some bad habits I used to have, but I like things to be as uncomplicated as possible when it comes to certain things in my sewing.  Take PDF patterns – ugh!  I hate the idea of printing them out, taping them together, cutting them out, and then still having to cut out my fabric!  Way too much work, but I make the exception with some patterns that are truly awesome or I know are well worth the effort (hello, Grainline Studio!)  So, the idea of going through hoops to print out and assemble the Lady Skater pattern when I had a perfectly fine flared dress pattern in my stash.


renvogue4


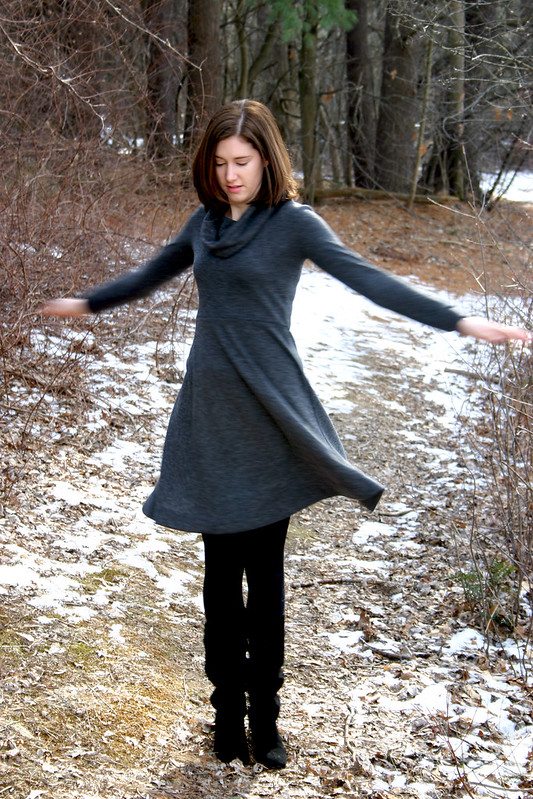
This dress is so comfy and easy to wear!  I wanted it to be a little more fitted than my other Renfrew tops, and I learned from another dress I made based off of the pattern that it would look better fitted.  But the best part is that because it’s a fit-and-flare, you can eat a big lunch and no one will know! (I did that the day I wore this dress and it was awesome)


renvogue5

It was a little tricky getting the skirt to match up to the waist, and I had to do some adjustments off of a mock-up I made first to get it just right.  Just a little grading magic and redrafting between the two patterns and the dress was all set – had this done in about half an hour.  The waist is slightly higher than I would have liked (I wanted it more at the natural waist), but ah, live and learn.


renvogue6

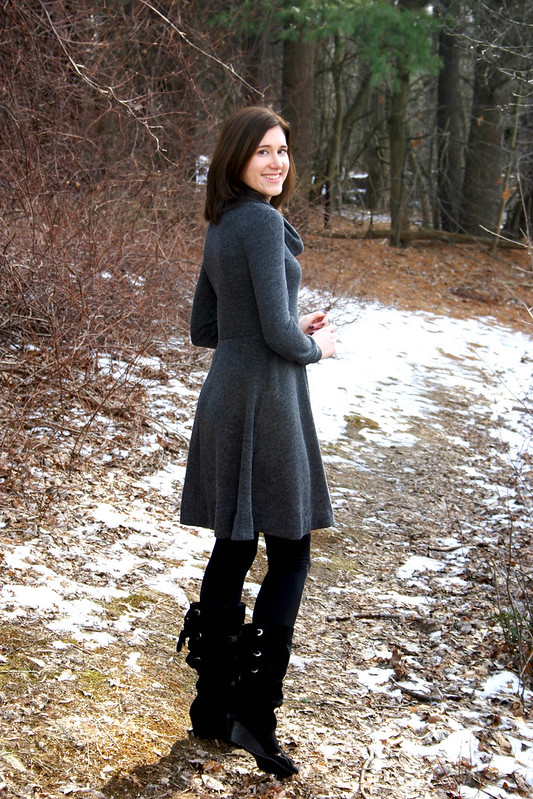
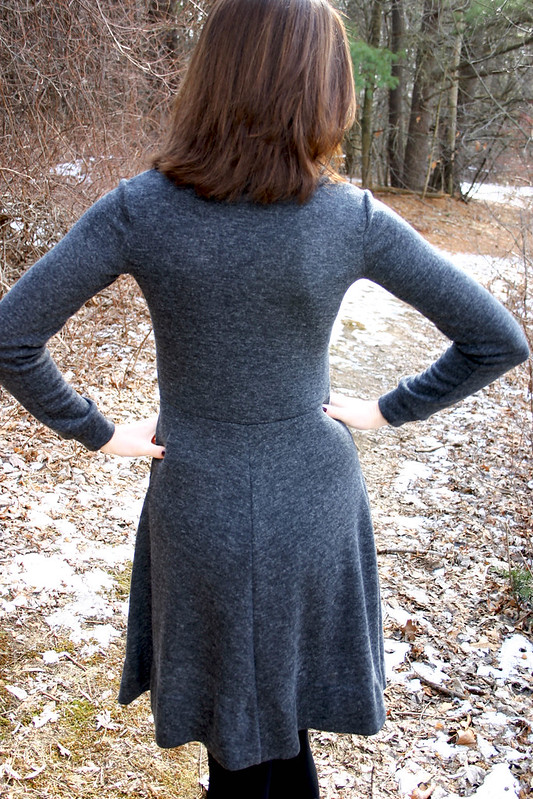
Back view – the waist line is a teensy bit lower than in the front, oh well! 

Hemming this dress was a biotch, there was no way I could do it by myself – knit fabric on the bias?  Yuck.  I actually had to bring it home with me during Christmas vacation so my mom could help pin up the hem while I wore it.  It totally sold me on the fact that I need to get one of those nice dress forms Gertie posted about a few weeks ago… 


renvogue3

I ended up catch-stitching the hem by hand since there was a bit of easing that needed to be done with the skirt hem.  After some vigorous steam with my iron, you could even see the tiny hem stitches (because, you know: “it’ll steam out”).

I love this dress!  It’s perfect for wearing with boots and is great for cold snowy days, which seem to  be happening even more frequently every week in the Northeast.

Is it spring yet???

Follow:

Pattern Review: Hollyburn Skirt [Sewaholic]


hollyburn2


hollyburn1

Pattern: Hollyburn by Sewaholic Patterns
Fabric: Art Gallery Pure Elements Cotton in Empire Yellow, purchased at Grey’s Fabric
Size: 6

Cardigan: Coppelia
Tank: Gap
Boots: Nine West
Nails: Essie Bikini So Teeny

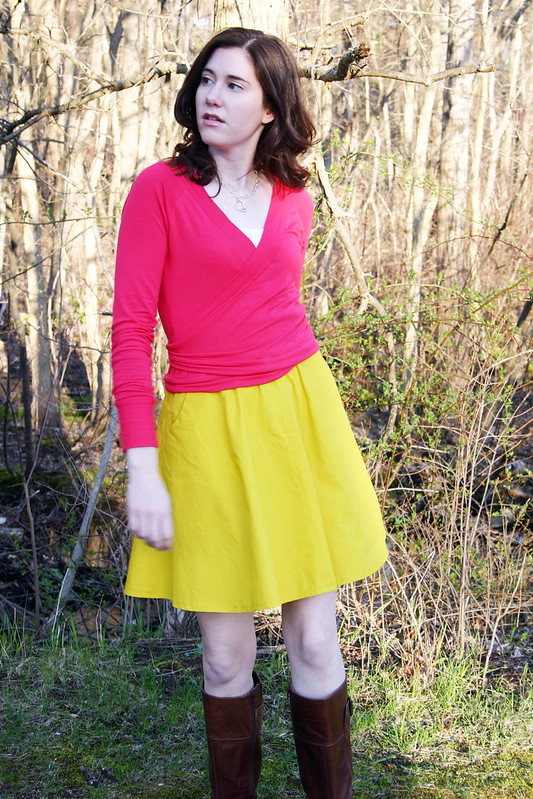
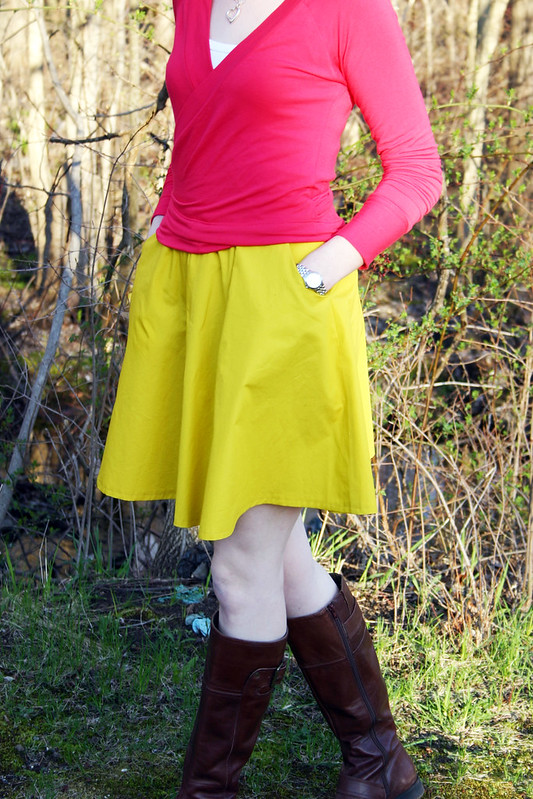
I don’t know why, but I’ve been on such a “loud color” fabric kick lately with what I’ve been buying.  I mean come on, look at how I paired this outfit: hot pink and lemongrass yellow, whoa!  And did you see the lime green for my Laurel dress?  Maybe it’s because the weather is hinting at warmer temps and things are starting to bloom.  Whatever it is, I’m tired of dreary, dark colors and am ready to embrace the brightness of spring.


hollyburn3

This skirt was one of the three I sewed while on Sewcation 2013 two weeks ago, aka “Skirt Week.”  I took three skirt patterns and fabric to my parent’s house in PA and spent the week using my mom’s sewing machines and whipping up skirts for spring.  Gotta say, Sewaholic Patterns are so flattering and simple to make.  Even though I skew more towards “rectangle” in body shape, the garment measurements fit me perfectly and I rarely have to make fit adjustments.

What’s there to say about this skirt…oh, that it’s my new favorite silhouette and I can’t wait to make more???  Seriously, who doesn’t love a fun, twirly skirt?  And there’s pockets, too, and they don’t gape open!  I couldn’t stop putting my hands in my pockets as I wore this skirt.


hollyburn4

I’m really proud of the sewing I did on this skirt, from the top-stitching at the waistband to the machine stitching on the hem.  But note to self – stop making skirts out of quilting cotton, they wrinkle too easily.

The only change I made to the pattern was using an invisible zipper instead of a standard zip.  I didn’t want it to be obvious in the center back seam that there was some zipper action going on.  I get it if you’re a beginner and you’re scared about zippers, because really, this is a beginner pattern, but I find invisible zippers waaaaay easier than regular ones.  I also finished the edges of the waistband the same as how the waistband edges are finished on the Ginger skirt…hard to explain how that is on here, but if you have the pattern, you know what I mean.  Much easier than hand stitching the zipper tapes down in place.

Looking at these pictures, I didn’t realize how short this skirt is (for me, at least).  I definitely see more of these skirts in my future since it’s a great “cake” garment; maybe I’ll try the knee length one next time.

Follow: