Pattern: Kwik Sew 4003
Fabric:
Watermelon Print – Fabric Fairy
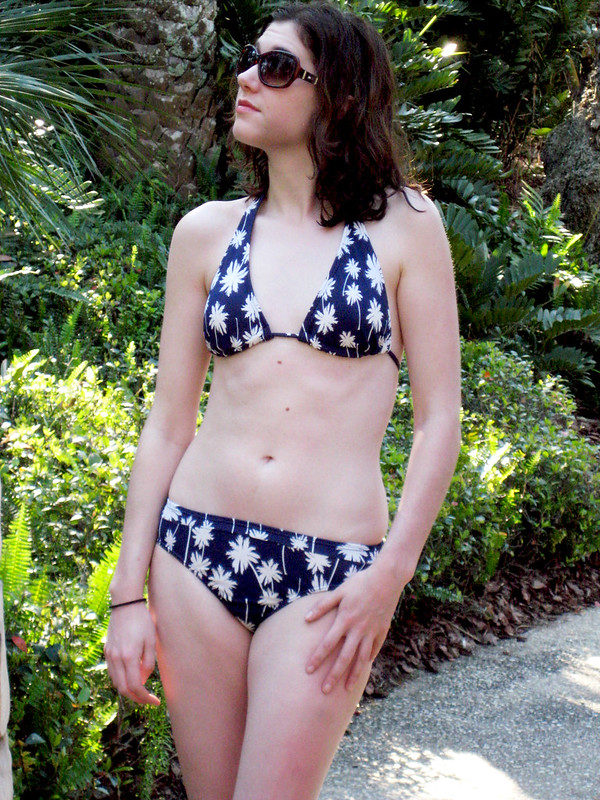
Palm Tree Print – Spandex House
Coverup – Fabric Place Basement
Size: XS top, S bottom
Sunnies: Tommy Hilfiger
Ok – I can now say in 2014, I successfully made a swimsuit! These bikinis were so quick and fun to make that I think that I’ll swear off buying swimsuits ever again. I made each of these for roughly $20, less than the cost of a bikini at a department store, and the fit and booty coverage is better than I would have found in a current RTW bikini. Plus, I got to pick out the fabric I wanted!

I was determined to try swimsuit sewing again after I didn’t get some things right on my Bombshell, and since I now have a serger, I thought it would be easier to get better-looking results. Using some leftover spandex, I made a quick test bikini to check the fit, and it was spot on: my theory of going with my bust size sans bra resulted in a perfectly fitting bikini top. Score!
I think these bikinis took about two hours each to make, including cutting out the fabric. Using what I learned the first time I worked with spandex, I used a rotary cutter to get a more precise cut. You may notice on the pattern envelope, the bikini top has pinked edges – I cut out two sets of the lining piece so I could have a plain bikini cup instead of piecing together three different bodice pieces with pinked edges.
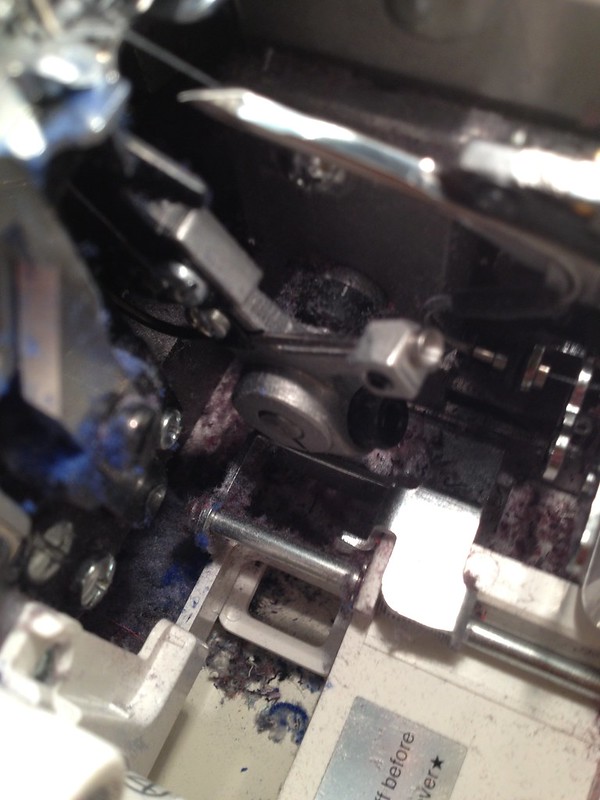
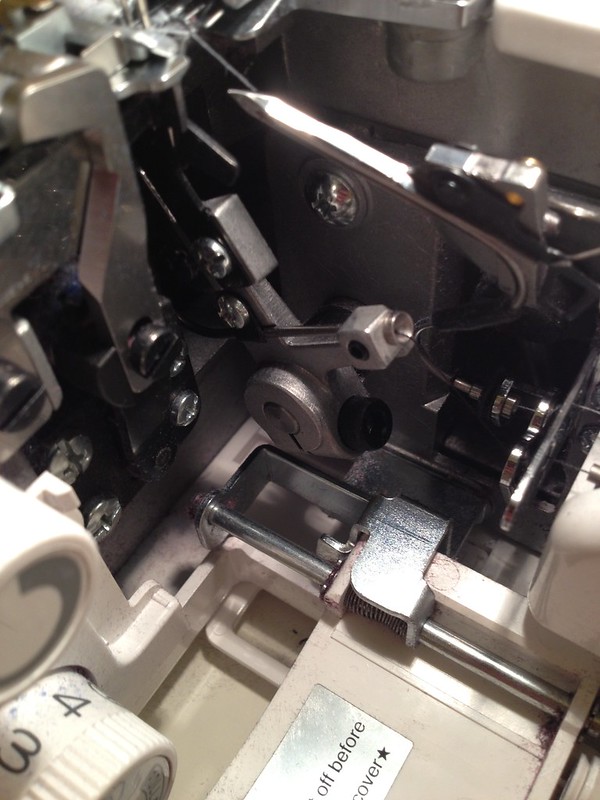
Using my serger to attach the swim elastic to the leg holes, waist, and bikini top edges made a world of difference over using my regular sewing machine. I had a problem last time when I used my sewing machine to attach the elastic, I got all sorts of fabric rippling because I can’t control the pressure of my presser foot on my machine. Actually, I used a serger for sewing just about all of this bikini except for the top stitching! I know it’s possible to make a swimsuit without a serger, but I don’t think I personally would have had results this nice without mine.
I also found some great, high-quality swim cups at Sil Thread in the NYC Garment District that I trimmed down to fit the bikini bodice, inserted them, and stitched the bodice pieces shut. They give the bodice some shaping and coverage that I like in my swimsuits.
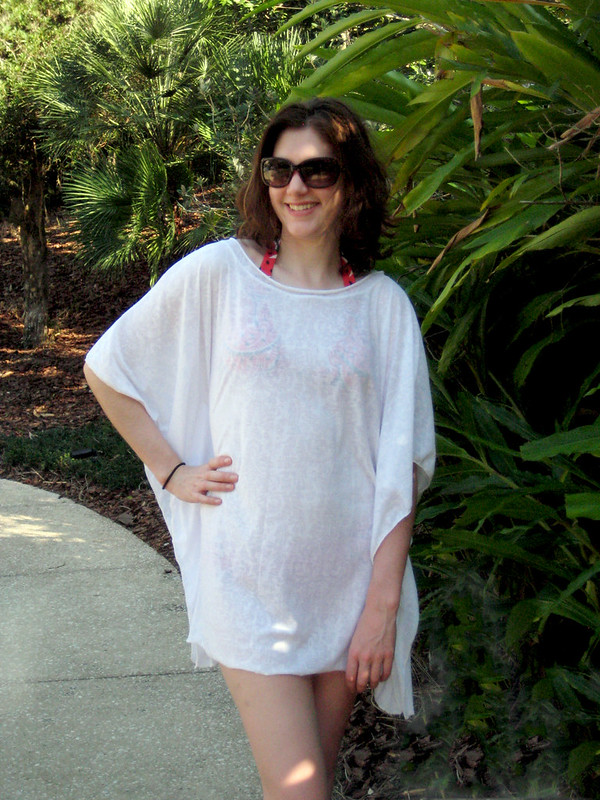
At the last minute, I decided to make the coverup to go with the bikinis. I found the most amazing Tahari cotton/poly net fabric from his resort collection, tried to make this with it, and ended up with a mess of fabric and a neckline that kept growing and stretching. What a shame! So, I settled for this jersey burnout fabric instead. I would apply the neck band differently next time a la Jen’s Hemlock Tee, and I didn’t want to be bothered with finishing it the way I was supposed to according to the instructions, so I just left it raw and let the neckband roll. Call it a “design element.” I used a rolled hem stitch on my serger for the edges, but didn’t get the greatest results – I think it helped when I used the differential feed on my serger instead of the neutral setting, because on neutral the fabric kept bunching up. Ehhh who cares, it’s just a coverup.
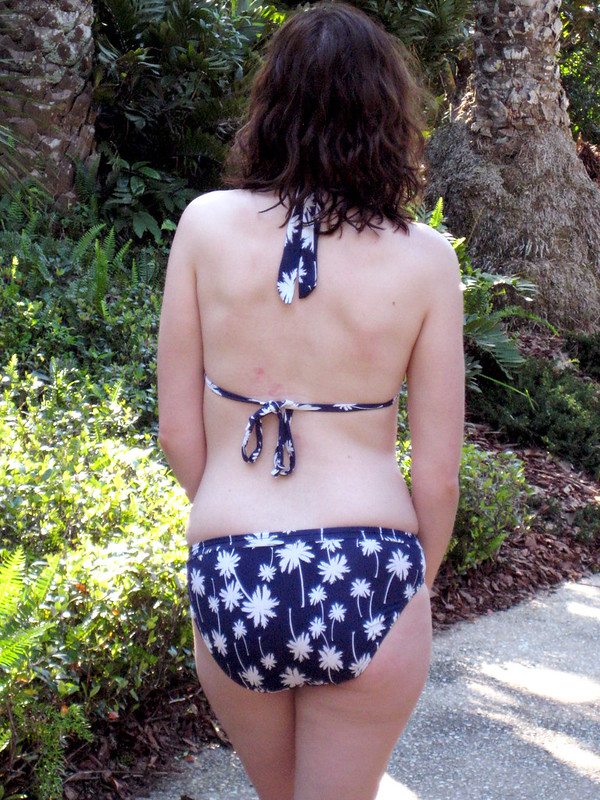
Bum coverage! For my next bikini, I think I may try to do a rub-off of a bikini bottom I have that gives me nice coverage, but doesn’t have as high of a rise. I like this, but they could be a wee bit smaller.
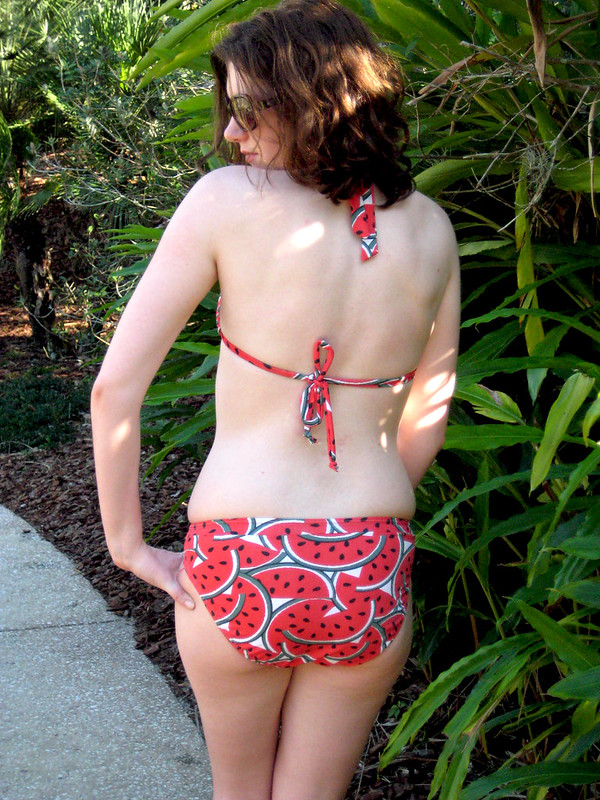
Here’s another thing I learned while sewing these: the quality of spandex, just like any other fabric, really varies. I thought they were all the same, for some reason, but the quality of the palm tree print fabric is very different from the watermelon print, due to the fact that the palm tree fabric is yarn dyed and the watermelon print is printed on to the fabric. The watermelon fabric is stiffer feeling, and when it stretches, you can see the white of the base fabric it’s printed on. The hand of the palm tree fabric is much more fluid and soft, and I think the two suits look slightly different on and fit a little differently because of the nature of each fabric. Plus, the palm tree fabric cost a lot more because it’s nice fabric! Don’t get me wrong, I love both swimsuits very much, but I know now to look for these characteristics when I’m shopping for spandex.
What a shame that I have to wait until summer to wear these again! Warm weather can’t come fast enough.