What I’m Working On: Style Arc Alisha Dress


alisha collage

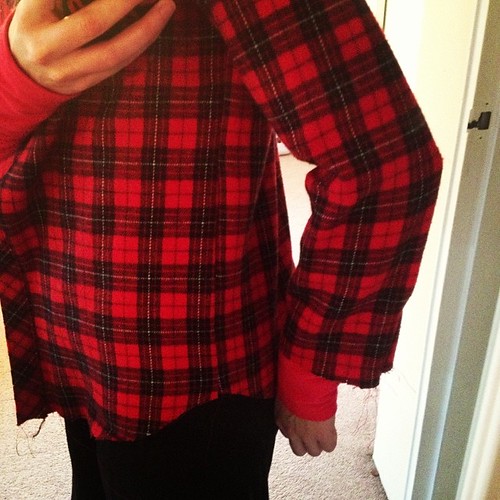
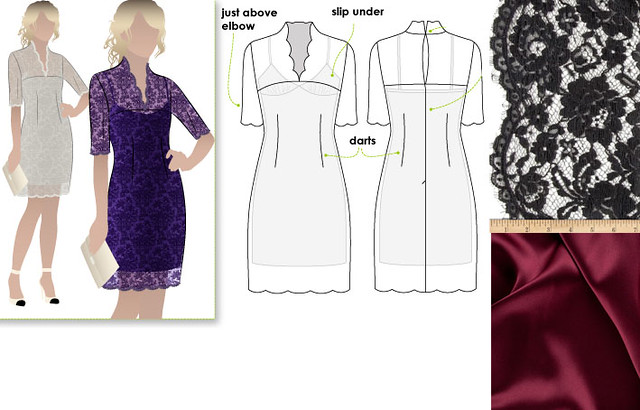
Hold me, I’m sewing Style Arc Patterns for the first time.  I’m making the Alisha dress, and I love the fabric I’m using for the garment (black scalloped edge lace over a wine charmeuse slip dress), but I’m nervous about making it.

Why the anxiety, you ask?  Style Arc Patterns are sold single size only, and I’m not a single-size kinda gal.  Sure, I could have bought two copies in different sizes and graded the two to get a perfect fit, but at $20 bucks a pop I wasn’t about to shell out $40 for a single dress pattern.  So, I went off of my hip measurement since it’s the largest body measurement and bought the size 8, thinking I can grade down the bust and waist to what I need it to be.  Still…I’m nervous about doing this.

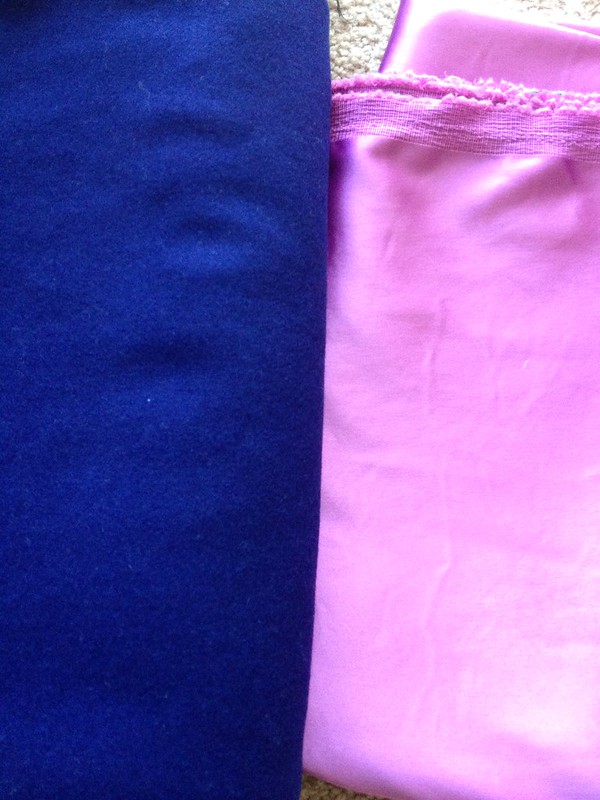
I made a toile/muslin/mock-up garment last night using the same type of slip fabric I’ll be using that was leftover from another project.  Had I cut the fabric with the stretch going horizontally instead of vertically (d’oh!  Only way I could squeeze the pattern out of the fabric), I think this would have fit just fine right out of the envelope.


alisha slip1

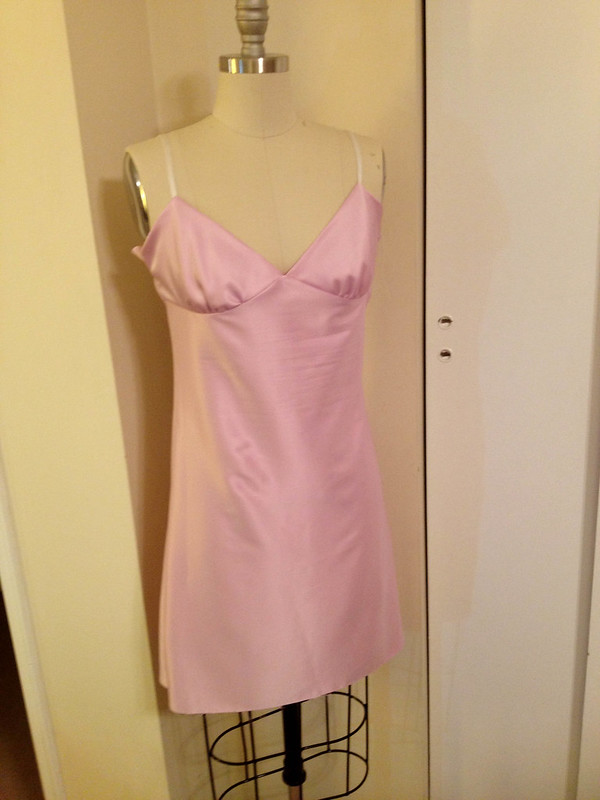
Ummm….I had to take out part of the side seam to get this to fit over my head and shoulders, hahaha!!  Once I had it on, the bust fit just fine and there was enough ease in the waist and hips.  If I need to take in the waist and hip in the final version I’ll be ok, the bust was the most important part I was worried about fitting.  Anne at Clothing Engineer is right about the bust cups – they run very small and skimpy.  I used the B cup pattern (yes, there’s cup size options, a huge plus for fitting) and it didn’t cover my bra when I first tried it on.  Since I’m planning on wearing this sans bra and will be adding swim cups for coverage/support in the final version, this didn’t bother me.  So if you’re planning on making the slip, try out the different cup pieces to get the desired coverage you need.


alisha slip2

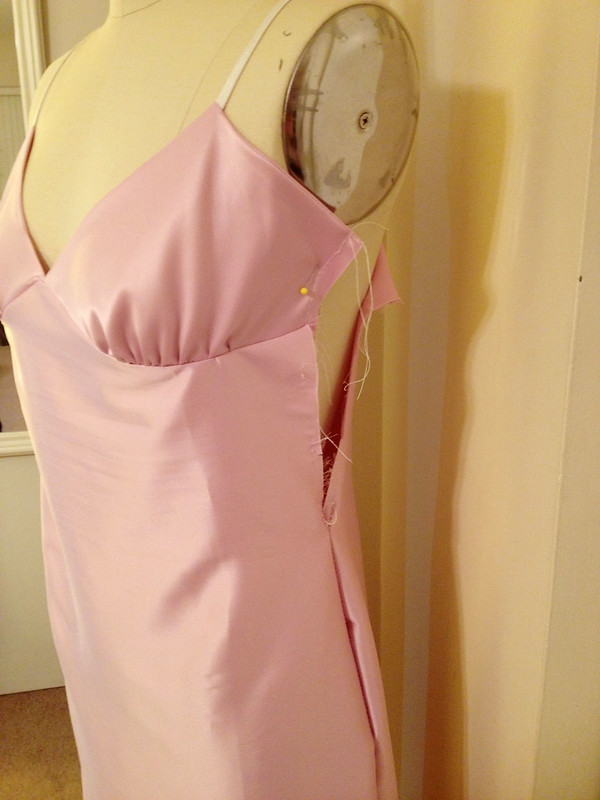
Had to share this photo – look how much I had to rip out to get the slip on my dressform!!  This little lady is built tinier than I am, so I found it humorous that I could squeeze myself into the slip but had to rip out so much more to get it on the form for pictures.

Also, rouleau straps – any tips on making these buggers?  I used adjustable spaghetti straps in my stash for the test fit garment because I didn’t want to be bothered with making real straps.  If I could find coordinating spaghetti straps for my final slip I’d use those, but the chances of that happening are slim.

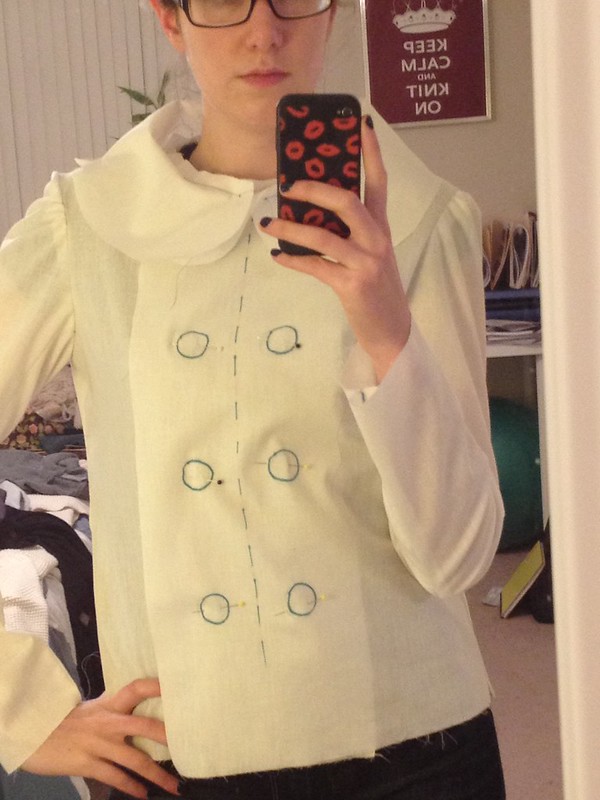
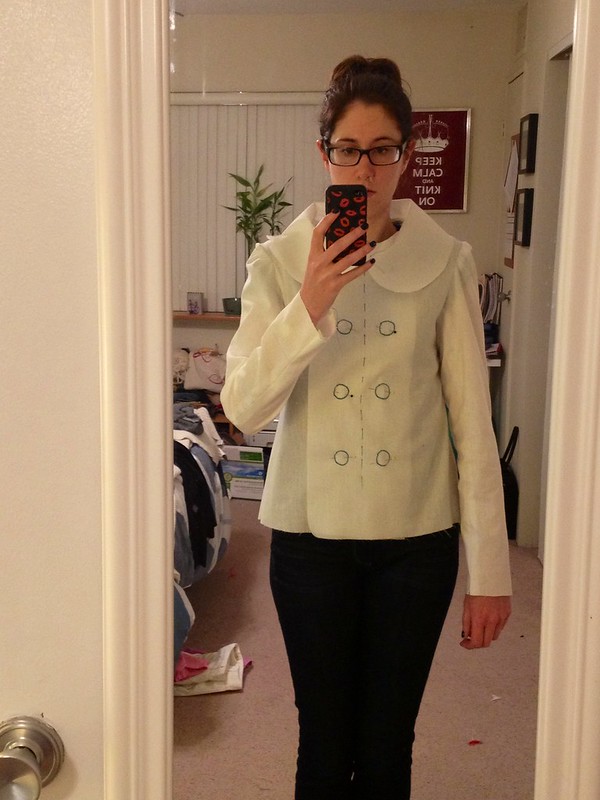
Next up is test-fitting the outer dress.  I cut that out last night from a poly crepe de chine in my stash that I thought would make a cool fall dress.  Hopefully I can kick this cold this week so I can get that squared away and move on to sewing the final dress by the weekend.  I need this dress to be done in less than two weeks!

Follow:

8 Days to Anise – Days 1 and 2


anise jacket


If I was going by the temperature today, I wouldn’t believe that we’re in the spring season – it’s a balmy 30 degrees this morning.  Ah, such is New England weather, and my fingers are crossed that things warm up in the next few weeks in April (I’m running my first 5K in three weeks!).  I figured now is the time to get over my fear of jacket sewing and jump right in to making an Anise for spring – by the time I’m done, the weather will probably be warm enough to wear it.
I’ve owned the pattern and the fabric for well over a year, and had every intention of sewing this last year, but the time got away from me and when I was ready to sew it, the weather changed and I was in no mood to sew with wool in the heat.  My last few projects have been quick, crank-’em-out garments that I can make in a night or two, and it’s been a long time since I made a project that I can really bite my teeth into and spend a decent amount of time constructing. 
So, I’m calling this project my “8 Days to Anise” challenge – according to the companion book (which has a lot of helpful tips!), this jacket can be broken down into bite-size sewing chunks over the course of eight sewing sessions.  This makes sewing a tailored jacket a lot less intimidating and more manageable!  Let me show you my supplies so far:


Anise fabric

It was hard to get the colors right, but the left is a dark violet/indigo wool (from Metro Textiles), and the left is a lilac poly sateen for the lining (from Fabric Place Basement).  I originally bought a white gold acetate for the lining, but learned from some research online that it’s a weak fabric, should be used on garments that won’t be worn often, and shows water/sweat marks.  No thanks!  I’ll save that fabric for lining skirts.  As much as I really wanted to use silk charmeuse for the lining, I couldn’t justify spending that much money on the lining, and I’m pretty happy with what I found instead.  I preshrunk my wool using the dryer shrink method Sarai explains on the sewalong page, and washed my poly in cold water with some of my other clothes.  This jacket is going to be drycleaned, so I’m not too worried about shrinkage (and I’m notoriously bad about taking my coats to the cleaners).

All that’s left is to find nicer fusible weft interfacing than what I found at Joann’s (not convinced that it’s right for my fabric), and buttons that will coordinate.  Grey’s Fabric has some weft interfacing that I’m going to pick up this week, and the buttons can always wait until I’m finished with the coat – no bound buttonholes for me on this project.

On to the fitting photos!  I’m pretty pleased with how it turned out, but I have a few concerns. There’s quite a few iPhone photos below:


Untitled

The front looks pretty good! Not too tight in the bust and plenty of room in the hips.


Untitled

Further away, full front photo.  Yes, it’s hair up/glasses on on the weekends, hahaha.


Untitled

View from the back, looks good. No extra fabric or bagginess, definitely easy to move in.


Untitled


Untitled

This is where I’m not sure about the fit – the sleeves.  Granted, I did a crappy job inserting the sleeves, there was soooo much ease in the front of the sleeve cap and I didn’t do the greatest job inserting them.  However, it seems like there’s excess fabric at the cap because of the drag lines I’m seeing.  Here’s some other views:


Untitled


Untitled

Lololol bitchy resting face.

See? It’s dragging in the front.  I pinned my shoulder pads in to the muslin as well to see if that would help.  I’m hesitant to make any changes to the cap, and if it’s really because I didn’t distribute the ease properly (it seemed like there was a ton of ease up front and a little in the back, according to how the markings lined up), I may go back and redo the sleeves to see if that changes anything.  When my arms are relaxed, it’s not as apparent.  I’m also going to make a sleeve head when I sew my final garment, so maybe that will help.

Suggestions on the sleeves?  Anyone else run into this when making their Anise?

Follow:

Speedy Sewing


Test-fitting @byhandlondon Elisalex bodice #mondaynightsewing

I can’t believe that February is almost over and I have just a week to finish my sewing for our trip to Orlando!  I’m waiting on some elastic to fix the leg hole for my bikini bottoms, need to pick up some fabric for a coordinating coverup (should be super easy/fast to make), and now I’m working on my dress for our luau dinner.  Originally, I planned on using the By Hand London Georgia dress pattern.  But since I was out of commision for a week with a cold, I’ve changed my strategy and I’m now using the Elisalex bodice/Charlotte skirt combination – I don’t have a whole lot of time to fit a complete dress muslin, and I know the skirt works well for me.  So far so good – I just need to add some width the side seams of the bodice, but everything looks good and I think it’s going to turn out nicely!

Just crossing my fingers that the warm weather trend down there continues – it looked beautiful down there last week, and today was 81.  Please please please stay that way for next week!

Follow:

On My Sewing Table – Plaid Archer [Grunge Sew-a-Long]


Matching plaids like a boss #grungesewalong

I’m conquering two of my biggest fears/challenges this month: matching up plaids (eek) and sewing another button-down shirt with a collar stand (double eek).  I had three yards of this red cotton plaid flannel hanging out in my stash for the past two years, thinking that I would make a cape from it (hello costume, I don’t think so) or maybe a dress (again…no).  Funny enough, when I decided to throw caution to the wind and cut out the plaid to make another Archer, there was conversation on Twitter about November being a Grunge Sew-a-Long month.  Perfect timing!  I think the Archer pattern is a great pattern to pair with plaid – it has a loose, but not too loose fit, and I think it’ll look adorable with skinny black pants and boots (not leggings, please, because leggings are NOT pants.  That’s your public service announcement for today).

Thanks to Lauren’s tutorial, I feel like I’m matching up plaids like a boss so far:


Heck yeah, side seam!

I was freaking ecstatic when I tried this on and saw the plaids matching up perfectly!  Sadly, I don’t think I cut the sleeves out correctly so they don’t match at the underarm seam, but I’m really happy how this is turning out so far.  Just cross your fingers for me, I’m about to tackle that collar…

Oh, if you want to participate in the Grunge Sew-a-Long this month, post your finished projects in the Sewcialists Flickr group.

Follow:

Saturday Sewing: Seahorse Charlotte Mini


This seahorse skirt is happening for reals. #sewing #fridaynight @byhandlondon

I don’t think there’s ever been a time when I’ve been able to walk out of Grey’s Fabric and Notions without something new, be it fabric or a pattern.  This past Wednesday I went to my first Crafty Foxes Sewing Club at the store and had a great time working on my sewing projects and chatting with other local sewists.  One of the girls that night was wearing a Charlotte skirt and it kind of sealed the deal for me on making one – it  really is the perfect high-waisted pencil skirt and I HAD to make it.  And of course, what’s better than a skirt with seahorses???

Follow: