8 Days to Anise: Days 3-5


Untitled

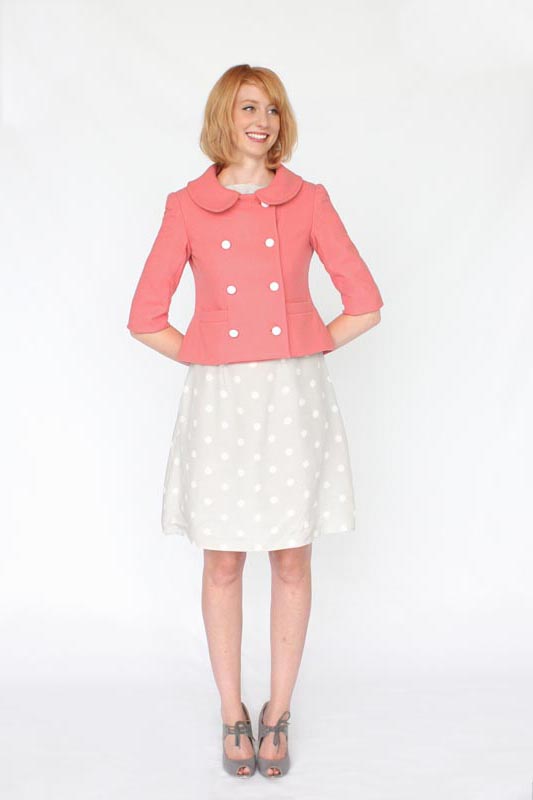
What I learned last week: I really love tailoring.  Never thought that I would!  I like fast, simple, quick, easy, instantly-gratifying projects with not a lot of fitting, and it’s not often that I work on something for more than a week.  I think that’s part of the reason why I put off making this jacket for over a year – Chris bought me this pattern for Christmas 2012 and I bought the fabric shortly thereafter, but looking at all the steps and hand-sewing, I just didn’t want to devote the time to it that I knew I needed to.

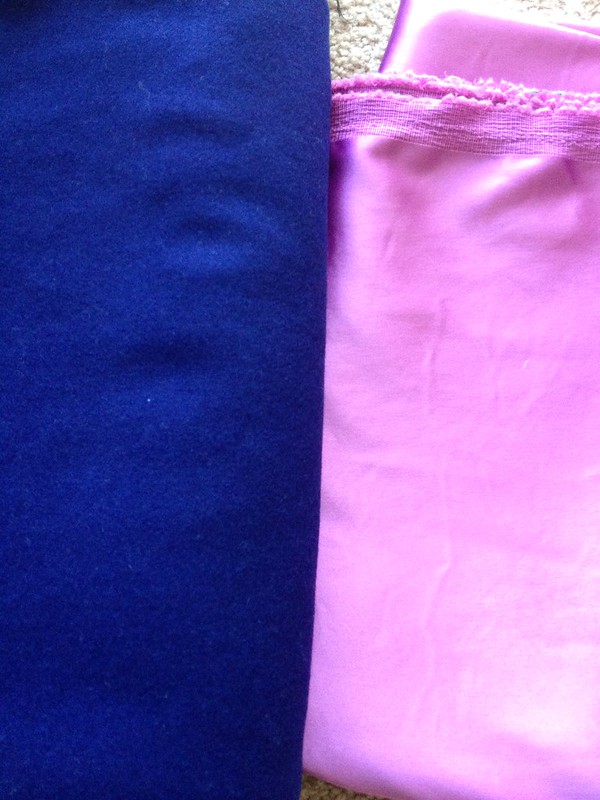
But I can really, honestly say that I’m enjoying the entire process so far.  Even cutting out the fabric I didn’t mind as much as I usually do (my hands said otherwise)!  It took about two nights to cut out everything since I needed to cut out the wool, the lining, the underlining, and the interfacing, plus fuse the interfacing and sew the underling to the wool.  Whew!  That definitely would have been too much in one night for me to accomplish.

I’ve been reading a lot about the proper way to press while sewing, because after all, pressing IS sewing – The Pressinatrix has some great tips on tools and pressing techniques for sewing with all types of fabrics.  Since I’m doing soft tailoring on this jacket, I’ve found that I’m spending just as much time at my ironing board that I am at my sewing machine.  My trusty little Black ‘N Decker iron is holding up just fine, and I’m so glad I asked for pressing tools last year for my birthday, they’re really making the difference.

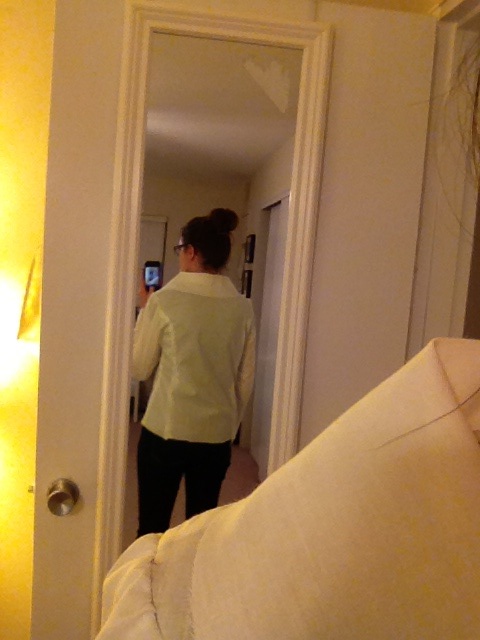
Enough chatter, onto the photos!


Untitled

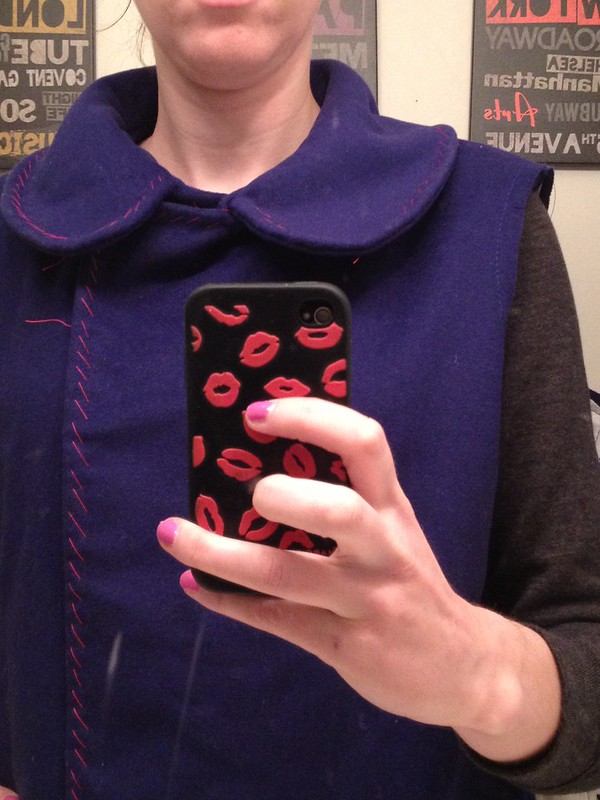
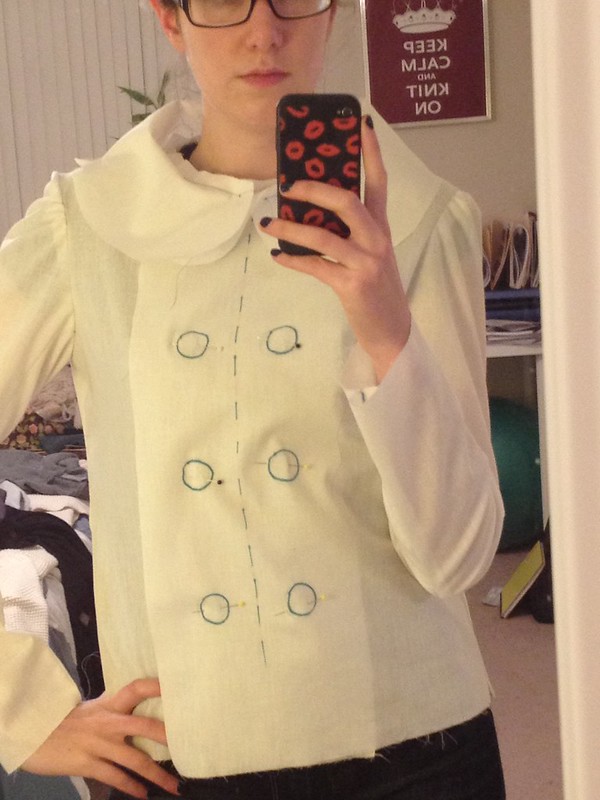
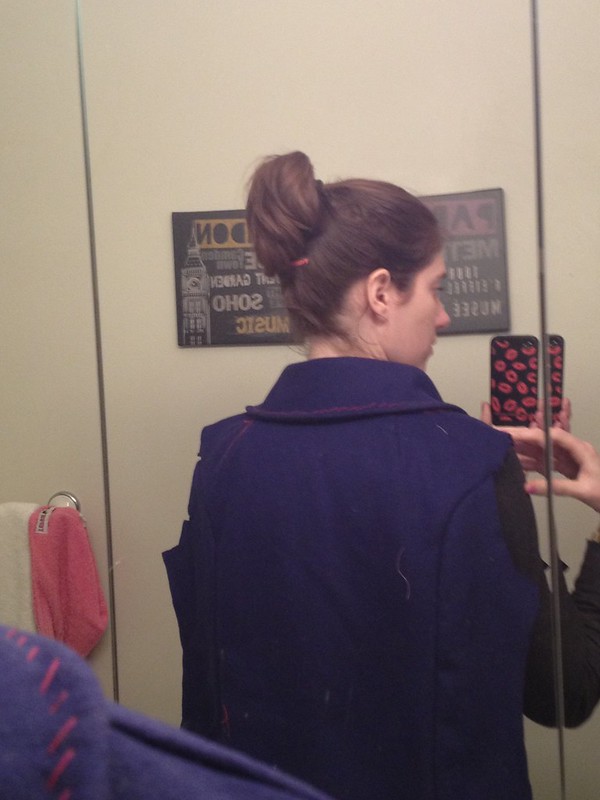
Shhhh, excuse my dirty mirror!


Untitled

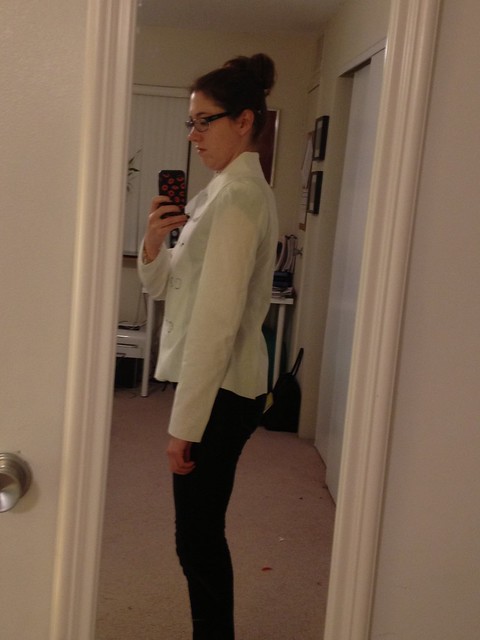
I love how this is turning out.  I hand-basted everything yesterday afternoon while re-watching season 3 of Game of Thrones – it was a rainy, miserable day and was the perfect excuse to be a bump on the couch.  But a productive bump!


Untitled

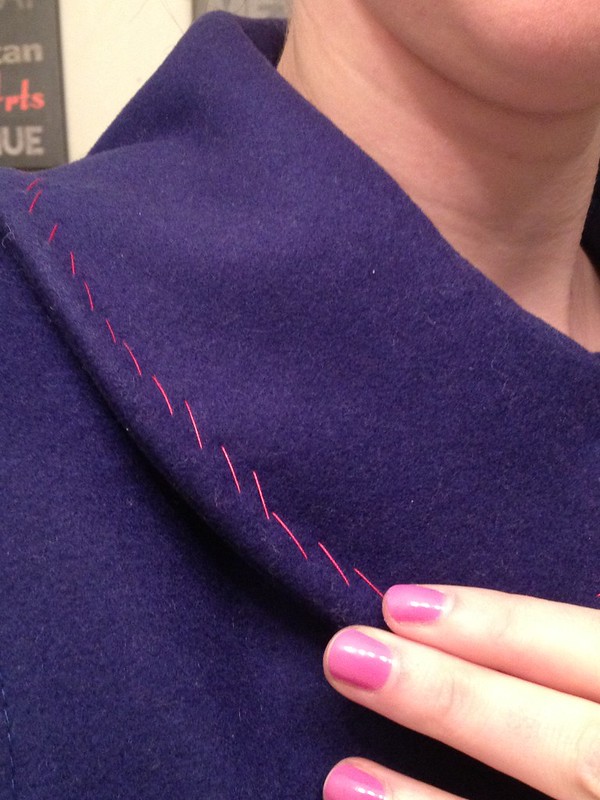
I still need to press the edges of the collar and jacket fronts, but I was amazed at how the basting really made everything look so nice.  And I figured if I need to hand-baste with silk thread, it might as well be a fun, contrasting color!


Untitled

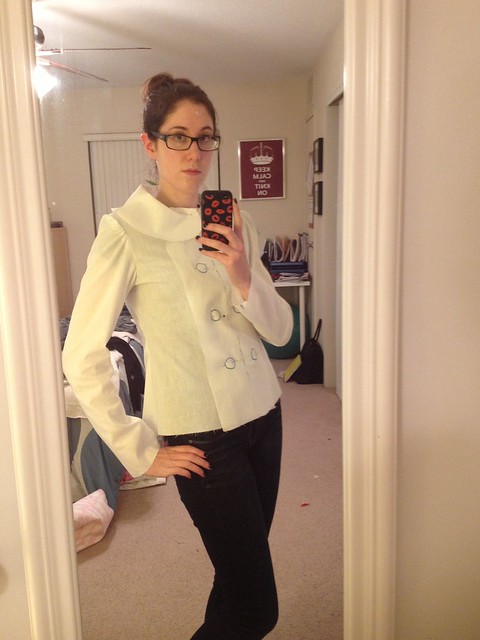
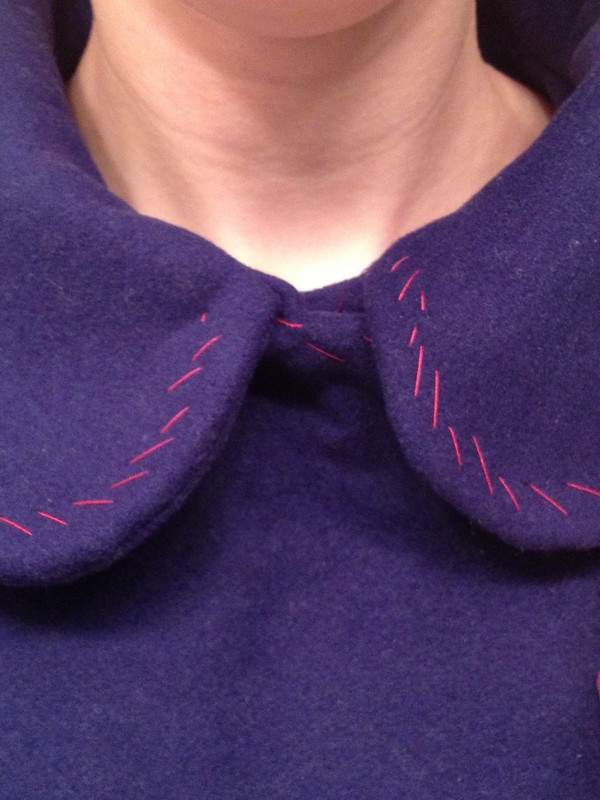
The collar is looking good.  I was worried about how it would turn out: I fused the interfacing to the collar piece instead of the undercollar.  Whoops!!  When I went back to Joann Fabrics, they were all sold out of fusible weft interfacing.  The solution was to use my leftover interfacing to creatively fuse together a big enough piece to cover the undercollar – problem solved!  The collar may be a little stiffer and more structured than it’s supposed to be, since the entire collar is now interfaced, but I’m ok with how it’s behaving.  And it seems to be rolling under ok as well.

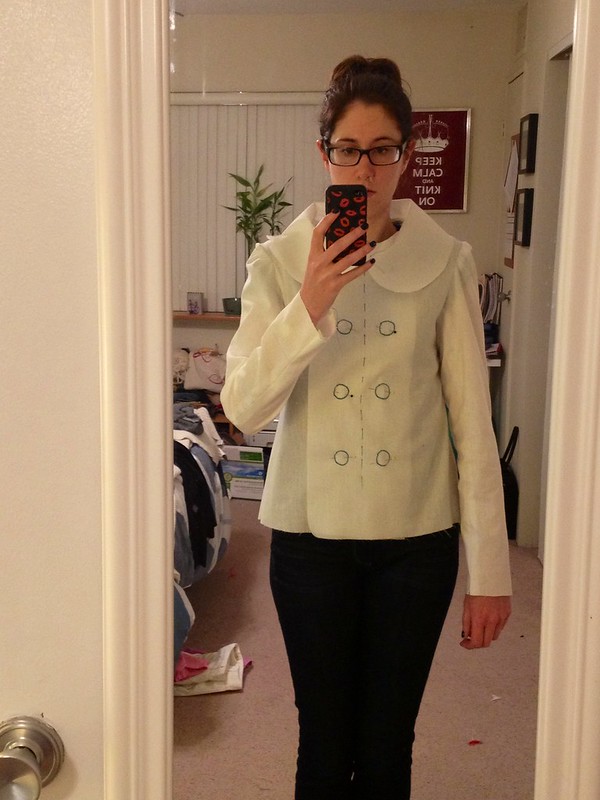
So far, I’ve worked on this jacket for five days – I’m right on track!  Now, to hunt down the perfect buttons…

Do you enjoy tailoring?  Any good book recommendations on the topic?

Follow:

8 Days to Anise – Days 1 and 2


anise jacket


If I was going by the temperature today, I wouldn’t believe that we’re in the spring season – it’s a balmy 30 degrees this morning.  Ah, such is New England weather, and my fingers are crossed that things warm up in the next few weeks in April (I’m running my first 5K in three weeks!).  I figured now is the time to get over my fear of jacket sewing and jump right in to making an Anise for spring – by the time I’m done, the weather will probably be warm enough to wear it.
I’ve owned the pattern and the fabric for well over a year, and had every intention of sewing this last year, but the time got away from me and when I was ready to sew it, the weather changed and I was in no mood to sew with wool in the heat.  My last few projects have been quick, crank-’em-out garments that I can make in a night or two, and it’s been a long time since I made a project that I can really bite my teeth into and spend a decent amount of time constructing. 
So, I’m calling this project my “8 Days to Anise” challenge – according to the companion book (which has a lot of helpful tips!), this jacket can be broken down into bite-size sewing chunks over the course of eight sewing sessions.  This makes sewing a tailored jacket a lot less intimidating and more manageable!  Let me show you my supplies so far:


Anise fabric

It was hard to get the colors right, but the left is a dark violet/indigo wool (from Metro Textiles), and the left is a lilac poly sateen for the lining (from Fabric Place Basement).  I originally bought a white gold acetate for the lining, but learned from some research online that it’s a weak fabric, should be used on garments that won’t be worn often, and shows water/sweat marks.  No thanks!  I’ll save that fabric for lining skirts.  As much as I really wanted to use silk charmeuse for the lining, I couldn’t justify spending that much money on the lining, and I’m pretty happy with what I found instead.  I preshrunk my wool using the dryer shrink method Sarai explains on the sewalong page, and washed my poly in cold water with some of my other clothes.  This jacket is going to be drycleaned, so I’m not too worried about shrinkage (and I’m notoriously bad about taking my coats to the cleaners).

All that’s left is to find nicer fusible weft interfacing than what I found at Joann’s (not convinced that it’s right for my fabric), and buttons that will coordinate.  Grey’s Fabric has some weft interfacing that I’m going to pick up this week, and the buttons can always wait until I’m finished with the coat – no bound buttonholes for me on this project.

On to the fitting photos!  I’m pretty pleased with how it turned out, but I have a few concerns. There’s quite a few iPhone photos below:


Untitled

The front looks pretty good! Not too tight in the bust and plenty of room in the hips.


Untitled

Further away, full front photo.  Yes, it’s hair up/glasses on on the weekends, hahaha.


Untitled

View from the back, looks good. No extra fabric or bagginess, definitely easy to move in.


Untitled


Untitled

This is where I’m not sure about the fit – the sleeves.  Granted, I did a crappy job inserting the sleeves, there was soooo much ease in the front of the sleeve cap and I didn’t do the greatest job inserting them.  However, it seems like there’s excess fabric at the cap because of the drag lines I’m seeing.  Here’s some other views:


Untitled


Untitled

Lololol bitchy resting face.

See? It’s dragging in the front.  I pinned my shoulder pads in to the muslin as well to see if that would help.  I’m hesitant to make any changes to the cap, and if it’s really because I didn’t distribute the ease properly (it seemed like there was a ton of ease up front and a little in the back, according to how the markings lined up), I may go back and redo the sleeves to see if that changes anything.  When my arms are relaxed, it’s not as apparent.  I’m also going to make a sleeve head when I sew my final garment, so maybe that will help.

Suggestions on the sleeves?  Anyone else run into this when making their Anise?

Follow:

Pattern Review: Circle Top [Papercut Patterns]


wool circle top 5


wool circle top 1

Pattern: Circle Top from Papercut Patterns
Fabric: Merino wool crepe knit from Metro Textiles (thanks, sis!)
Size: XXS

Tank: Old Navy
Jeans: Paige Denim
Boots: London Fog

Hooray, my first finished garment for 2014!  I started this on New Year’s Eve, actually, but couldn’t finish the binding until I got my sewing machine back from the shop – as much as I love my serger, you can’t do everything on it.  I’ve worn it out a few times already and I bought some fabric for another version of this cozy cardi.  I guess that’s a testament to how much I like this!


wool circle top 2

This cardi is massive: it’s basically a giant circle with two holes in the center where the sleeves are inserted.  That’s it!  The pattern envelope claims there’s many different ways you can wear this – I didn’t find that to be the case, but if you’re feeling silly, you can wear it as a hoodie.

My sister picked up this fabric for me from Metro Textiles before she headed to our parent’s house for Christmas – it’s a yummy mauve merino wool knit with a crepe-like texture.  It has a lot of body, and behaves more like a woven than a knit, but it’s warm and I love wrapping it around me while I sit on the couch and watch TV (helloooo Downton Abbey season 4!)


wool circle top 4

The binding was the most time-consuming and fiddly part of making this cardigan.  There’s a lot of circumference to bind!  I decided to opt-out of how the pattern called for sewing the binding and did it my own way, which seemed a lot easier: sew the strip of binding around the cardigan, press it over to the right side of the garment, turn the raw edge under about 5/8″, and edge stitch it down.  It has a thicker look to it, but the way the instructions have you sew the binding seemed way too fussy for my liking and I’m happy with how my binding turned out.


wool circle top 3

This cardigan has a very fluid and casual style to it, and I fought with it the first time I wore it to get it to lay exactly how I wanted it to.  But in the end, it’s best if you just let it do its thing and undulate around you.  I bought a light pink rayon cotton jersey for my next version and I bet it will be even softer and drapier.  A quick, no-stress project!

Follow:

WIP – Owls Sweater


owls1

The Owls sweater has been in my queue since 2008 and honestly, I don’t know why it’s taken me this long to get around to knitting it.  It’s fantastic!  The fact that there are 6,000 Owls projects on Ravelry speaks volumes to the popularity and knit-ability of this sweater – it’s as if as a knitting blogger, I’m obligated to make this sweater!

I splurged and bought this Rowan Cocoon yarn waaaaay back in June when I took a trip out to Webs with the knitting gals.  Ah Rowan, how do you always succeed at making crave-worthy yarn?  I can tell that this merino wool/mohair blend is going to be warm and snuggly to wear, but boy does the fuzz fly when knitting the sweater.  I can see it floating in the air around me and the amount of fibers that stick to me looks as if I had a cat sitting on my lap.

Right now I’m around the underarm and will start the dip for the yoke soon.  I can’t wait to get to those owls and start knitting the cabled yoke.

Follow:

Sideways Cloche

Sideways Cloche

Pattern: Sideways Grande Cloche from Boutique Knits
Yarn: Plymouth Yarn Baby Alpaca Grande, color 1285
Needles: US 10, 9, 8, 7
Size: One size, altered to fit smaller

Sideways Cloche

It’s sad but true: I own very few hand-knitted “cold weather” items.  I guess it’s partially because I tend to gravitate towards bigger challenges like pullovers and cardigans, and I see scarves and hats as kind of boring.  Or, maybe it’s because I haven’t had success in that area of knitting.  I’m not a big fan of hats, and since my head is on the small side (“pin-head”, as my sister would say), I’m usually let down with the finished product since it’s way too big for me to wear.

One thing is for certain though and that is the love I have for this hat.  LOVE IT.  It’s deceptively complicated looking but in actuality a beginner could make this hat.  The construction is straightforward: knit a long ribbed fabric like you would a scarf, pick up some stitches on one of the long sides and knit the crown, sew up the side seam, and then pick up and knit two straps that twist together and connect at the crown to form a faux cable.  Easy!

Sideways Cloche

A word of caution, though – this hat does run large.  Many knitters on Ravelry adjusted the pattern and casted on less stitches than what the pattern calls for.  I followed their advice and casted on 33 stitches so that the length of the hat (which is essentially the width of the fabric piece when you’re knitting) wouldn’t cover up my eyes.  That happens with hats, when you’re a “pin-head.”

Follow: