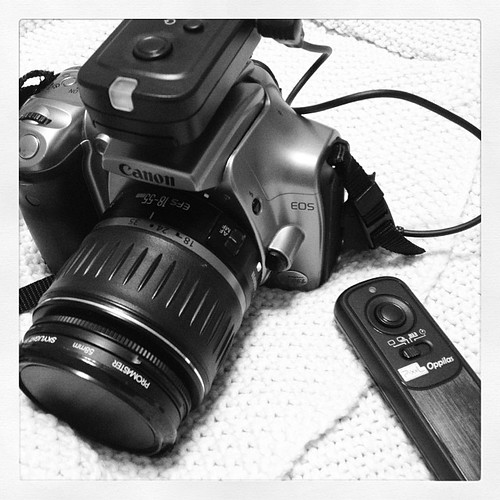
I’m not going to lie: taking good quality photos for the blog is hard. It was especially tough when I had a shaky plastic tripod and had to run back and forth to hit the timer button on my camera. After writing the blog for so long, there’s a few photography tricks I learned that improved the quality of the photos I took, and thought would be worth sharing with readers as well.
1. It doesn’t matter what kind of camera you have
Sure, a DSLR like the one pictured above is great, but it doesn’t mean diddly if you don’t know how to use it. I use my iPhone regularly for blog photos and I used point-and-shoot cameras in the past. In fact, the DSLR camera I currently isn’t even the latest and greatest technology, it’s over 10 years old. However, I read the manual, played around with it, and even took a digital photography class to learn more about it. The bottom line is: if you don’t know how to use your equipment, you’re not going to get great photos.
2. Timing is key for good outdoor lighting
This is something that I still struggle with, but after learning more about how to use light outside, my photos are improved. Taking photos outside around noon is the worst time of day – the sun is directly overhead and casts a harsh light downwards and creates lots of shadows. Instead, try to take photos during the “golden hour” or “magic hour” – it’s the first hour of light after sunrise and the hour before sunset. The sun is low in the sky at this time and produces a soft glow of light that’s less harsh than during peak afternoon time.
3. Change up your shots – try full-body, close-up, and detail shots
Variety is the spice of life, and shooting different types of angles will give more interest to your garment and create the story you want to tell. Are you proud of your top-stitching? Show it off! Think about how the photos you’re taking will help your reader to understand the fit and details of the sewing pattern and garment, and make sure to capture all elements in your photos.
4. Use photo-editing software
I live and breathe by Photoshop, and now it’s even more accessable as a monthly subscription to the Adobe Creative Cloud (only $10/mo). I use Photoshop to tweak the color balance and exposure of my photos, and sometimes I need to do more advanced stuff like erase a sign or a person from the background of my images. There’s other options, like Picmonkey and Flickr, that can do some basic photo adjustments and give pretty good results. Regardless of what you choose, adjusting photos post-shoot really elevates the look and feel of your photography and makes them look more professional.
Those are some of the most important principals I always keeps in mind when I head outside to shoot for the blog, and I hope you find them useful as well.
Ooh, how exciting! I'm curious to find out more about your course when it's ready. I'm really enjoying figure out more about taking good (reliable) photos, so I'd love to hear your tips too! 🙂
Thanks Gillian! Should I add you to the email list?
I already added my name. 🙂