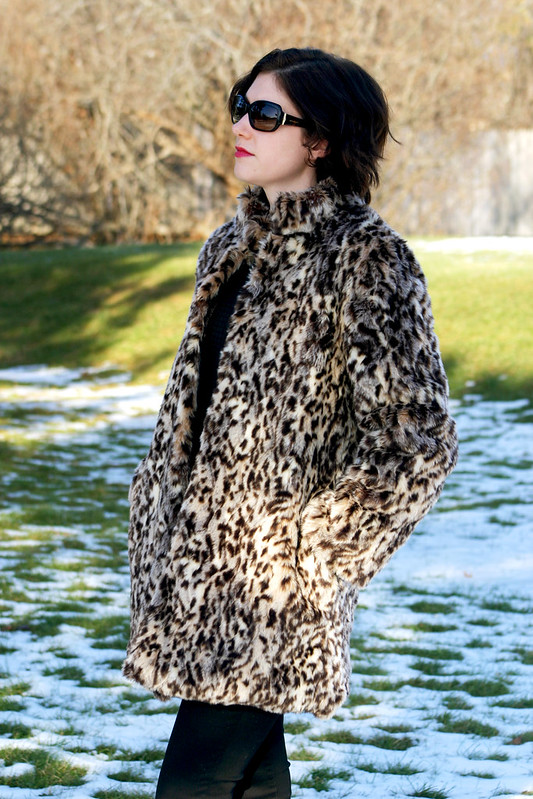
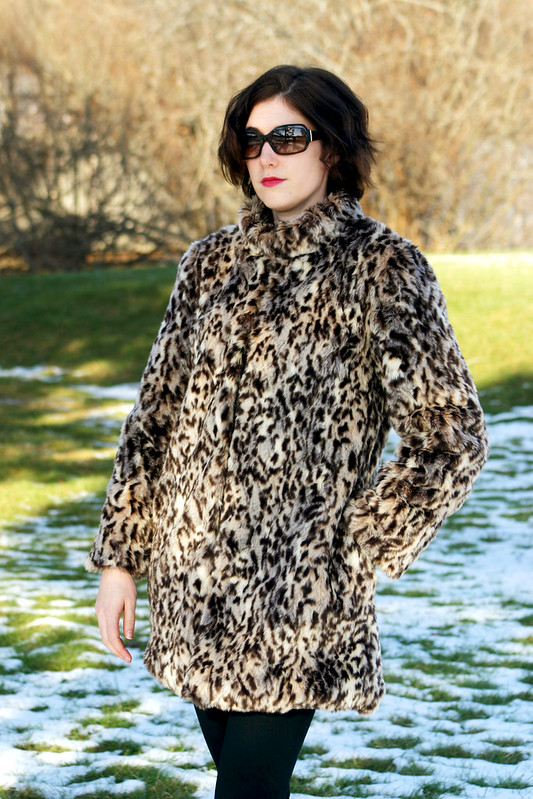
This is my dream coat – I always wanted a leopard fur coat! They remind me of old Hollywood actresses like Jean Harlow, and it adds a certain kind of glamour and swankiness to any outfit…even with my jeans and sneakers. When I got an email alert from Mood that this leopard faux fur, which I wanted for over a year, was back in stock, I immediately snatched it up and started planning the type of coat I wanted to make.

There aren’t a lot of faux fur coat patterns out there right now, and I dug around online to find some vintage (aka 80’s) pattern inspiration. I ended up using McCall’s 7257, which was in my stash, but wanted to add a collar to the neckline based on an older pattern I found – it just felt like it was missing from this coat pattern. Drafting the collar wasn’t hard, it’s pretty much a rectangle folded in half and attached to the neckline, but I used my pattern drafting book to make sure I took the neckline measurements correctly when drafting the collar and marking notches.

The pattern itself isn’t hard, but this being my first time working with faux fur, I took my time and used some different techniques to work with the fur. For starters, all pieces were traced onto the wrong side of the fur, a knitted backing, with a sharpie and cut in a single layer. However, you can’t cut into faux fur like you would any other fabric, otherwise the fur will look like it got a really blunt haircut. Instead, you make tiny snips through just the knitted backing, which gives the fur an angled look, and these longer lengths of fur will make it easier to disguise the seam line after you sew. If you’re working with faux fur, make sure you have a vacuum with a nozzle attachment handy! After cutting out each piece, I vaccumed any loose fur on my cutting mat and carefully went around all of the edges of my cut piece, sucking up anything else that came loose during the cutting process. It didn’t 100% prevent fur from flying around while I made my coat, but it definitely cut down on the mess, and my husband was appreciative that our bedroom didn’t look like a muppet crime scene as I worked on the coat.
I used a walking foot as I sewed the entire coat; since the backing fabric is knit, there’s a tendency for faux fur to stretch, and the walking foot prevented that. I also used Clover Wonder Clips for holding the seam allowances together because the fabric was so bulky and they were easier to use than pins. As I sewed, using a long zig-zag stitch, an awl came in handy to poke the loose bits of fur back into the seam allowances. Then, I used the awl once the seams were sewn to free the bits of looped fur ends stuck in the seam allowances (I also read that a comb is useful for this as well if you don’t have an awl). Some people trim the seam allowances down to a 1/4″ before they sew or shave the fur from the seam allowances, but I opted to forgo those techniques and instead trimmed the seam allowances down after sewing and finger-pressed everything open. That’s pretty much how everything was constructed!

My only sticking-point with this coat is the size of the pockets, I wish I thought to make them bigger. They’re comfortable for just a hand, but when I put my iPhone 6 in the pocket, it’s on the verge of being too small and almost sticks out of the pocket. On top of that, the pockets feel like they’re set back so far because this is an oversized coat, so I have moments of panic where I can’t tell if my phone is still in my pocket or not. In the future, I need to check pocket sizes on coats and re-draft if necessary.
For the finishing touches, I added five brown coat hooks placed exactly as the pattern describes: one at the neck and then each subsequently placed 5″ apart. If you’re using coat hooks, which are pretty large, make sure to tack down the end of the hook close to the bend and on either side of the loop part of the eye. Otherwise, your hook will pull away from the front of the coat and when the coat is worn, it will pull and the lining will be exposed. If you tack down the hook and eye in this way, the coat will stay neatly shut.
I also hemmed the coat by hand at the bottom instead of by machine, which is what the pattern recommends, since the fabric was a little wonky and stretched out. I believe I took the hem up about 1.5″.
This coat is super warm, too! The faux fur is dense to begin with, which helps, but I lined it with a brown flannel-back satin lining and interlined it with lambswool to make certain that I could wear this in cold winter weather. On a recent 20 degree day in Boston, I was toasty-warm waiting for the train!
Fabric: faux fur – Mood; satin coat lining – Britex; lambswool – Steinlauf and Stoller