I think I’ve finally conquered buttonholes. Well…at least opening them nicely. I may not have an automatic buttonhole stitch feature on my sewing machine, like on my mom’s Bernina Virtuoso (definitely looking for that when I upgrade machines), but I can get a clean, professional opening with a couple of simple tools. I wrote awhile ago about some of my favorite sewing accessories and included a buttonhole cutter in the roundup; it really is a great tool to have.
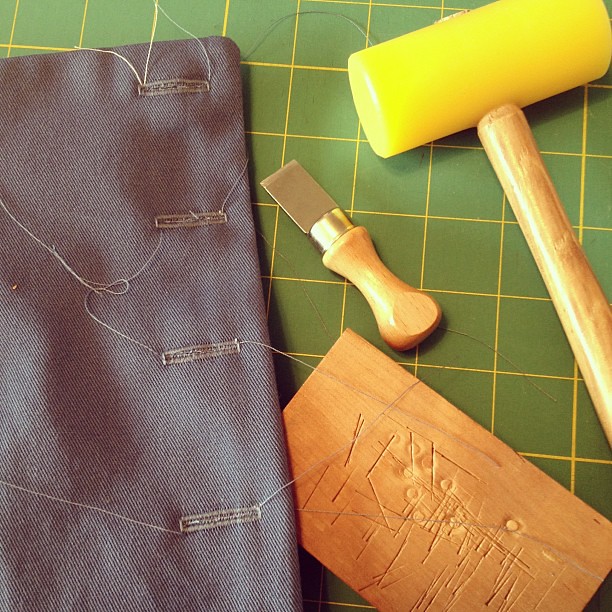
What makes a difference is using a block of wood and a mallet/hammer to really drive the cutter through the fabric. Before, I was using the little cutting mat that comes with the set and wiggling the cutter back and forth through the layers of fabric. The results were ok, but I still had to use my seam ripper to open the holes a bit. Watch this quick six-second clip to see how I open my buttonholes now:
See how easy? Just place the wooden block under your fabric, insert the button hole cutter in-between the stitching, and give it a couple of wacks with your mallet – open buttonhole perfection
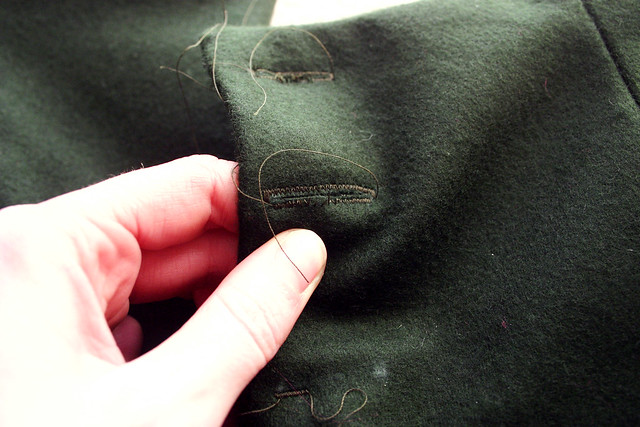
After opening up the buttonhole, I snip some of the loose fibers with some sharp scissors and finish the buttonhole edges with clear nail polish, a little trick I learned from my mom. It dries clear and doesn’t discolor fabric like Fray Check can, plus it doesn’t wash out.

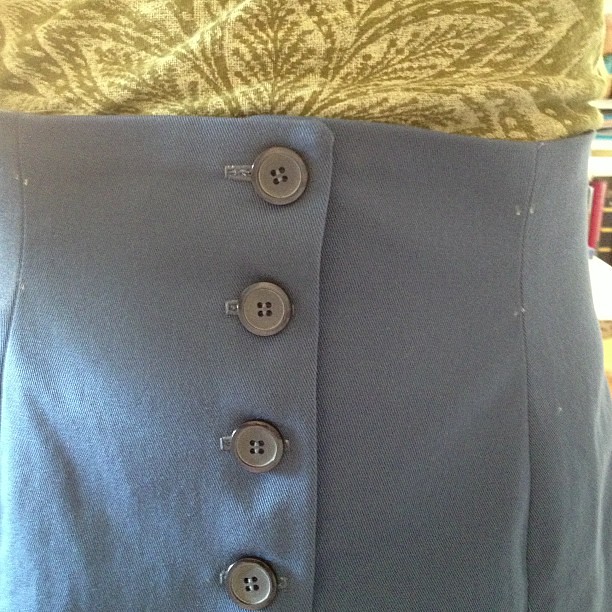
I’m quite happy with how my buttonholes turned out on a successful second version of my Beignet skirt!

