Pattern Review: Coppelia Cardigan [Papercut Patterns]


coppelia5

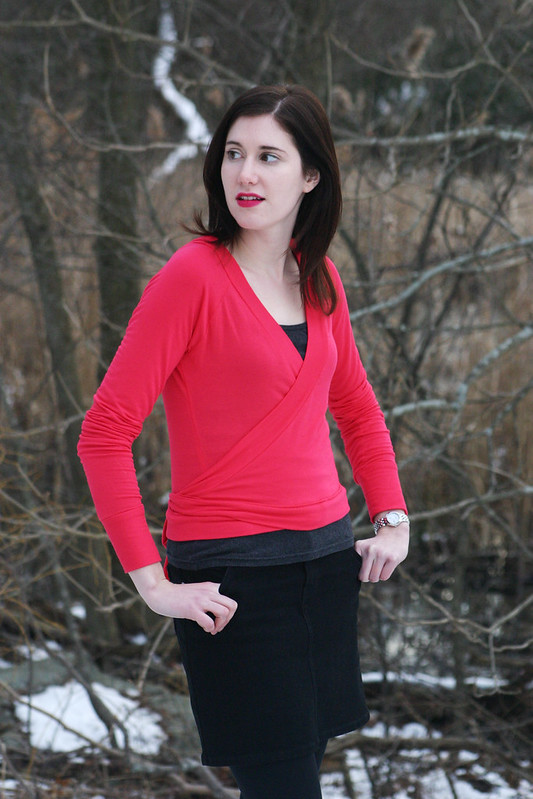
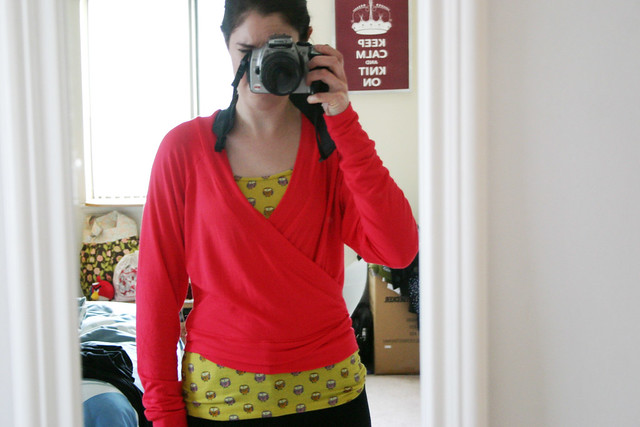
Doing my best ballerina pose


coppelia2

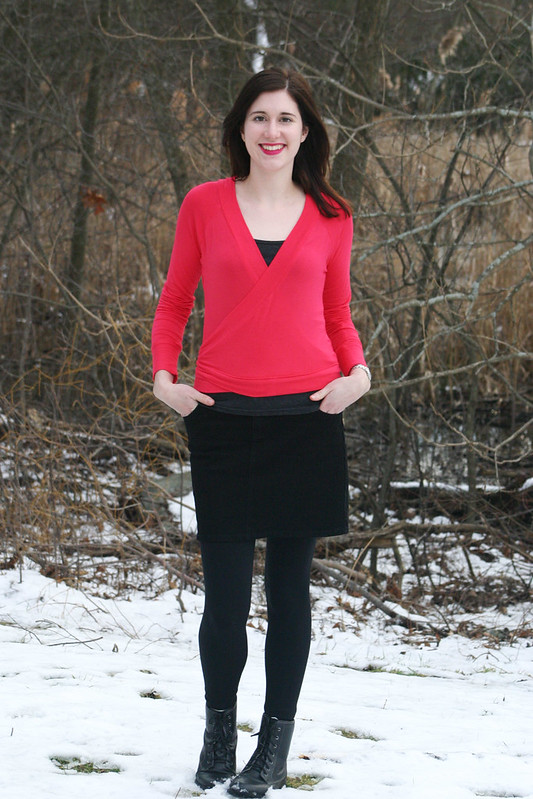
Pattern: Coppelia Cardigan from Papercut Patterns
Fabric: Rayon jersey from Metro Textile in NYC
Size: XS with modifications

Tank: Old Navy
Skirt: Tommy Hilfiger

Leggings: Guess
Boots: Sporto
Lipstick: NARS Funny Face

Lauren beat me to it, but here’s my rendition of the fabulous Coppelia Cardi by Papercut Patterns.  For those of you not familiar with Papercut Patterns, it’s an indie sewing pattern line based out of New Zealand.  The designs are fresh and modern without being too trendy – a lot of the patterns remind me of pieces I covet in the upscale boutiques on Newbury Street in Boston.  I can see these patterns getting a lot of rotation in my closet since they’re great wardrobe staples and beyond.

As a side note, when I asked my boyfriend to take pictures of my new cardi, he was confused because he thought I bought this.  Yesss, mission accomplished!


coppelia3

Explained in a post earlier this week, I needed to make some size modifications after I finished the cardigan and tried it on for fit.  It didn’t fit anywhere as closely as I wanted it to, even though I was making an XS, and I ended up shaving off about two inches from the raglan length and tapered in the sleeve and side seams quite a bit.  I could have shortened the sleeves as well since they’re on the long side, but I don’t mind the pushed-up sleeve look.  Plus, they keep my hands warm!  Lauren mentioned that she took out an inch in the width of the back piece of her cardigan, and I definitely think I could have benefited from doing that alteration as well since I have a small back.  For future cardis, since I have a nice white jersey that would be perfect for this pattern, I’ll cut out the XXS and go from there with any pattern alterations.

coppelia4

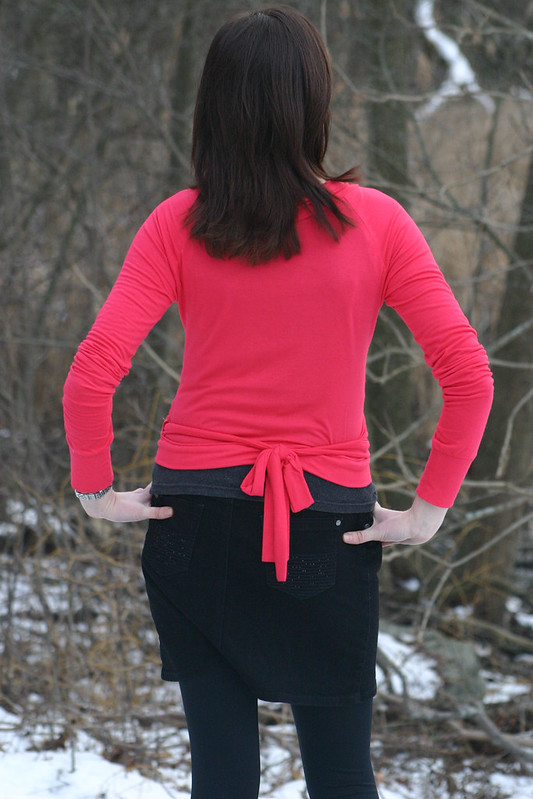
My favorite way to tie this cardigan shut is by wrapping the ties around the back, like how the model is wearing it on the Papercut Patterns website.  I don’t know why it’s so hard for me to understand how to tie wrap tops/dresses/anything, but this was the only way I could get the cardigan to look ok.  I don’t really notice the knot in the back when I sit down either, which is a plus.

coppelia1

The pattern was easy to sew together even though the fabric I worked with was fluid and didn’t have a lot of body.  I stumbled at the hem facing section of the instructions because a) I was tired and b) logic was not on my side at the time, so if it wasn’t for those two factors, I could have finished this project in an afternoon.

All in all, get this pattern!  It’s definitely a “cake” piece and will get lots of wear in your closet with dresses, skirts, and jeans.
Follow:

Why I Love Sewing With Knits


coppelia2

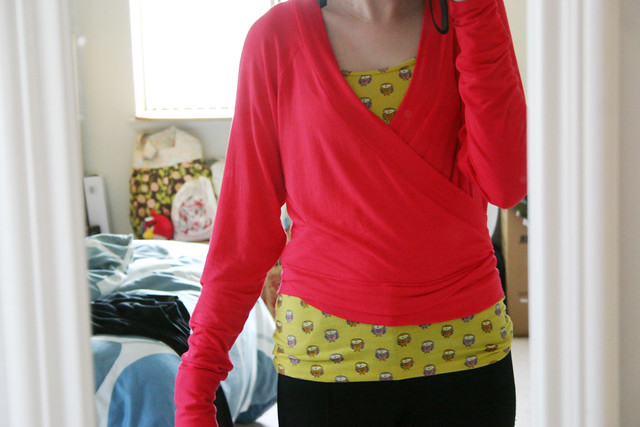
This is my finished Coppelia.  I was disappointed with the fit when I first tried the ballet cardigan on – look at how baggy it is!!  I cut out an XS, which matched my waist and hip measurement and had a slightly bigger bust measurement, but never expected the ease to be so dramatic.  If I wanted a loose, casual fit I wouldn’t mind how this turned out, but I was picturing a fit more like on the model.  I want to wear this over cute dresses this spring.


coppelia

Here’s another view with my arm down.  Look at the pooling of fabric at the underarm!  There’s a lot of excess going on here because the raglan depth is too large.

So what’s a girl to do?  Whip out her french curve and flexible ruler, roll up her sleeves, and get down to business.


coppelia3

I tried the cardi on inside out and pinned the left sleeve and side to how I wanted it to fit.  After I took the cardi off, I marked with a chalk pencil where I placed the pins and used my curved ruler to “connect the dots” and smooth out the new sewing line.  After trying it on after sewing, to make sure I got the fit right on the left side, I used my flexible ruler and shaped it to mimic the new stitching line.  Then, I lined up the shaped ruler on the opposite side of my cardigan.  A little tracing, some more stitching, and boom – I took out all the excess fabric and got the fit I wanted.  It was a good two inches I took out of the underarm, can you believe it?

And that’s why I love sewing with knits – I don’t think I could have done a fit adjustment this easily with a woven garment.  Can you imagine correcting the armscye?  Not to say it’s impossible to do, but correcting ease is much simpler in a knit garment. The stretch nature of knit fabric is so forgiving and it’s easy to get the fit just right.

I’m sitting on my couch wearing my new cardi as I type this post.  I can’t wait to share pictures of the finished garment!

Follow:

My New Sewing “Studio”


sewing room 1


sewing room 2

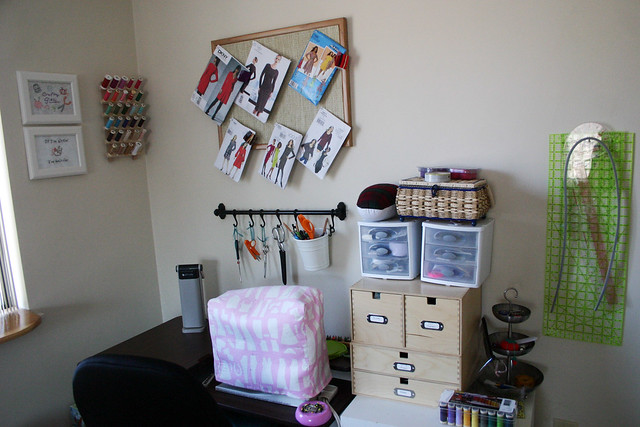
My sewing “studio” in my apartment (where I’ve been living for six months now, wow!) consists of one side of my bedroom – an upgrade from my previous sewing space in the city.  I have a lot of great light during the day and I can set up my ironing board behind my sewing chair so I can literally swivel around and press a seam quickly.

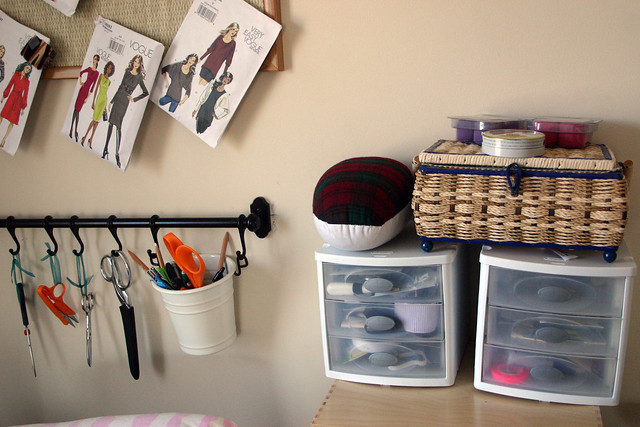
A lot of my setup is the same as in the city, except that I have a lot more room to move around and store my fabric stash and tools – an organizational project I need to get to.  I added a handy tool rack above my sewing machine, inspired by the setup at the Colette Pattern headquarters (shhh it’s mounted crookedly!).  Now it’s so easy to grab my snips or seam gauge when I need it.

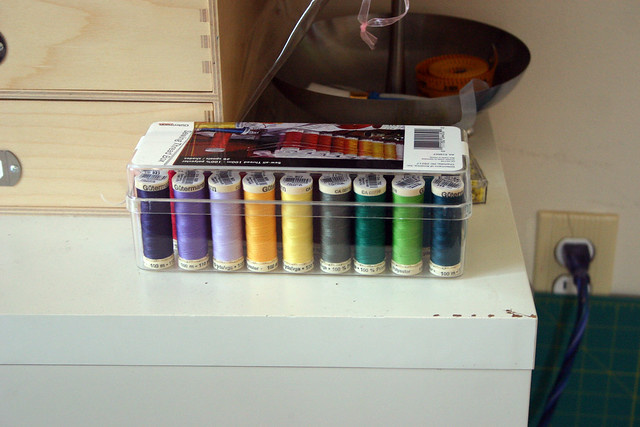
I do have to share an awesome gift Chris’ mom gave me for Christmas:


sewing room 3

OMG ahhhhh Gutermann thread!!!  In a rainbow of colors!!  In an awesome organizer!!!  Thanks so much, Carole, it rocks 🙂


coppelia

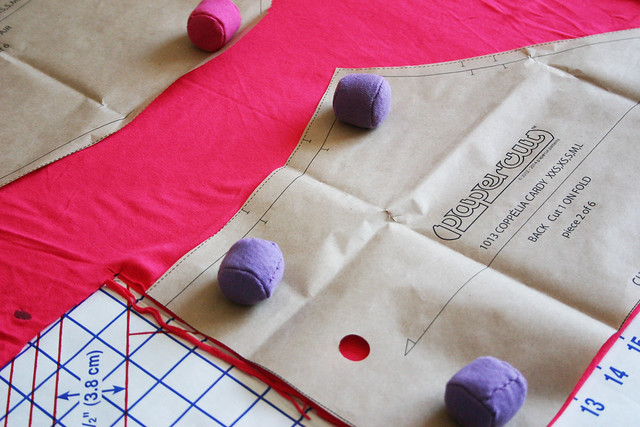
You’re looking at the first garment I’m making for 2013 – the Coppelia Cardi from Papercut Patterns.  I had some soft rayon jersey hanging out in my stash, waiting to be made into a shirt or something (hello, Renfrew), but I think this will be much more useful and fun.  My only concern is that I tried it on after I stitched the sleeve and side seams and it’s kinda big…and I’m making a XS and it’s fitting nothing like Lauren’s Coppelia, which is a XS as well.  So, I’m thinking that this will be a wearable muslin and I’ll make changes for my next version. I should be all finished by Sunday, yay!

Have you made anything so far this year?  I feel like I’m behind the 8-ball seeing what all of my favorite sewing bloggers are churning out!  Once I get inventory out of the way this week…

Follow:

On The Needles: Knit Night Cardigan

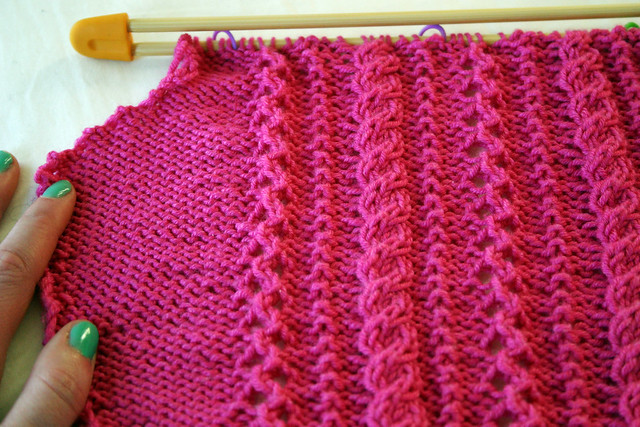
whole wheat WIP

I love my Wednesday night knitting group.  We’ve been meeting at our local Panera Bread every week since last August and I’ve gotta say, it’s a great group of girls.  Some of us are new to knitting, have been knitting for years, work in super smart science/tech jobs, but we all share a love for the craft and gathering to trade ideas and get inspiration.  Forming this group initially on Meetup.org is one of the best things I’ve done since moving to the city – I’m so glad we all met!

I’m calling this cardigan my “Knit Night Cardigan” since the yarn I’m using for this project was purchased at a LYS using a gift card that the girls chipped in and gave me as a thank you for starting the group – they’re the sweetest!  (Funny enough, the LYS is across the street from where we meet and they have a knitting group that meets every Wednesday as well.  And there’s a bookstore in the shopping center where we meet that has a Wednesday night knitting group.  Wednesday is a knitting night I guess!)  I’m using Sublime Yarns Baby Cashmere Merino Silk DK, which has such a nice feel and stitch definition, but it’s a little on the splitty side if you’re not careful and paying attention to your knitting.

I’m really enjoying the knitting on this project, which is originally called the Whole Wheat Cardigan by Alexandra Charlotte Dafoe.  It’s not mind-numbing stockinette and it’s not overly complicated that I can’t talk while I’m working on it.  The above picture is my progress so far on the back, but I’m actually further along than what you can see above.  I’m right at where the neck shaping takes place, and then it’s time to bind off and start the fronts.

And yes, this really is a shockingly loud pink yarn.  Perfect for all of those black and white dresses and tops I’ve been sewing!

Follow:

Leaflet

Leaflet

Pattern: Leaflet by Cecily Glowik MacDonald

Yarn: Osprey by Quince and Co. in Nasturtium
Needles: US 11 circs 
Size: Small

Leaflet

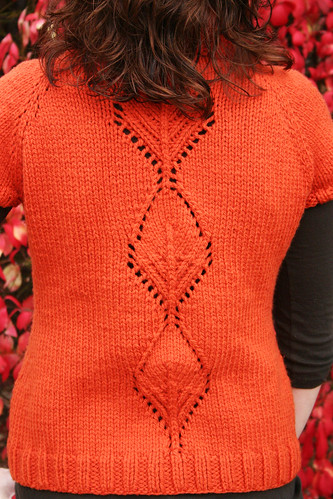
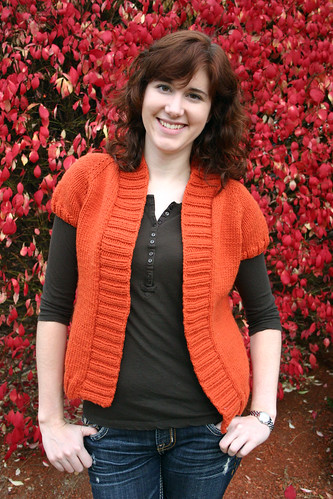
Last week we felt our first really “cold” day of autumn in Boston, which reminded me that I needed to block this sweater and wear it before it’s no longer in season.  I love how this sweater turned out – it’s the perfect fall color, the short sleeves make it a great layering piece, and the leaf pattern on the back is a nice surprise.

I had some trouble starting this sweater, as I wrote about here, due to my initial yarn selection.  But once I got over the hump, the sweater flew off my needles and was a quick knit.  I probably would have posted this sweater earlier but I was just too darn lazy to pick up the stitches around the neck and knit the ribbing.  So it sat in my knitting basket, waiting, until one of the girls in my knitting group asked me how my sweater was coming along and wanted to see it the following week at our knitting night.  It was some good motivation to get me to pick up all of those stitches around the neck, which I dreaded doing.

Leaflet

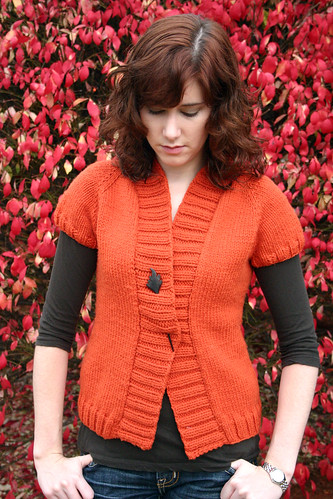
The other nice thing about this cardigan is that there’s no buttons or buttonholes, hooray!  Sometimes that can really ruin the look of the ribbing band around the front of a cardigan.  I picked up a cute shawl pin at Webs  in Northampton, MA that had a leaf decoration at the top, which seemed apropos for the sweater I was intending to use it for.  Even more versatility with this sweater – easy to wear it open or closed.

Follow: