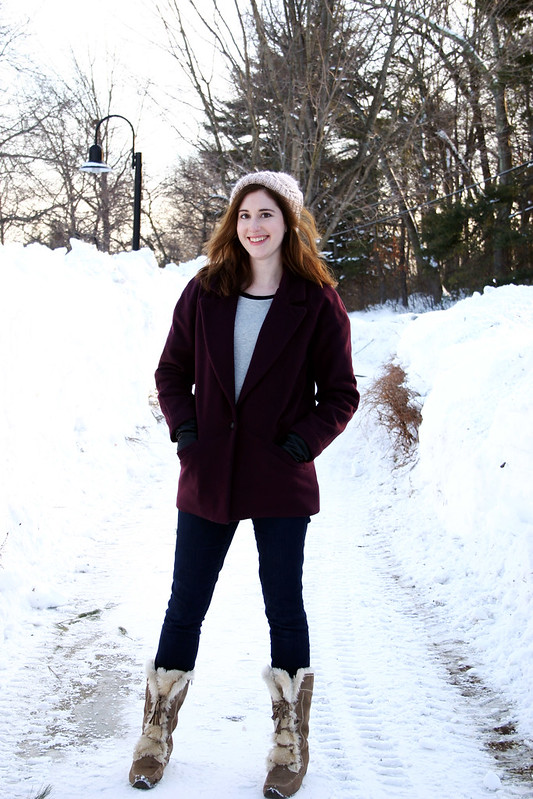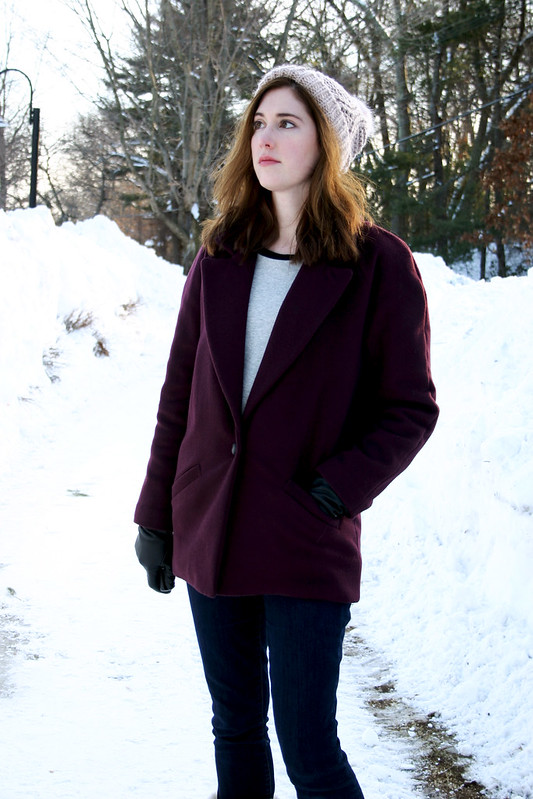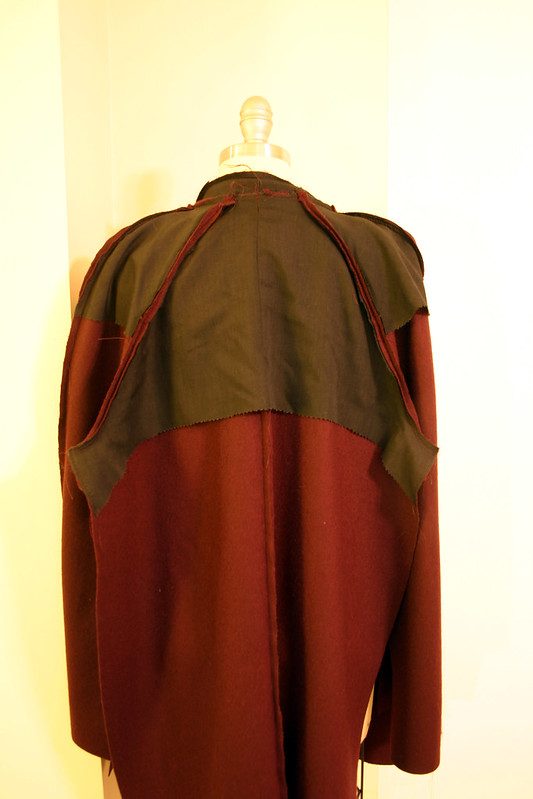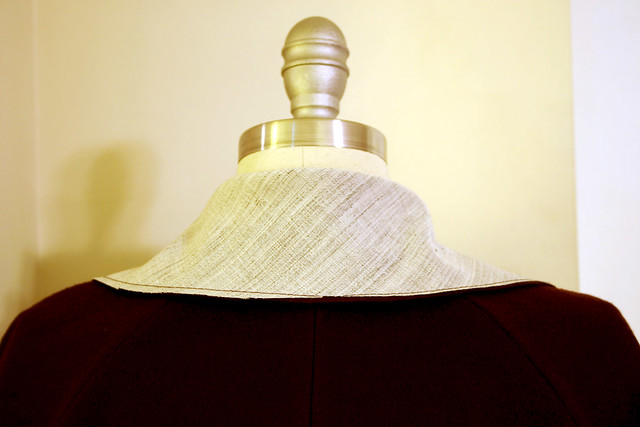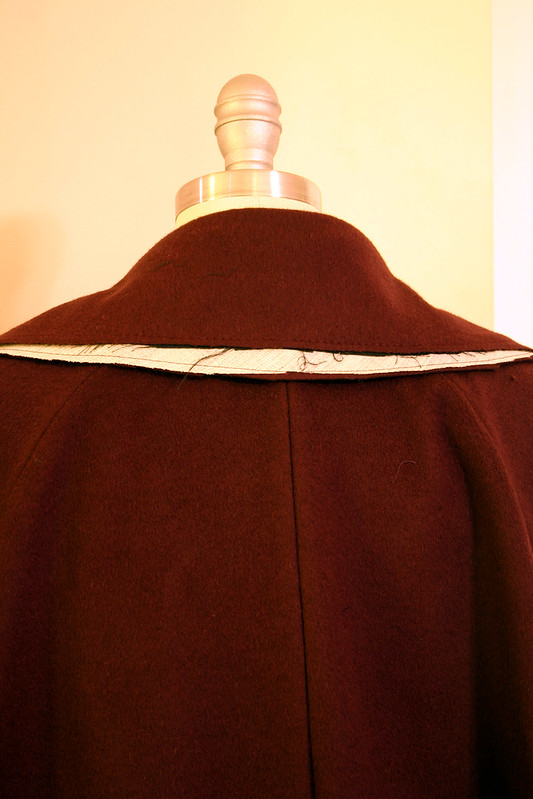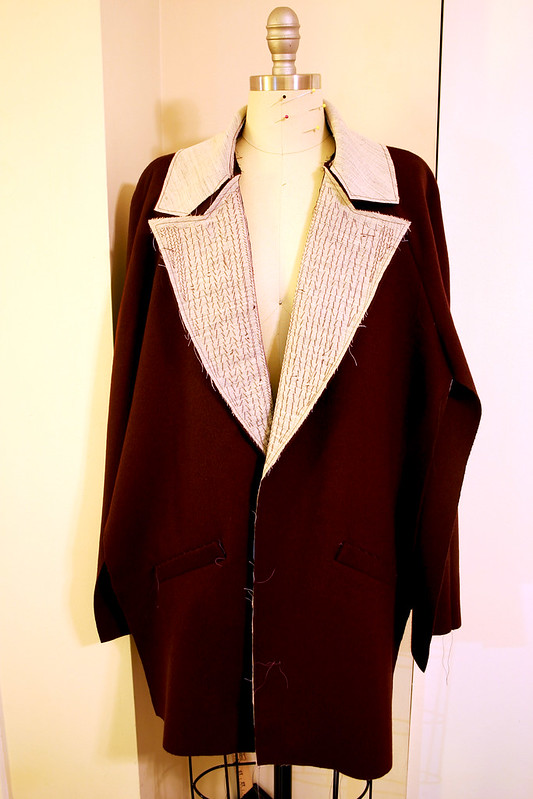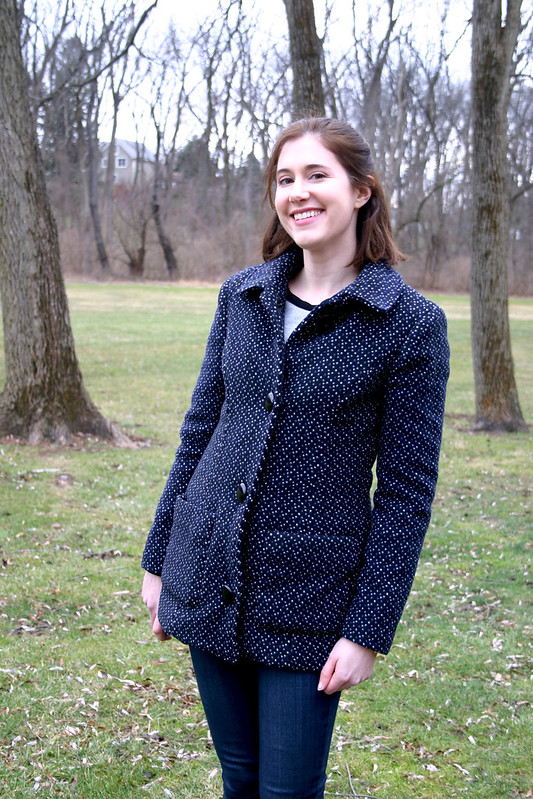
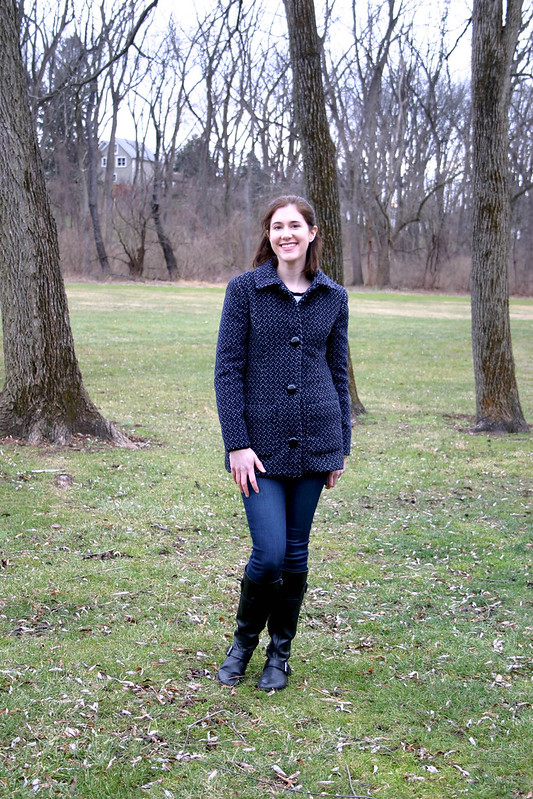
It only seems fitting that I post about a coat that I started, well, a year ago, on the first day of the new year! Last year, I had an idea to create a course on how to make coats and this was the coat pattern I was going to use as my example through the course. I cut this pattern out in January, but by the beginning of February, I began panicking because I hadn’t started the sewing on my wedding dress. So, I put aside the pattern pieces and the idea of making a course, and worked on my wedding dress up until May. With my first semester of grad school winding down earlier in December, I needed something new to work on. Well, I dug this out of my closet and got right to sewing everything – all of the pieces were cut out, interfaced, and interlined!
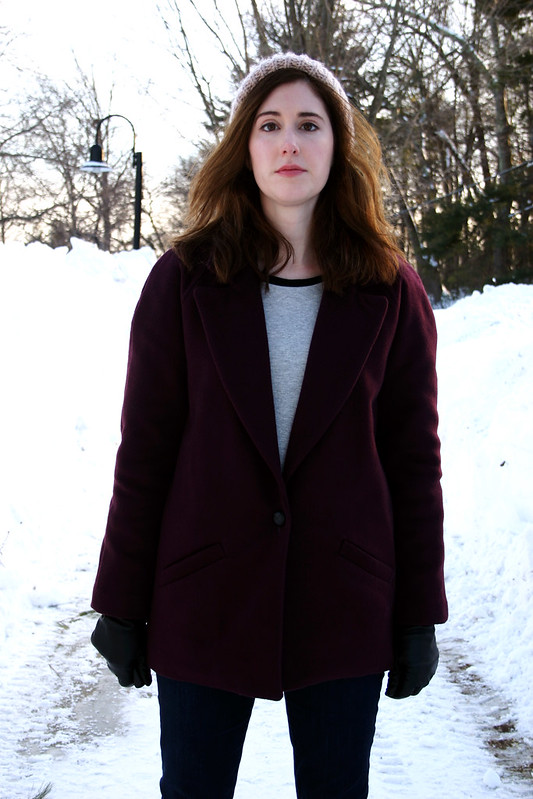
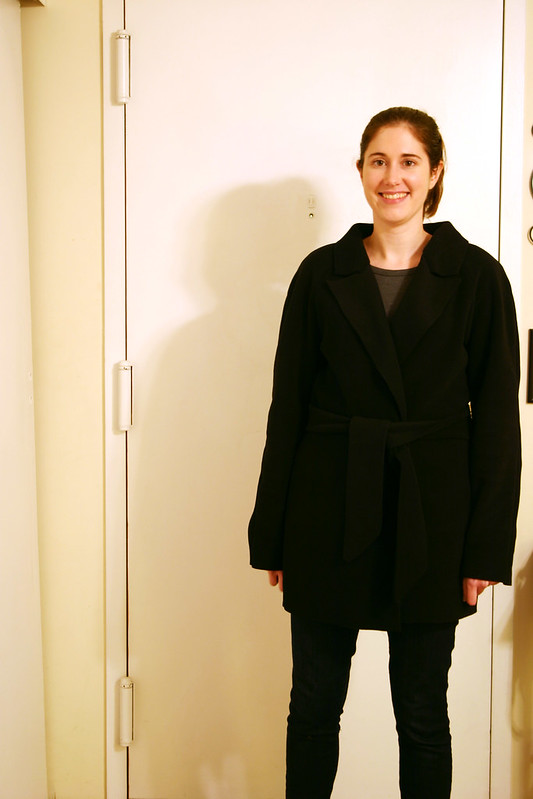
I had a close call with this almost not fitting and turing into a disaster. Like, it barely met in the center when I tried everything on with the lining installed! I made a muslin previously and made some adjustments to the fit in the hips since McCall’s describes this coat as fitted and it was a little snug on me. Heck, when you look at the model wearing this coat on the McCall’s website, it’s pretty tight on her! Even when I tried on the wool shell of the coat, it fit. I believe what caused the issue was that I didn’t think that the lambswool interlining I added was going to take away that much ease since it seemed so thin. Plus, I used a double-face wool that was a bit thick. After assembling everything, this is how my coat fit:
Eeeek!! To fix this, I ripped out all of the seams up to just below the armholes in the wool and lining and restitched all seams with a 3/8″ seam allowance. This gave back about three inches around the circumference of the coat, which allowed me to properly close it. Whew! I also intentionally tried to fit this coat wearing something a little bulky like a sweatshirt since I always wear something like that in the wintertime, not a thin t shirt. That ensured that the fit of the coat would accommodate at least some layers underneath.
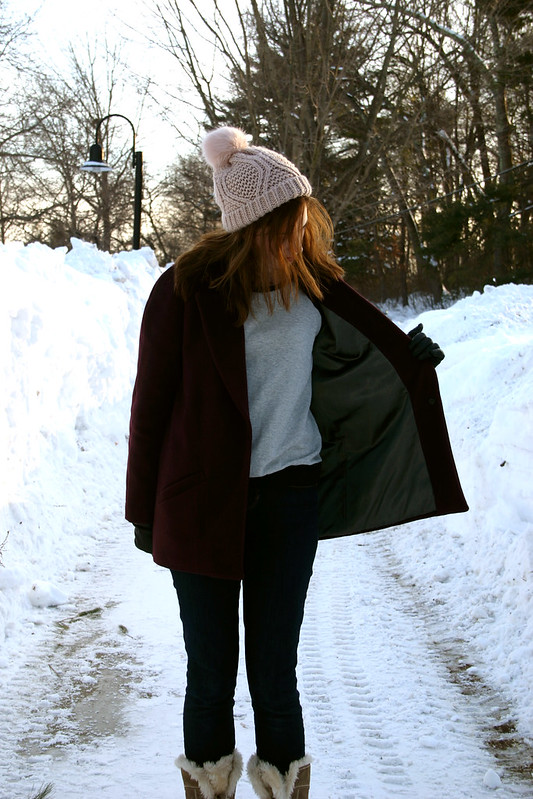
I mentioned earlier that I interlined this with lambswool – it’s good stuff! I bought it from Steinlauf and Stoller over the phone – all I did was call them up, tell them what I was looking for, and I received it in the mail from NYC in a few days. They’re great to work with if you need to order tailoring supplies like hymo that aren’t readily available locally. The lambswool interlining is attached to the all of the lining pieces except the sleeves, and let me tell you, it really makes this coat warm and doesn’t weigh anything.
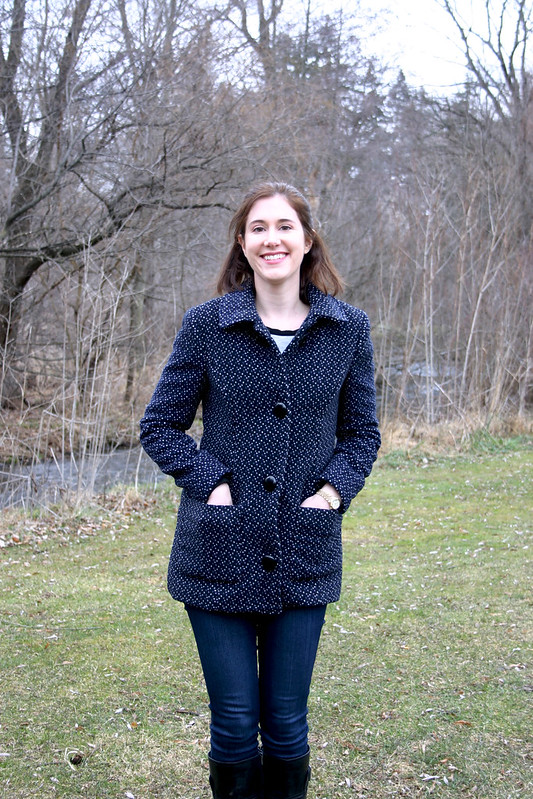
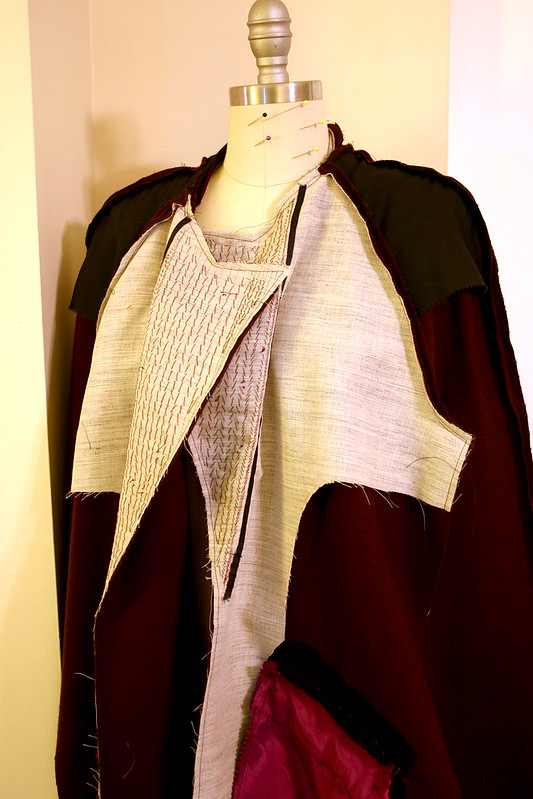
Because the coat is so fitted, I changed the type of pockets. The in-seam pockets at the side seams did me no favors and bulged open at the hips. Instead, I took a patch pocket pattern from McCall’s 6172 (a blazer I still need to make!) and spent quite a bit of time with my dress form trying to figure out a good placement on the front and making both sides symmetrical. It’s a great patch pocket size for a coat, I can fit my iPhone 6 in them comfortably. The pockets are lined with flannel to keep my hands nice and toasty.
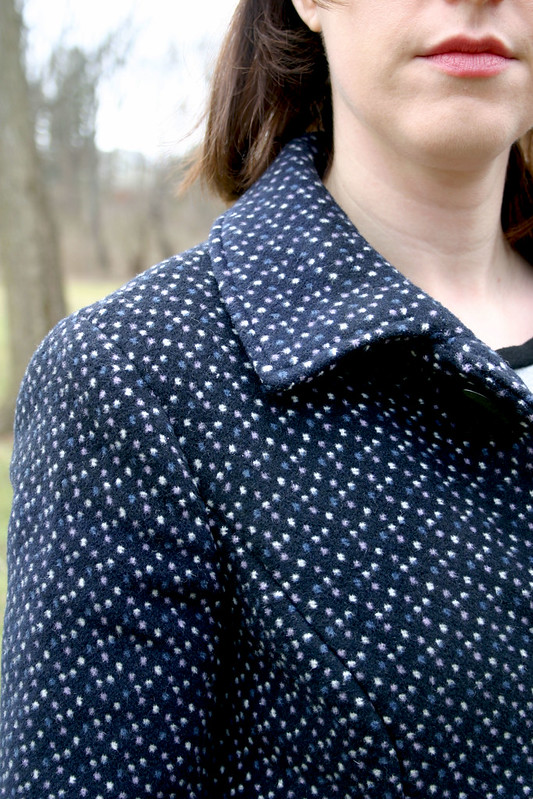
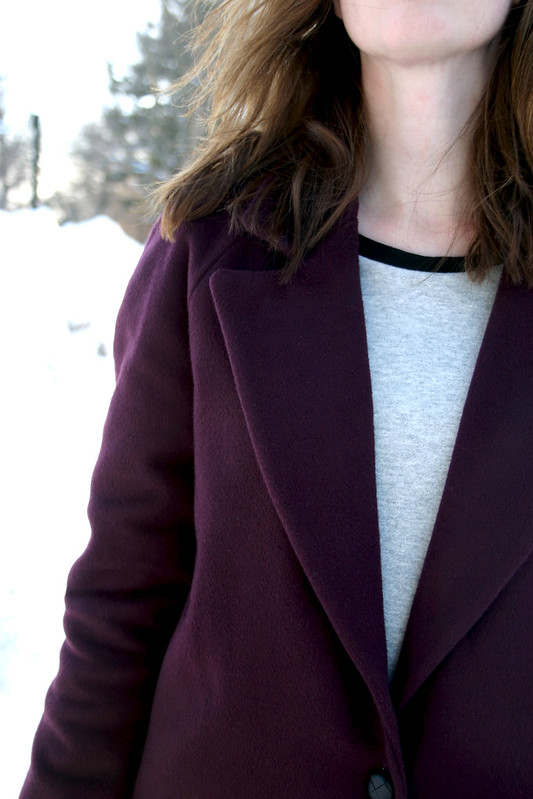
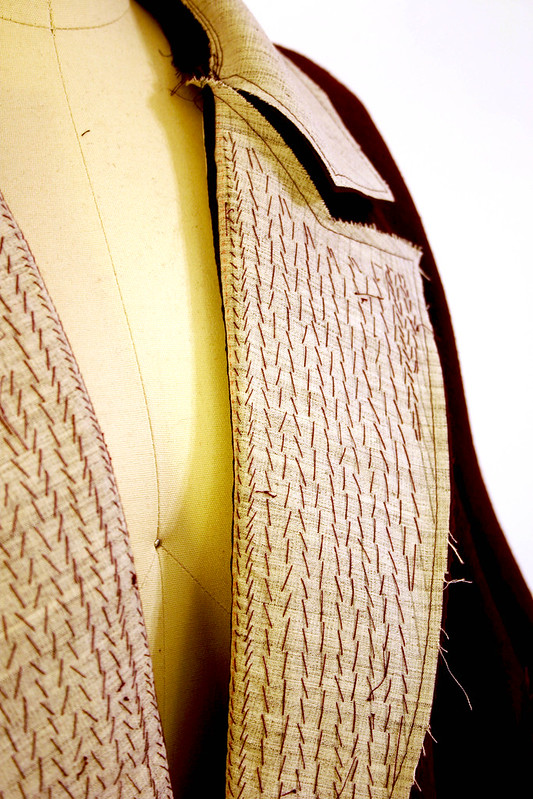
I used hymo interfacing (aka horsehair canvas) for all of the interfacing in the coat, it’s really my favorite for coat making since it shapes so nicely with steam. Per the recommendation of my beloved tailoring book, I opted to add top stitching along the collar and the front edges of the coat instead of top stitching down the center front of the coat like the directions called for. I also opted to hand sew all of the hems on the sleeves and bottom of the coat, it looks much nicer that way than by machine.
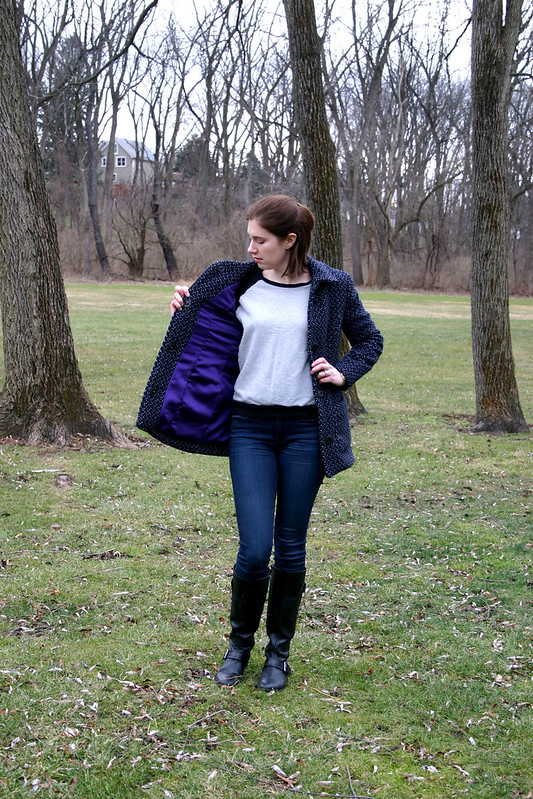
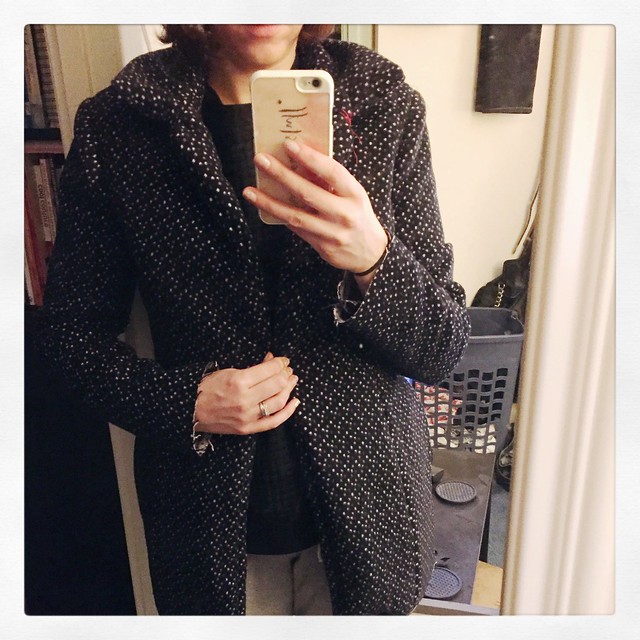
Sadly, when ripping out all of the stitching in the lining to let it out, I got all sorts of pulls along the old seam allowances. At least it’s a fun purple color! The pattern has a pleat drafted into the lining pattern piece, but in my opinion, it’s not generous enough of a pleat to allow for movement of the lining and wearing ease. If I made this again, I’d go back and redraft the center back piece with a better ease pleat.
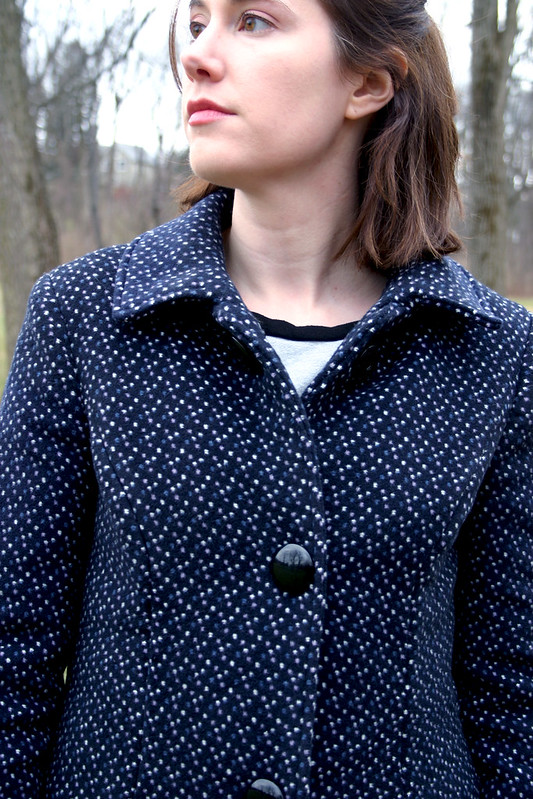
How I love big buttons! The pattern calls for 1″ buttons, but the ones I bought seemed kinda weeny down the front of the coat, especially since there’s only supposed to be four total. I found these 1.5″ buttons at Pacific Trimming earlier in December that were exactly what I was looking for for this coat. However, my automatic buttonhole feature on my machine only goes up to roughly 1.25″ buttonholes, and I wasn’t about to try and manually make the buttonholes (I’m truly terrible at doing that, and the automatic buttonhole feature on my Bernina was a big selling point). Plus, after doing some reading on buttonholes, the bigger the buttonhole, the more prone they are to stretching out and looking wavy. The only solution seemed to be sewing on giant coat snaps to close the coat and sewing the buttons to the outside of the coat.
I mentioned earlier that this coat is more of a “coat-igan” than a coat because since it’s so tight, the snaps at the bottom pop open when I sit down in the car or bend over to pick something up, rendering this more of a super-warm cardigan. I think if I made buttonholes, there would have been a lot more strain on the coat closure and seat, so at least the snaps allow the coat some ease even though it means my coat popping open at the bottom.
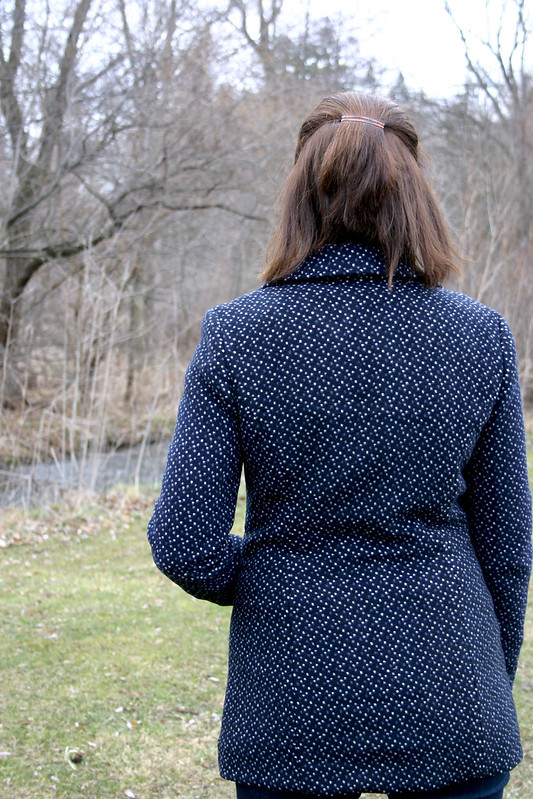
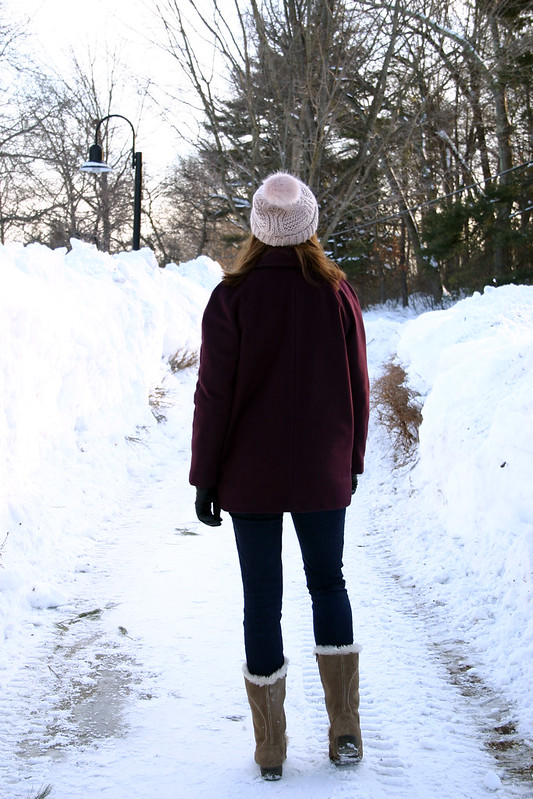
Here’s a view of the back – it’s a little roomy in the back waist, but if you look at the photos on the McCall’s website, it looks like there’s some ease with the way the belt cinches in at the waist (I opted to not make a belt, obvs). I can move ok through the back and shoulders of this coat, but if I was to make this again, I’d cut a larger size in the back to allow for better range of movement.
Now I’m working on – surprise – another coat! I’m about 50% of the way through making up a blue wool melton Cascade Duffle Coat and I’m thrilled with how it’s turning out (I’m obsessed with coats, if you haven’t guessed. It’s the one good thing about New England winters). I also have some videos I made for my coat course last year that I’m thinking of releasing in chunks throughout the month – I want to get back into making videos for Youtube like I did last year for my wedding dress, they were a lot of fun! Maybe doing some pattern reviews and actually wearing the garment so you can see how it moves etc. Depends on how crazy I am next semester with school, I guess!
Pattern: McCall’s 7058
Fabric:
Marc Jacobs double-face wool from Mood Fabrics
Poly lining from Mood Fabrics
Lambswool interlining from Steinlauf and Stoller
Buttons: Pacific Trimming
Coat Snaps: Dritz
Sweatshirt: Linden from Grainline Studio (not blogged)
Jeans: Paige Denim
Boots: Nine West
