Gnome Love


Untitled

Wow, it’s October already?  Dang…I have some catching-up to do!  September was mostly a blur of travel for work but there were definitely some fun points, like the sewing weekend I spent with Karissa!  We had a girl’s night of fabric shopping, pizza and beer, and hand sewing while watching Heathers, followed by the next day of more fabric shopping and lunch at a cute French bistro.

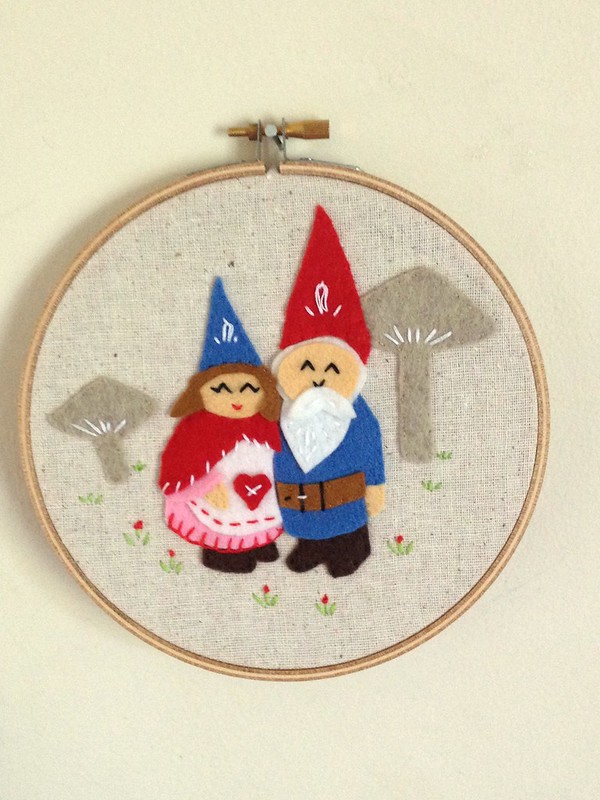
Surprisngly, during National Sewing Month, the only real sewing I did was for this adorable little sewing kit:


Untitled

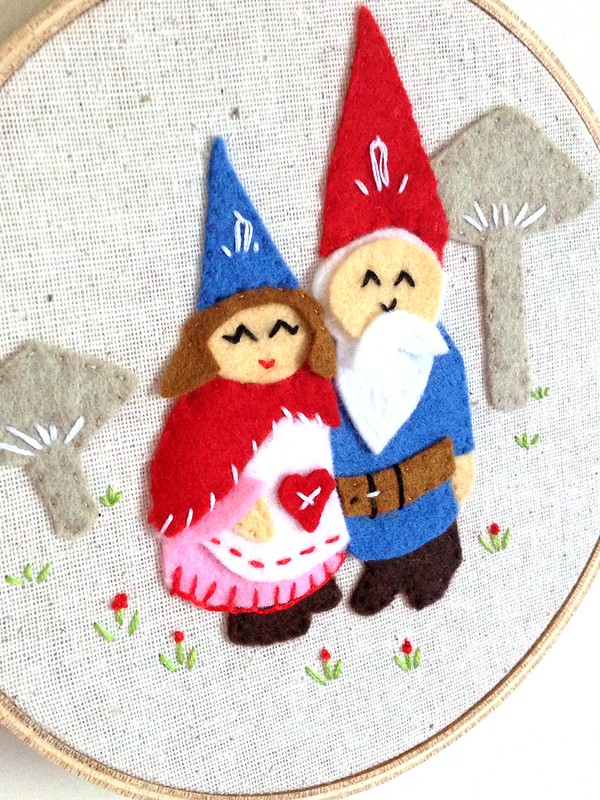
The above is a felt applique kit I found at our trip to Quilter’s Way in Acton, MA – isn’t it too cute?!  It reminds me of the 80’s kid’s cartoon David the Gnome, which I loved, and yes I have some episodes downloaded on my laptop, duh.  This was really fun to make and easy to work on while binge watching Breaking Bad, I think the trickiest part was cutting out all of the teeny tiny felt pieces and pinning them all in place just so.  My stitches aren’t perfect, but I think it adds to the overall charm.

I said to Chris this looks like us – except he doesn’t have a beard.  Or white hair.  Whatever.


Untitled

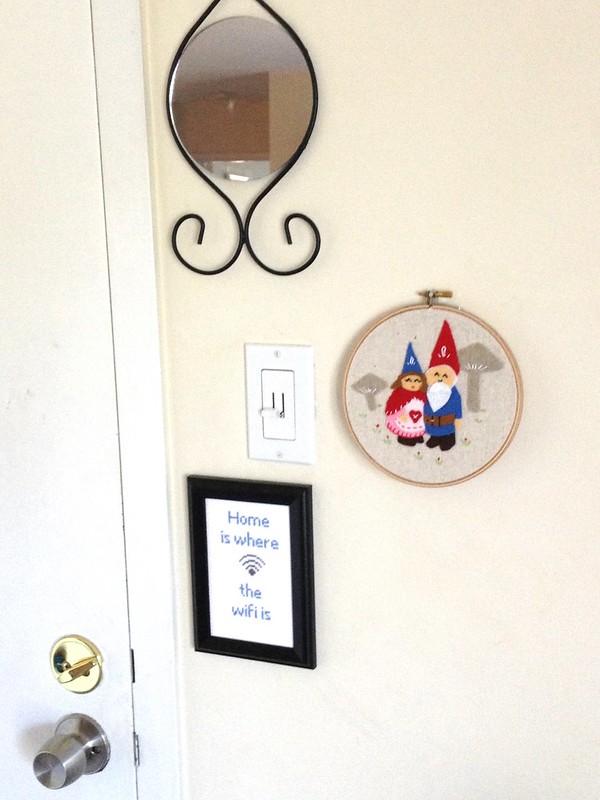
I love how the little hoop fits in nicely with my entry-way décor!

How was your September?  Did you get a lot of sewing accomplished?  I have a backlog of projects I need to get moving on now that the fall weather is officially here.


Follow:

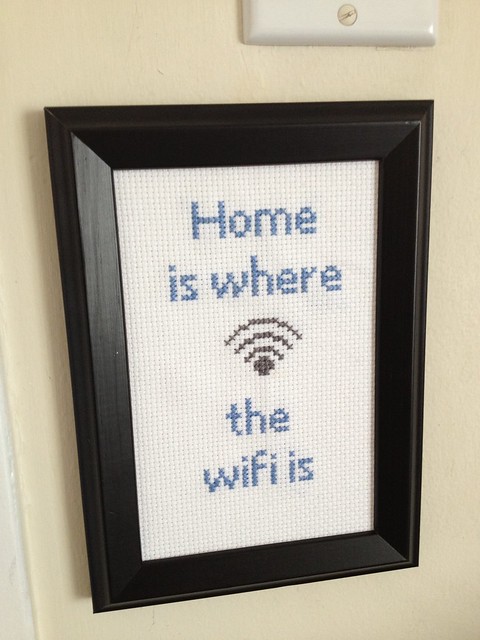
“Home is Where the Wifi Is” Cross Stitch


Untitled

I can’t take credit for the idea, but here’s a cross stitch I whipped up this month to hang by my entryway.  I saw some ideas floating around the internet and combined them together to make my own version.


Untitled

The layout for the design was inspired by the Subversive Cross Stitch “Home is where the vodka is” and the font was taken from the Stitch Point font generator.  I sketched out and charted the little wifi symbol myself.


Untitled

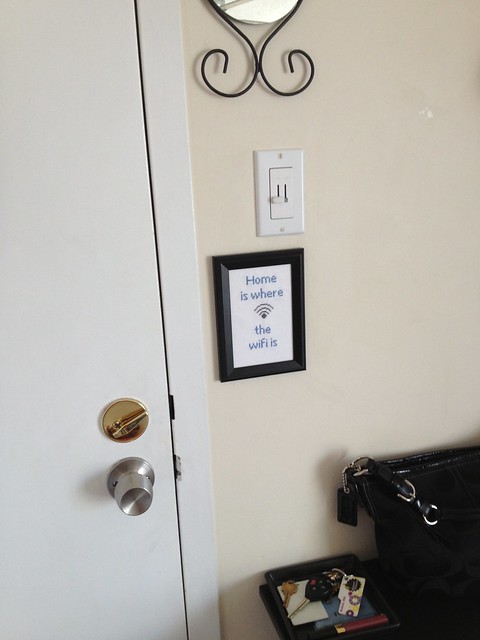
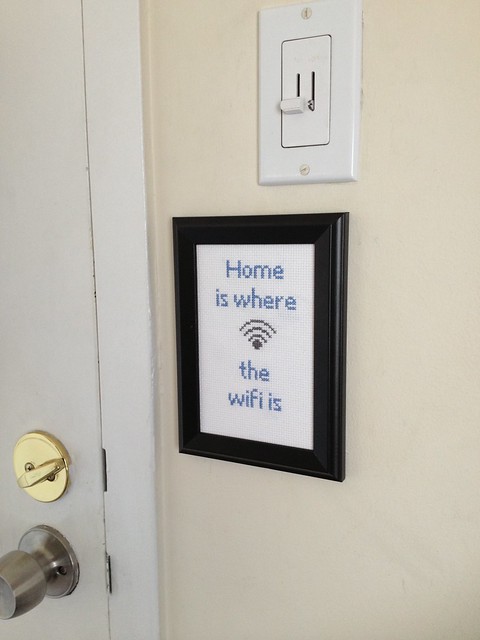
I really like how it looks by my door!  I’m currently working on some other cross stitch pictures, not my designs but both by Subversive Cross Stitch, to put up around my apartment this holiday season.

Follow:

Ikea Goodies

I took a trip to Ikea today to find some decorative stuff for my apartment – after spending so much time at home this past week, I realized that I’m still lacking in things that make my place “cozy.” So of course, I stocked up on more picture frames for my living room and sewing area (DIY sewing decor, what what!), a pillow form for my couch, and a big picture ledge to go over my TV and hold aforementioned picture frames.


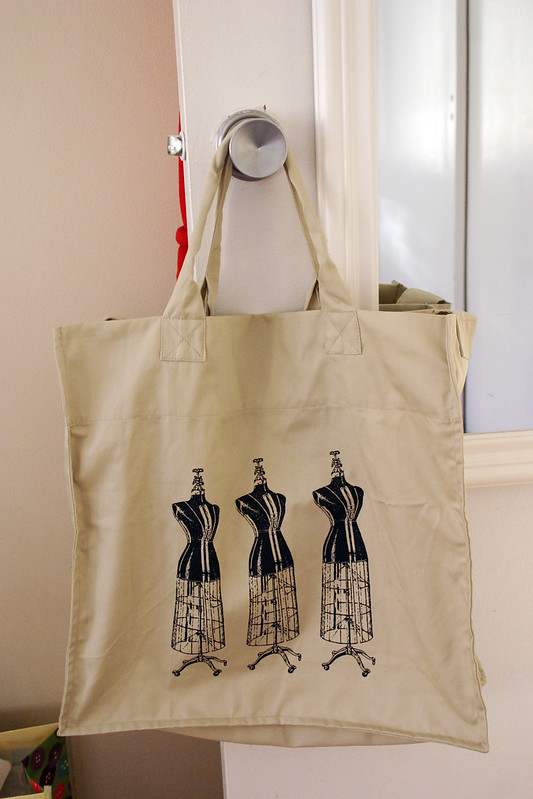
tote

Of course, the great thing about Ikea is that you can find the most random stuff you’d never expect, like the above tote bag that was on clearance for $2.99.  How could I not get it, it has dress forms on it for crying out loud!  It’s quite roomy and has the option of carrying it with the handles or slinging it over your shoulder with the a long strap that’s tucked inside.  I can see this bag coming in handy for fabric shopping trips in the future.

I think the snow is also starting to get to me…another storm is on it’s way tomorrow, making this the third weekend in a row that Boston is getting dumped with snow.  Which is probably why I also picked up these babies:


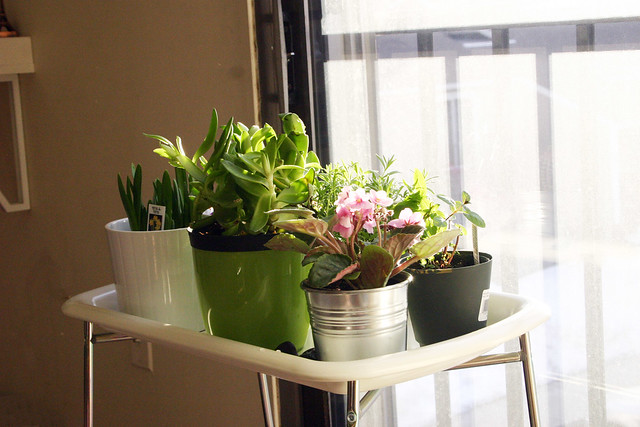
plants

I really wish I could grow a little garden outside this spring, but since I don’t have a porch or balcony, this is the closest I could come to flexing my green thumb.  I was so excited to get home and build the plant stand they’re resting on since they’re cheery and brighten up my living room; I smile just looking at them.


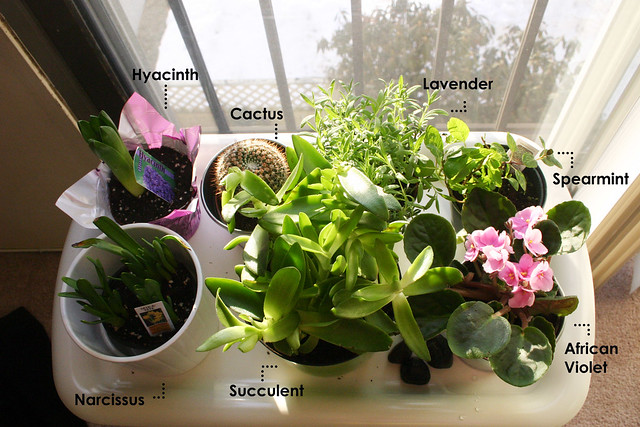
plants diagram

The succulent, cactus, and African violet are from Ikea and the spearmint, lavender, hyacinth, and narcissus are from Trader Joe’s.  I’m not sure how well the Ikea plants will do but in my experience, plants from Trader Joe’s do really well.  I’m a little nervous about caring for them and fertilizing them, so I think I’m going to make a chart that will help me stay on schedule with their needs.  Plus, I need to transplant all of them out of their little plastic pots into the real ones that I bought, using potting soil, without making a mess.  Eeek!

So when it’s snowing this weekend, at least I’ll have a little bit of happiness inside my apartment to make me smile.

Follow:

Tutorial: Christmas Paper Garland


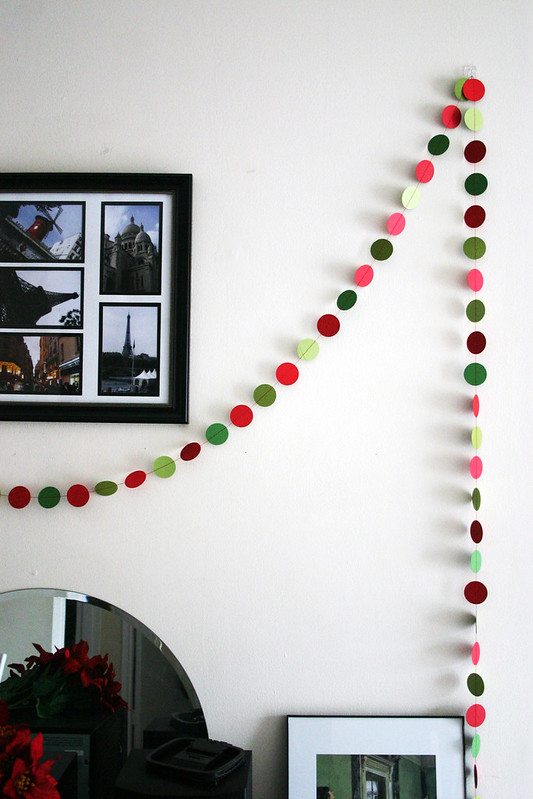
paper garland1

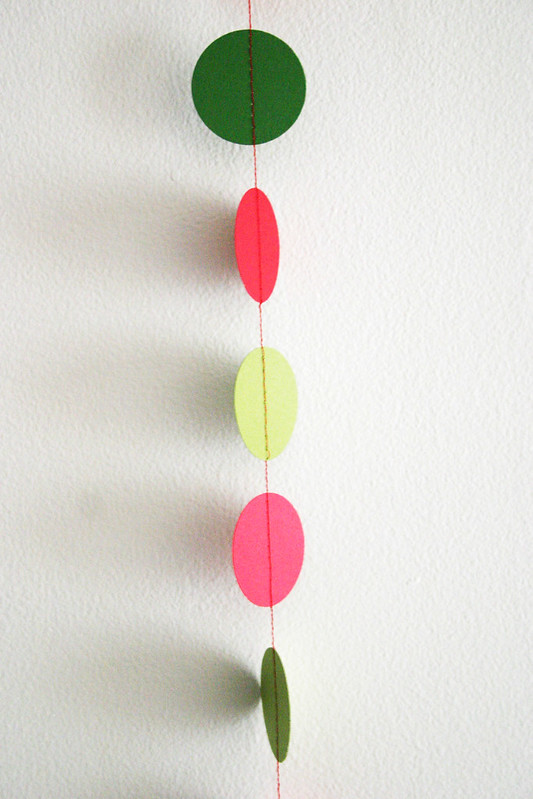
Feeling that my apartment lacked a certain festive “punch,” I cut out and stitched up this paper garland in about fifteen minutes.  These paper circles would also look adorable woven around a tiny Christmas tree or draped casually over a chandelier.

You can make this as long or short as you’d like, depending on where it will hang or what it will wrap.  Be careful though, punching out those circles can be addictive!


paper garland3

Materials:

Craft paper in an assortment of colors (I used three different shades of green and red)
Circle paper punch
Sewing machine
Sewing needle
Thread
Clear adhesive hooks (optional)

Directions:

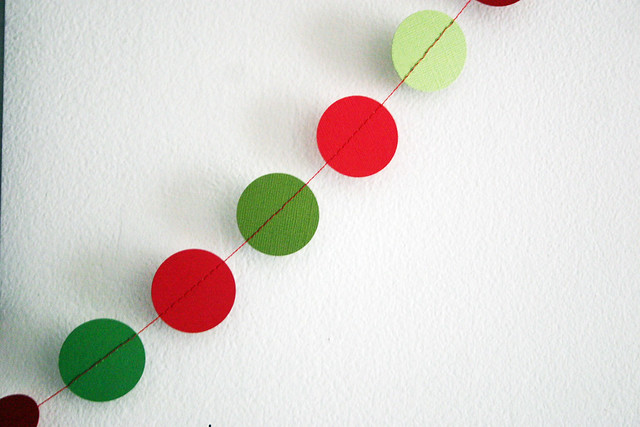
Step 1. Using the circle punch, cut out lots of circles from the different colors of craft paper.  I didn’t really know how many I wanted or needed until I stitched them together and saw how long I had made my garland .

Step 2. Arrange the different colors in a repeating pattern that looks pleasing.  Stack the circles in this order so they’ll be ready to be stitched together correctly.


paper garland4

Step 3.  The technique I used to stitch the circles together is called chaining – a technique used frequently in quilting. If you’re not familiar, take a peak at this video over at Grainline Studios to get a good idea of what chaining looks like.

Take your first circle and stitch through the center.  When you’ve reached the opposite side of the circle, stitch about four more stitches to create a thread chain, slide the next circle in the series under your presser foot, and stitch through the center of that circle.  Repeat until you reach your desired garland length.


paper garland2

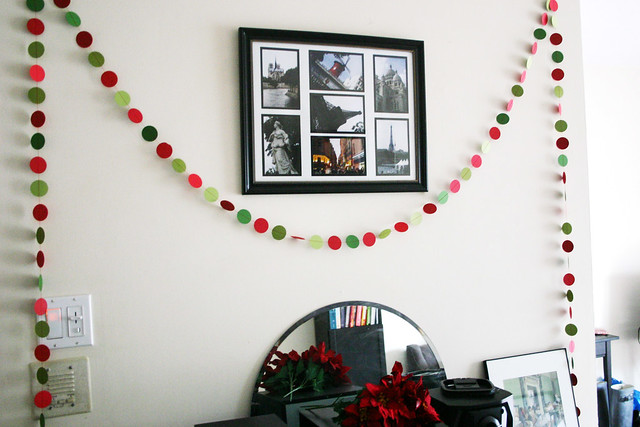
I used clear adhesive hooks on my wall above my credenza to hang my garland – they’re removable and make it look like my garland is floating.

Follow:

Tutorial: DIY Sweater Art


main

All knitter’s have one: that sweater that you tried so hard to “make it work,” but all that ever resulted from it were tears, frustration, and wasted yarn.  I’ll admit I have a couple of those hidden in knitting bags in the back of my closet, destined to never to see the light of day again.  But as I was settling into my new digs and decorating my craft room (aka my bedroom that also houses my sewing machine and yarn stash), I came across some unused picture frames and thought up a way to bring those unwanted, failed projects back to life: knitted art!

Materials:

Sweater or knitted item (must be large enough to frame)
Picture frame
Fabric chalk or pencil
Thread (optional)
Needle (optional)
Fray Check
Packing tape
Fabric scissors

Directions:

2

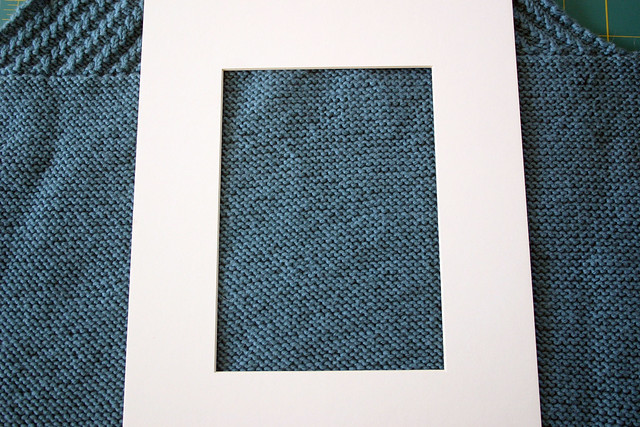
Step 1. Use the mat of your picture frame (mine is an Ikea Ribba frame) to determine what section of your knitting you’d like to highlight.  Keep in mind that you’ll want to have enough for a “seam allowance” around the framed section that can be secured onto the mat.  Otherwise your knitted piece won’t stay in place once framed.

With your fabric chalk or pencil, trace the inside perimeter of the mat onto the knitted fabric.  These marks will be the guideline that you’ll cut around for your knitted art.  You should get something that looks like this:


3


4


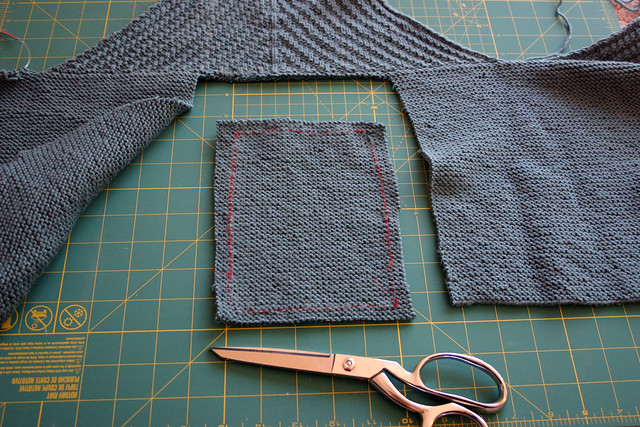
Step 2. This step is optional, as I realized after my first attempt at framing knitted fabric, but I thought I’d include it anyway.  Using a needle and thread, trace the chalk outline by backstitching around the perimeter of the markings.  This step is designed to secure the knitted edges from unraveling, but doesn’t *have* to be completed if you don’t want to.  You rebel you.

5

Step 3. Using sharp fabric scissors, cut out your knitted swatch, leaving a reasonable margin around the original chalk markings/stitching lines.  Sweater sacrilege!  I’ll admit, I was a little nervous doing this step.

6

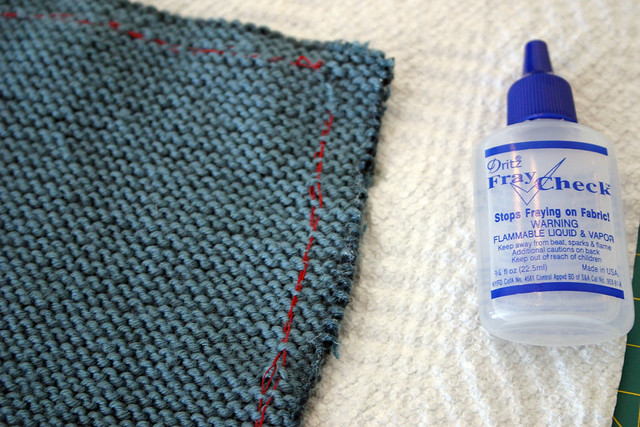
Step 4. Apply Fray Check to all edges of your knitted swatch.  Make sure it’s enough to saturate the entire thickness of your swatch – don’t be shy.  This stuff is really what’s going to keep those knit stitches from coming apart.  Allow to dry for a few minutes before continuing on.

7

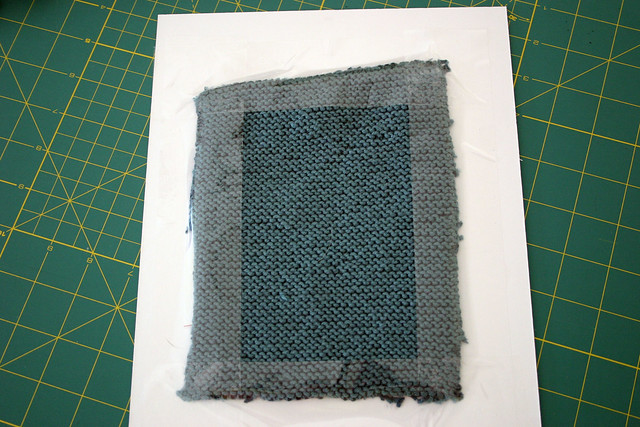
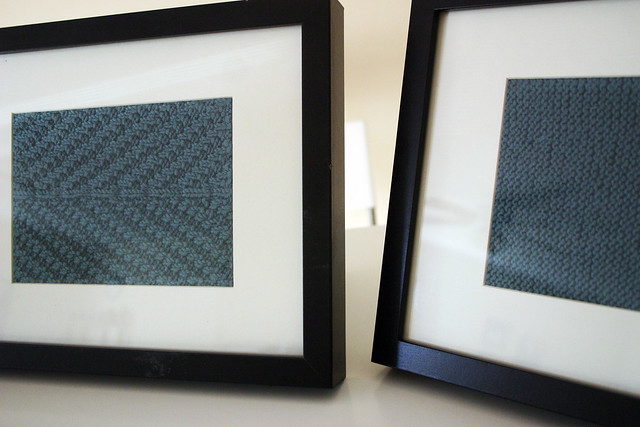
Step 5. With right side facing down, Position and center the knitted swatch over the opening of the picture frame mat – make sure that the chalk lines and/or stitching isn’t exposed on the right side when the mat and swatch are flipped over.  Use packing tape to secure all four edges of the knitted swatch to the mat.  Pop the mat into the picture frame and you’re done.

8

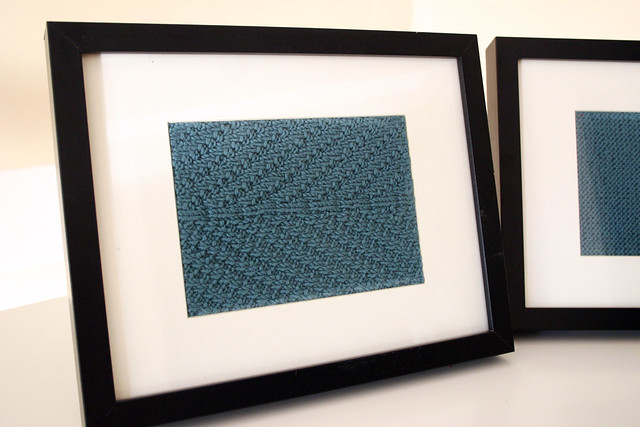
My failed sweater had two different stitch patterns I wanted to highlight, so if you have enough left over, make a matching framed swatch to create a “gallery look” on your walls.
Follow: