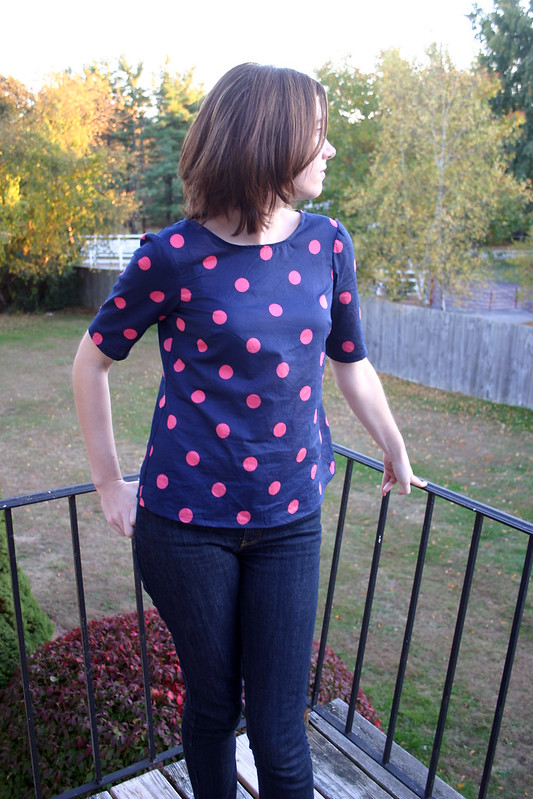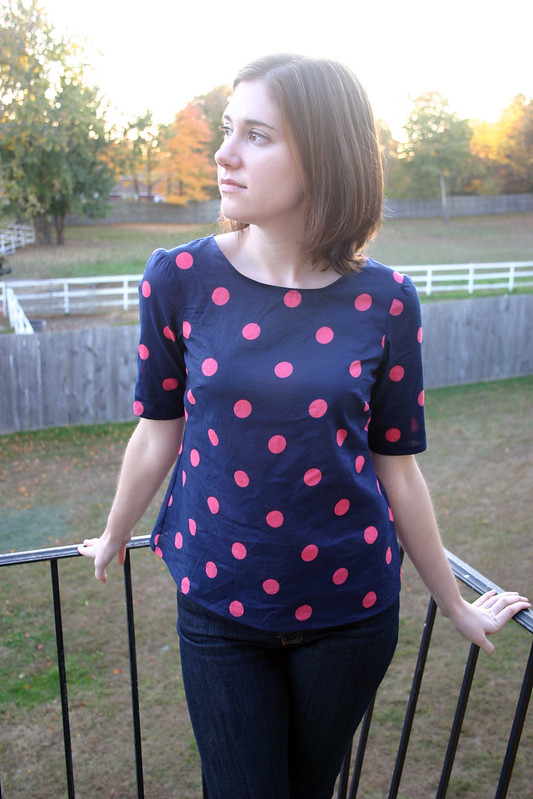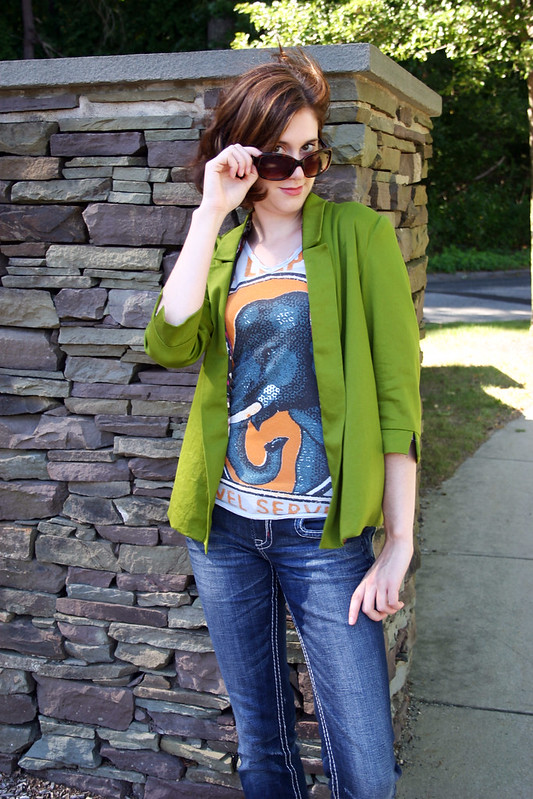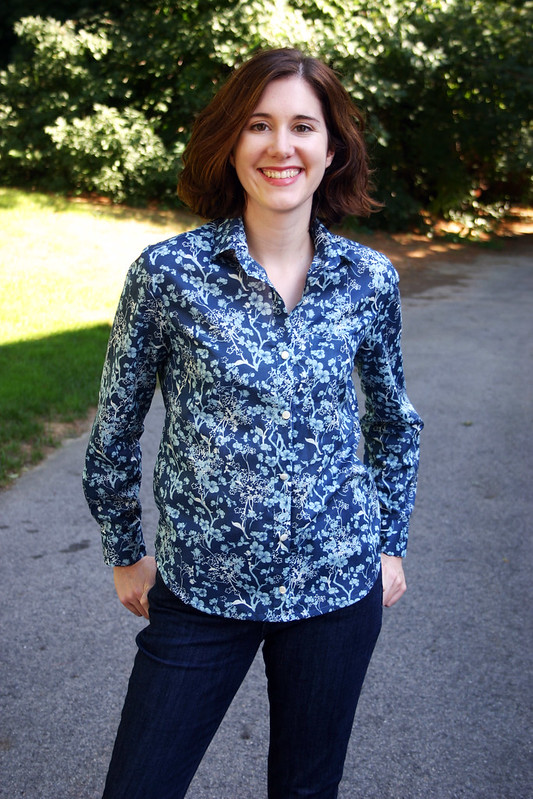
Pattern: Archer Buttonup Shirt from Grainline Studio
Fabric: Art Gallery Fabrics cotton voile in “Branch Silhouette,” from Grey’s Fabrics
Size: 2 graded to a 4 from waist to hips
Jeans: Levi’s
This is my third Grainline Studio pattern and I’m not stopping anytime soon. I love Jen’s design aesthetic – modern wardrobe staples with a minimalist approach. Which reminds me, I need to crank out some more Moss Minis for fall/winter this year since the one I made last year was not enough (plus I need to make one a bit longer so I can wear it for work, eeep). She’s an expert pattern designer and writes great instructions, so I knew I’d be in good hands using this pattern as my first serious foray into shirt-making.
So, this shirt isn’t perfect by any means, and I’m ok with that. I realized after the fact that I haven’t been stretching and challenging myself with my sewing skills – I love me some knits pretty hard, and that’s great for whipping out basic tees and cute dresses for my closet. But if I want to grow – and truly become a better sewist – I need to start taking on more projects with more challenging techniques.
Let me put it this way – that collar stand kicked my ass.

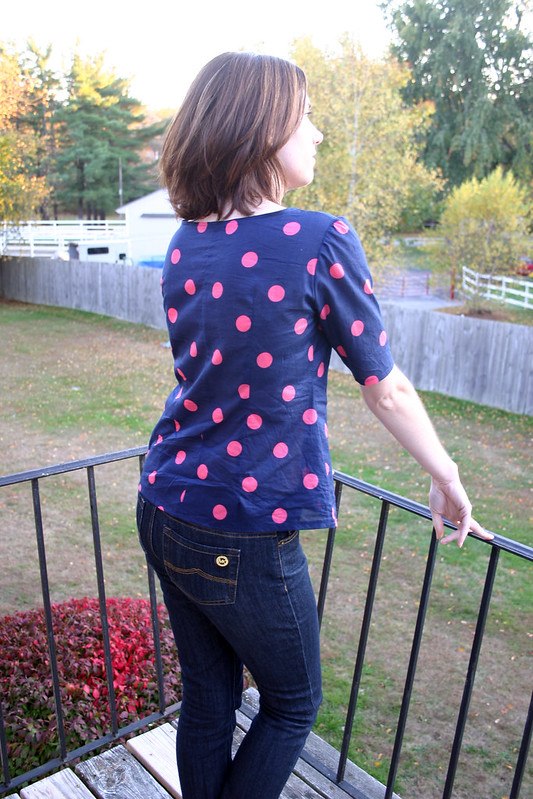
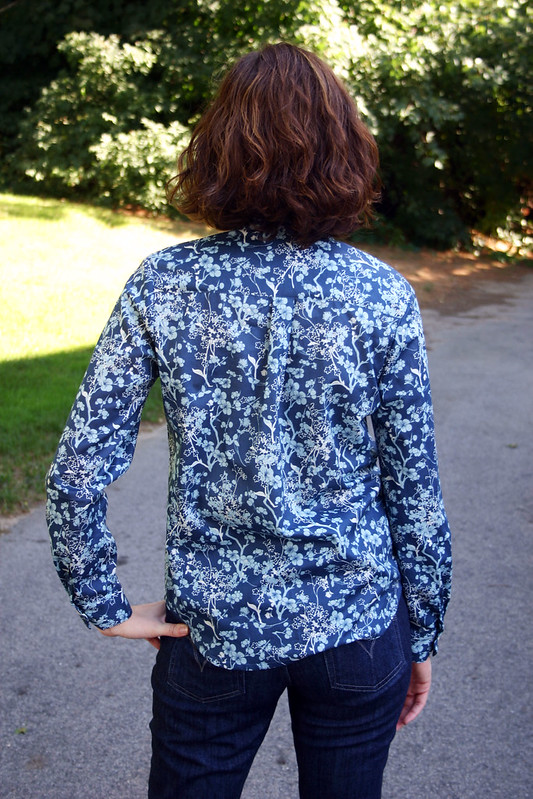
To borrow a term from Lauren, who borrowed a term from Clueless, this shirt is definitely a “Monet:” it looks good from a distance but up close, it’s kind of a mess (thank goodness for prints). Everything started out all fine and dandy: sewing the side seams together, attaching the yoke, adding a pocket (I was going to put on two, but after I added one, I decided not to since it just gets lost in the print, as demonstrated in the picture above). And then came the sleeve plackets….they’re kinda meh. I think I may have goofed with them overlapping the wrong way, but it doesn’t seem that noticeable to me. The button bands went on smoothly, cuffs were attached ok…
And then that goddamn collar stand.
Ok, shame on me for not at least *practicing* how to attach a collar stand to a shirt. I’ve made a couple of collared shirts in the past out of cheap shiny poly and other wonderful fabric choices from Joann Fabrics, but they were just the simple kind of collar that attaches to the neckline. Dust-your-hands-off-and-call-it-a-day kind of collars. So, I thought, how difficult could this be? It’s not awful looking…it just doesn’t match up well at the one side, it kind of juts out from the button band. And hell, my stitching looks awful in the inside of the collar – there’s some fabric that got tucked and sewn in place, and I didn’t have the heart to rip it out and sew it again, and I figured it wasn’t too noticeable when the collar is open (ehhh it kind of is). Plus, when I was turning the collar right side out, I poked a little too hard with my point turner, made a hole in the edge of the collar stand, and it started to fray – greaaaat. Some Fray-Chek solved that, but again…it’s just more little details that make this not the best thing I’ve ever made.
Oh, and I totally did not understand how to make the top buttonhole in the collarstand, even after studying one of my own RTW shirts…I was way off with that shit.
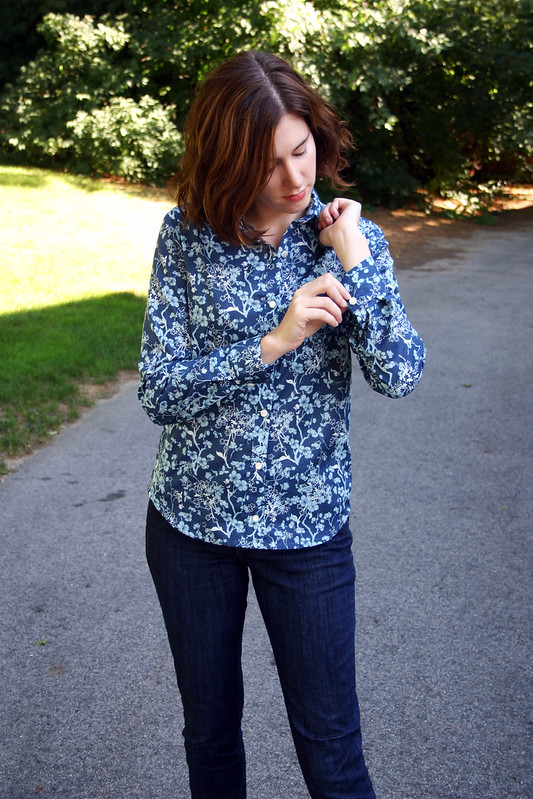
Amazingly, my buttonholes came out ok! They were actually the least stressful part of sewing this shirt, I got the placement right and didn’t screw up stitching any of them on my Bernina 1005…I really miss the automatic buttonhole feature on my mom’s Bernina, it makes a world of difference when it comes to buttonhole precision.
So, try, try again, right? Totally. I WILL master making button-down shirts – they seem like part of the perfect uniform of skinny jeans and boots for my new job. And I like the fit of this shirt, too, it’s not too boxy and it doesn’t have any bust darts I have to worry about moving up. I think I may lengthen it a little next time…I feel like it could be a slightly longer. I’m also going to try using Andrea’s tutorial on sewing collar stands for my next shirt, I feel like she’s an “Archer Expert” with all of the fabulous shirts she’s cranked out from this pattern. My next fabric: a Marc Jacobs tiny floral print cotton shirting. And maybe on my next shirt, I’ll be proud enough to show some close-up shots of the stitching detail!
