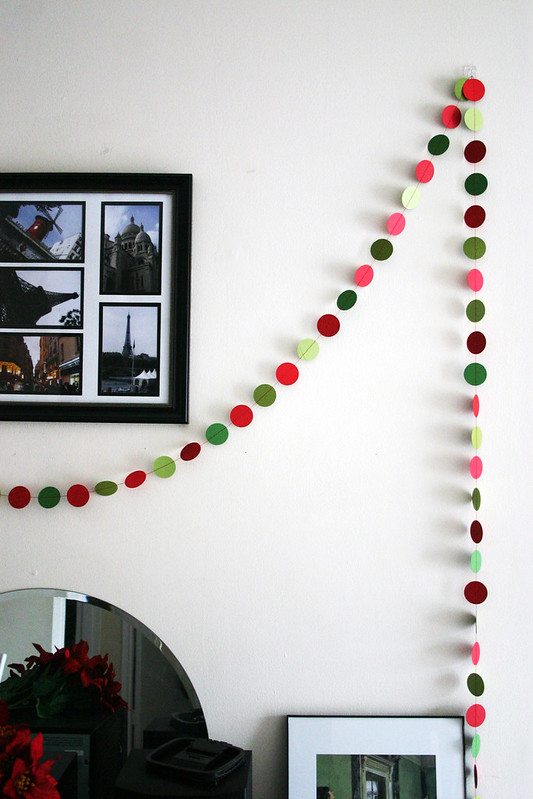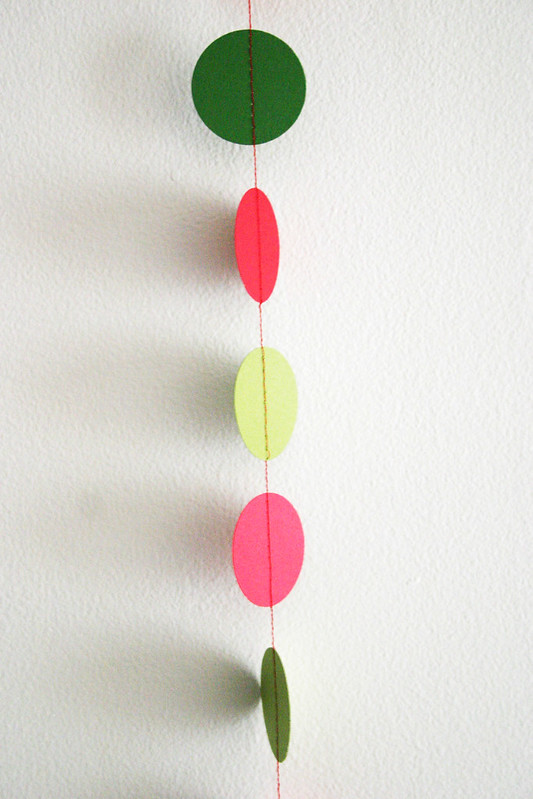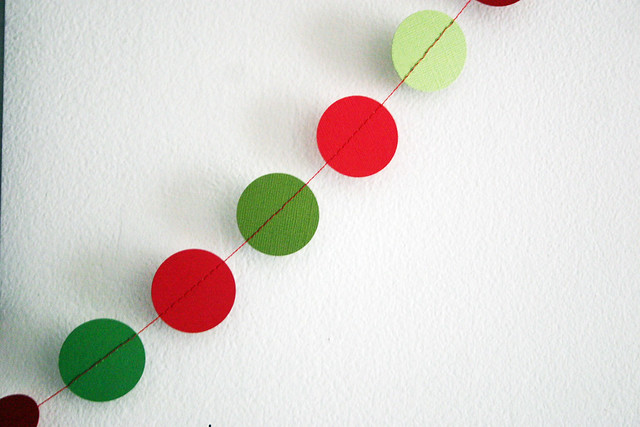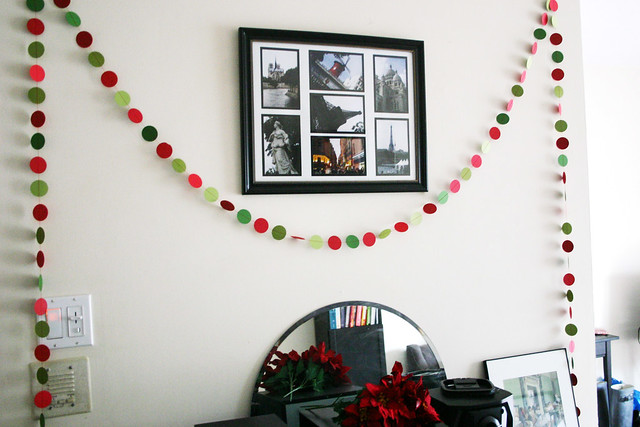
Feeling that my apartment lacked a certain festive “punch,” I cut out and stitched up this paper garland in about fifteen minutes. These paper circles would also look adorable woven around a tiny Christmas tree or draped casually over a chandelier.
You can make this as long or short as you’d like, depending on where it will hang or what it will wrap. Be careful though, punching out those circles can be addictive!

Materials:
Craft paper in an assortment of colors (I used three different shades of green and red)
Circle paper punch
Sewing machine
Sewing needle
Thread
Clear adhesive hooks (optional)
Directions:
Step 1. Using the circle punch, cut out lots of circles from the different colors of craft paper. I didn’t really know how many I wanted or needed until I stitched them together and saw how long I had made my garland .
Step 2. Arrange the different colors in a repeating pattern that looks pleasing. Stack the circles in this order so they’ll be ready to be stitched together correctly.

Step 3. The technique I used to stitch the circles together is called chaining – a technique used frequently in quilting. If you’re not familiar, take a peak at this video over at Grainline Studios to get a good idea of what chaining looks like.
Take your first circle and stitch through the center. When you’ve reached the opposite side of the circle, stitch about four more stitches to create a thread chain, slide the next circle in the series under your presser foot, and stitch through the center of that circle. Repeat until you reach your desired garland length.

I used clear adhesive hooks on my wall above my credenza to hang my garland – they’re removable and make it look like my garland is floating.