Pattern Review: Rigel Bomber [Papercut Patterns]


rigel 1


rigel 2

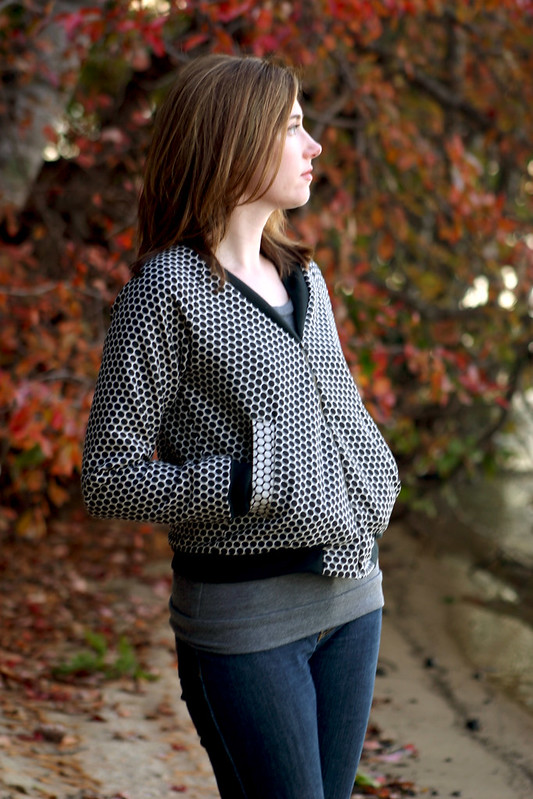
Pattern: Rigel Bomber by Papercut Patterns
Fabric: double sided cotton from Metro Textiles; wool ribbing from Mood Fabrics
Size: XXS

Sweatshirt: Sewaholic Renfrew
Jeans: Michael Kors

Words can’t describe how much I Love.  This.  Jacket.  It’s so versatile – I dressed it up with black pants to wear for an account meeting, and then wore it with jeans and a sweatshirt up in New Hampshire over the holiday weekend.  It’s just the right amount of weight for early fall weather, and I know it’ll be perfect when spring arrives next year.

The fabric also makes it – this is a medium weight cotton I bought at Metro Textile this summer, not knowing what I’d make from it.  My love for polka dots is unending, and this fabric is a double-sided woven with polka dots…swoon!!  How could I not bring this fabric home with me?

rigel 3

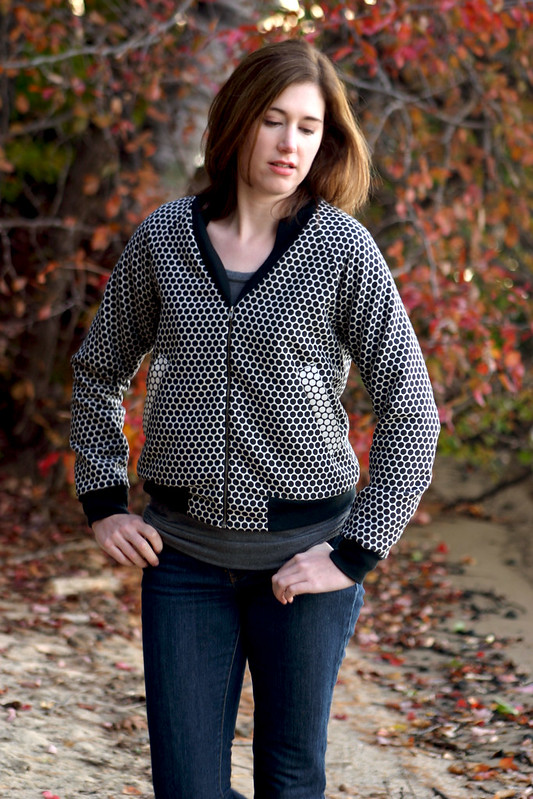
True to how Papercut Pattern sizing runs (way too big on me, that is), I cut out a XXS for the top of the jacket and graded to a XS from waist to hips.  What I can’t figure out for the life of me is why jacket patterns don’t come with linings by default (ok ok some patterns I can understand…but most, no).  I drafted my own, with a pleat in the center back, to attach to the facings because eww, I don’t want to see the pocket bags flapping around and exposed seams of my finished jacket.  Plus, linings help jackets stand up to wear much better.  It really wasn’t that hard to draft a lining, so I’m not sure as to why this wasn’t an obvious inclusion for the pattern.
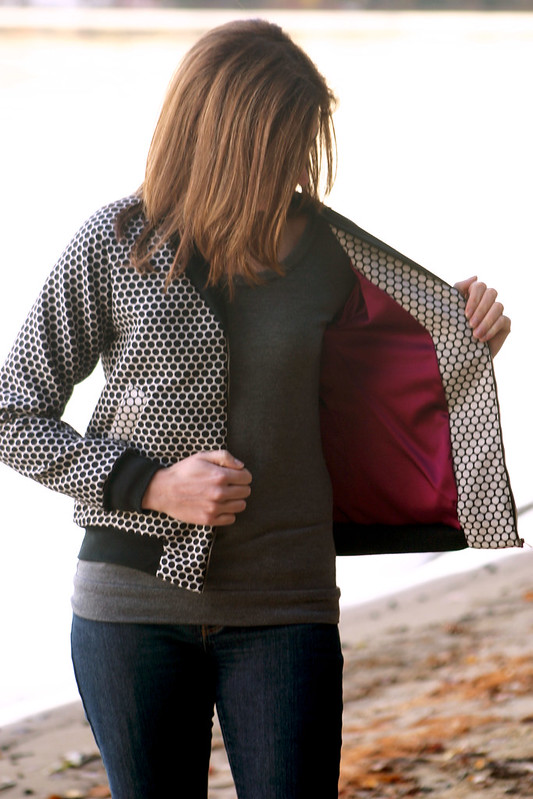

rigel 5

See?  Pretty raspberry lining with the white polka dot side of the fabric, much better!  Also, you’d think I’d learn by now to not use stretch fabrics for linings.  This was a beeyatch to hem at the bottom and I had to make some small tucks in the lining fabric to get everything smooth and hemmed nicely.

If you’re planning on making this jacket, definitely take your time to get the zips to match up on either side – it’ll be really obvious at the neckline if the ribbing collar doesn’t match up.  I had to redo mine at least twice, but I’m glad I did.

Oh, this was my second time doing welt pockets – they were much easier on this fabric than the thick wool of my Anise!


rigel 4

The ribbing is a tubular wool ribbing I bought a while ago at Mood for a lightweight jacket project that fell through.  While sewing this project, I realized it probably wasn’t the best weight to use with the cotton, since the band at the bottom rolls up occasionally (like in the above shot) and the collars are a little floppy and don’t lay as flat as I’d like.

All of that aside, this jacket is going into heavy rotation for the remainder of fall.  On to sewing more jackets!

Follow:

Finished Project – Papercut Patterns Sweatshirt


papercut sweatshirt1

Pattern: Papercut Patterns Undercover Hoodie
Fabric: cotton sweatshirt fleece from Paron Fabrics
Size: XS

Shorts: J. Crew
Watch: Michael Kors
Sunnies: Tommy Hilfiger

No, it doesn’t feel like summer here yet, but it was a beautiful weekend last weekend, and Chris and I headed to the beach for our annual springtime beach walk.  This is the fourth springtime where we’ve spent a day at Hampton Beach in Hampton, NH, walking up and down the shore and feasting on fried clams (mmmm).  The weather was beautiful when we went – not a cloud in the sky and the temps were in the low 70’s, my fave.  Makes me wish it was a little warmer to go swimming., though…and it’s hard to believe that Memorial Day is coming up this weekend.


papercut sweatshirt2


Anyway, the beach seemed like a perfect setting to debut one of my new, favorite me-mades: a Papercut Patterns Undercover Hood, sans hood.  This is actually my second version of this sweatshirt without the hood, my first is made out of a coral Thakoon cotton fleece fabric from Mood.  I started making these around the time I became severely discouraged with my Anise jacket, and needed an instant gratification type project.  When I came to the step of adding the hood, I decided I liked the way the garment looked better without it.


papercut sweatshirt3

The neck edge, sleeve hems, and bottom of this version were turned under 5/8″ and stitched with a twin needle 1/2″ away from the edge.  On my coral version I sewed a hem band on the bottom of the sweatshirt, for this one I didn’t have enough fabric so I just lengthened it a bit.  This fabric was originally destined to be a Lola dress, but it turned out horribly – so not a good silhouette for my shape.  I’m glad I had enough of this yummy soft fabric for another garment.


papercut sweatshirt4

I’m practically living in this sweatshirt, I wore it all weekend long.  With the way temps have been this month, pieces like this have been my go-to items in my closet.  Hopefully summer weather will be here soon, but in the meantime, I’m glad I have a basic piece like this in my handmade closet now.

Follow:

Why I Love Sewing With Knits


coppelia2

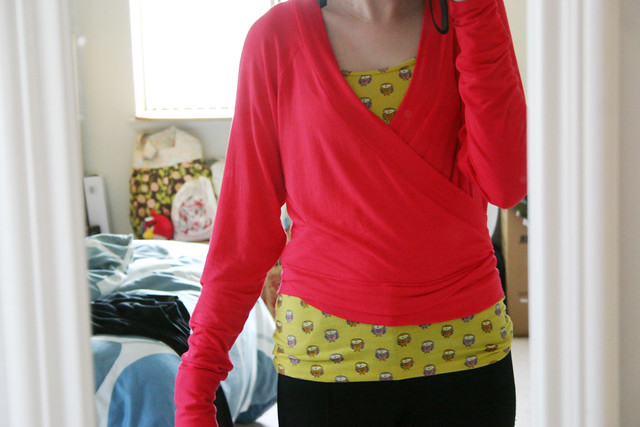
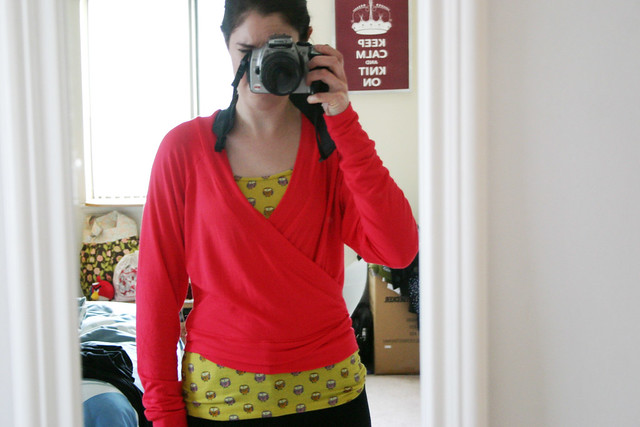
This is my finished Coppelia.  I was disappointed with the fit when I first tried the ballet cardigan on – look at how baggy it is!!  I cut out an XS, which matched my waist and hip measurement and had a slightly bigger bust measurement, but never expected the ease to be so dramatic.  If I wanted a loose, casual fit I wouldn’t mind how this turned out, but I was picturing a fit more like on the model.  I want to wear this over cute dresses this spring.


coppelia

Here’s another view with my arm down.  Look at the pooling of fabric at the underarm!  There’s a lot of excess going on here because the raglan depth is too large.

So what’s a girl to do?  Whip out her french curve and flexible ruler, roll up her sleeves, and get down to business.


coppelia3

I tried the cardi on inside out and pinned the left sleeve and side to how I wanted it to fit.  After I took the cardi off, I marked with a chalk pencil where I placed the pins and used my curved ruler to “connect the dots” and smooth out the new sewing line.  After trying it on after sewing, to make sure I got the fit right on the left side, I used my flexible ruler and shaped it to mimic the new stitching line.  Then, I lined up the shaped ruler on the opposite side of my cardigan.  A little tracing, some more stitching, and boom – I took out all the excess fabric and got the fit I wanted.  It was a good two inches I took out of the underarm, can you believe it?

And that’s why I love sewing with knits – I don’t think I could have done a fit adjustment this easily with a woven garment.  Can you imagine correcting the armscye?  Not to say it’s impossible to do, but correcting ease is much simpler in a knit garment. The stretch nature of knit fabric is so forgiving and it’s easy to get the fit just right.

I’m sitting on my couch wearing my new cardi as I type this post.  I can’t wait to share pictures of the finished garment!

Follow: