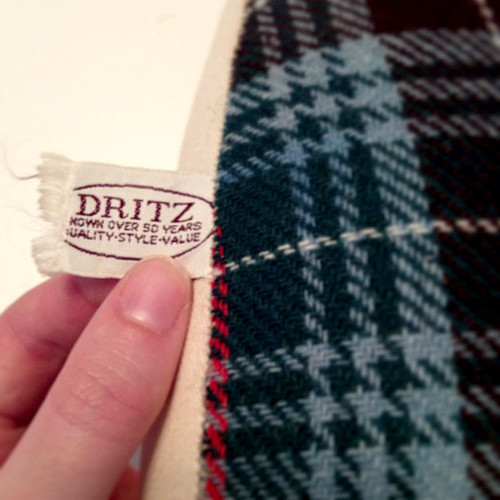
First things first – a pressing ham (also called a tailor’s ham) is going to be your best friend. The photo above is my mom’s pressing ham from 70’s, look at that nice tag! I’m sure you already use a pressing ham on a regular basis for darts and other curved areas, like princess seams. You’re going to use your ham for the same type of application – steaming the crap out of collars to shape them, any curved seams, and shaping sleeve caps.
Similar to a pressing ham, a seam roll looks like a tightly stuffed fabric sausage with a wool on one side, cotton on the other. Seam rolls are used for getting into areas that are hard to press open, like a sleeve seam. Seam rolls are also handy for pressing open seams and avoiding indentation of the seam into your garment fabric – definitely a possible problem when working with certain fabrics.
My sewing life changed when I received a tailor board for my birthday a few years ago. Not only do I use it regularly for sewing, but it was a life-saver when I made my first coat. It’s the perfect surface for pressing small parts of a coat, like a collar seam or pocket welt, but you can also use it to press corners to make them crisp and point, and the curved edges match up to the shape of armholes and and sleeve caps. Plus, my came with a set of padded covers, so I can choose whether I want to use them with the board for soft shaping or without for crisper finishes.
I love it when sewing gets bad-ass, like using a hammer to open buttonholes or install rivets. Using a clapper is pretty fun – after pressing open a seam, I pound the crap out of the seam with the clapper to flatten it into submission, especially when working with wool. It’s also helpful to place the clapper over the seam after pressing and apply pressure with it to the seam, helping the seam “learn” to stay open.
Before I had a sleeve board, it was always a struggle trying to press open sleeve seams and even pants seams – those tiny areas are too small to fit over an ironing board. Essentially, this is a small ironing board that can fit in those places. When making a coat, it’s so important to press open your sleeve seams.
With all of this talk about pressing open seams and using steam, the most obvious tool for making a coat is a good steam iron. Mine is nothing fancy – just a Black n Decker Iron I’ve used for the past three or four years. Just because an iron is expensive doesn’t mean it’s going to be any better; I bought a pricey Rowenta and it only lasted for a few months, and I’ve heard the same tale of woe from other sewists. As long as it gets hot and can shoot out a lot of steam, it will work.
I hope you found this guide helpful as you gather everything you need to make a coat. As an extra goodie, I put all of this information together in a handy cheatsheet with images – stick it on your bulletin board over your sewing machine as a quick-reference tool!
![Tailoring the Yona Coat [Coat Project 2015]](data:image/png;base64,iVBORw0KGgoAAAANSUhEUgAAAlgAAAGQAQMAAABI+4zbAAAAA1BMVEUAAACnej3aAAAAAXRSTlMAQObYZgAAADRJREFUeNrtwQENAAAAwiD7p7bHBwwAAAAAAAAAAAAAAAAAAAAAAAAAAAAAAAAAAAAAgKQDdsAAAWZeCiIAAAAASUVORK5CYII=)