I can’t think of a better way to start off 2018 than by learning something new – how to make a pair of shoes! Ever since listening to the Love to Sew Podcast episode with Jasika Nicole, I’ve been curious about shoe making (and heck, I work for a footwear company, so…). I never thought it was something I could learn to do, or that there were classes out there that I could take. After some googling and trying to find classes around me, I decided to make a little mini vacation of it and travelled to NYC for a long weekend of sight-seeing and shoe making at Brooklyn Shoe Space.
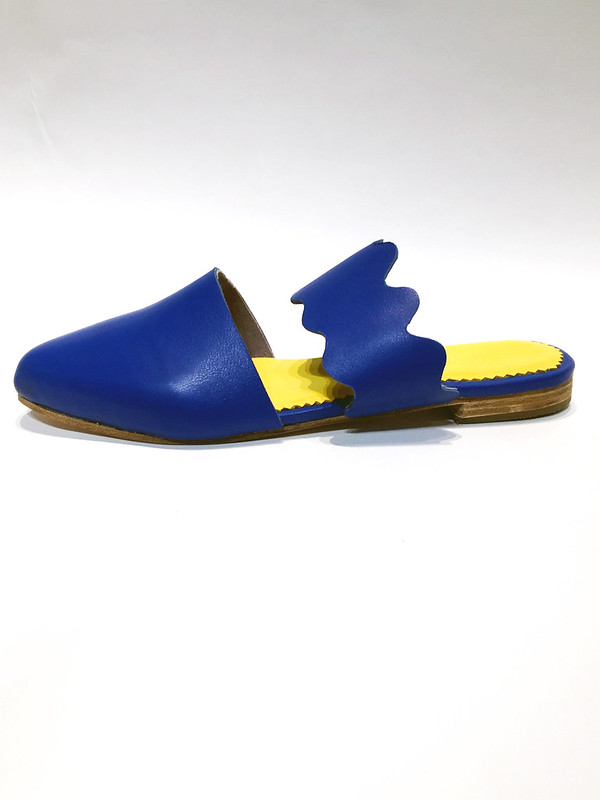
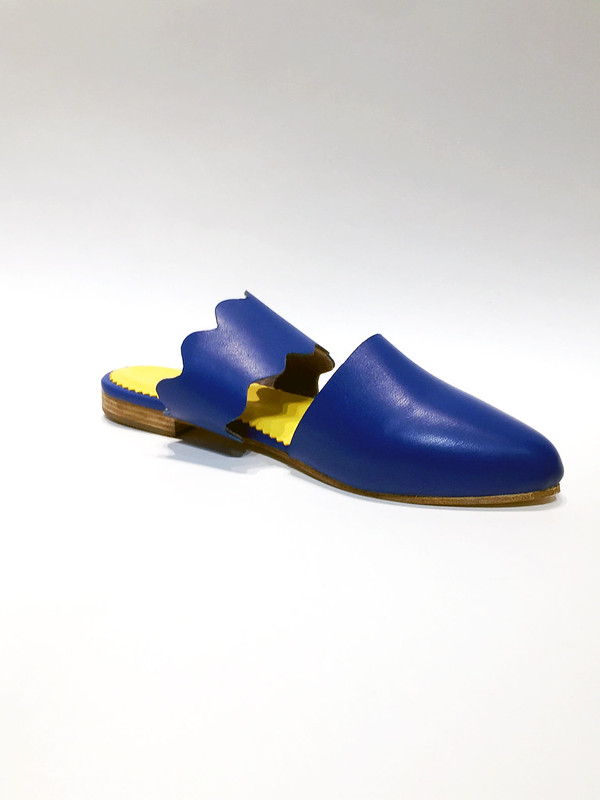
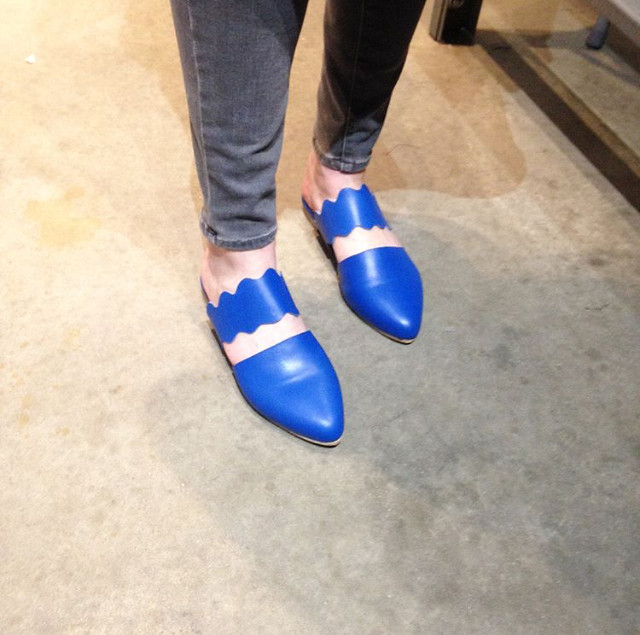
Get ready for a whole lot of photos of the process of making those blue mules you see up top – yes, those are the shoes I made with my own two hands in my class!
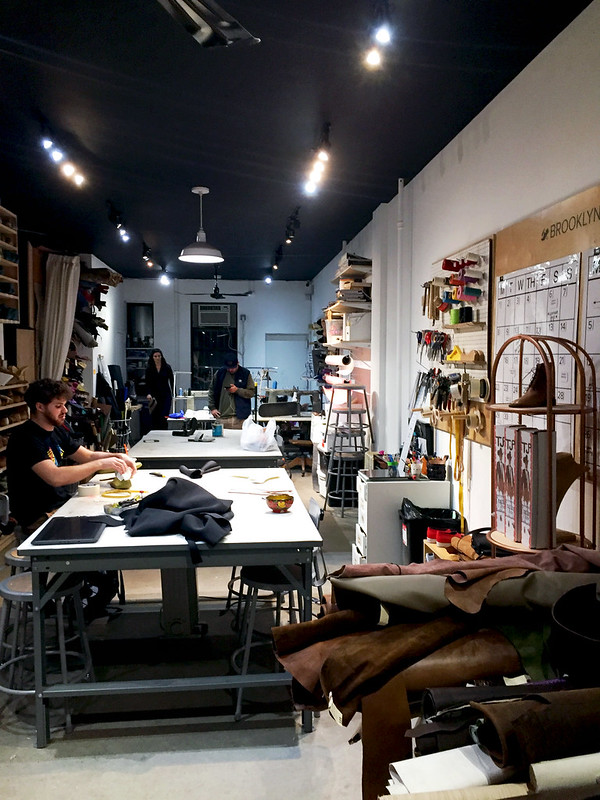

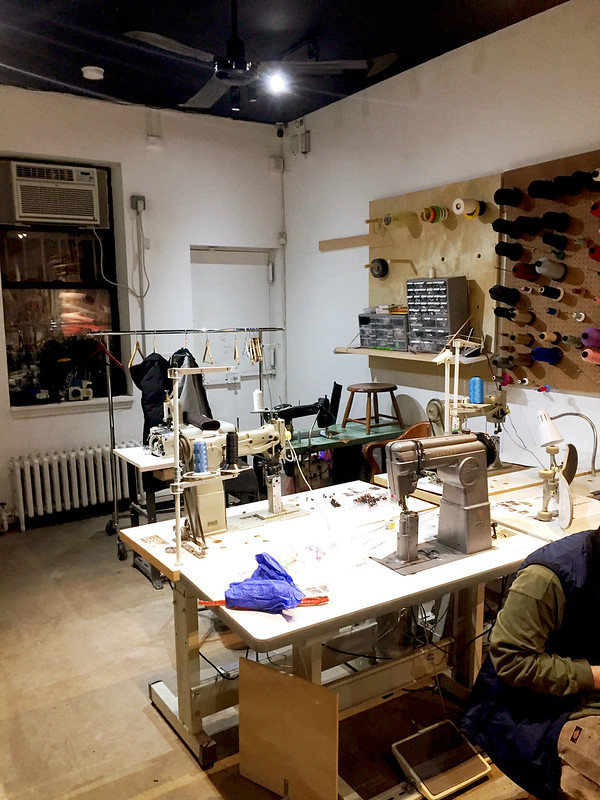
Brooklyn Shoe Space is workshop space for shoe makers and leather workers where you can take classes and even become a member and use the space to work on your own projects. The workshop is two floors: the upstairs is where I spent a lot of time cutting out the pattern and lasting the leather, downstairs is the gluing station and the sander (plus a bunch of other stuff that I didn’t use or know about!). Check out that wall of leather, isn’t it drool-worthy? It was hard trying to narrow down what I wanted to use for my shoes because they’re all so beautiful.
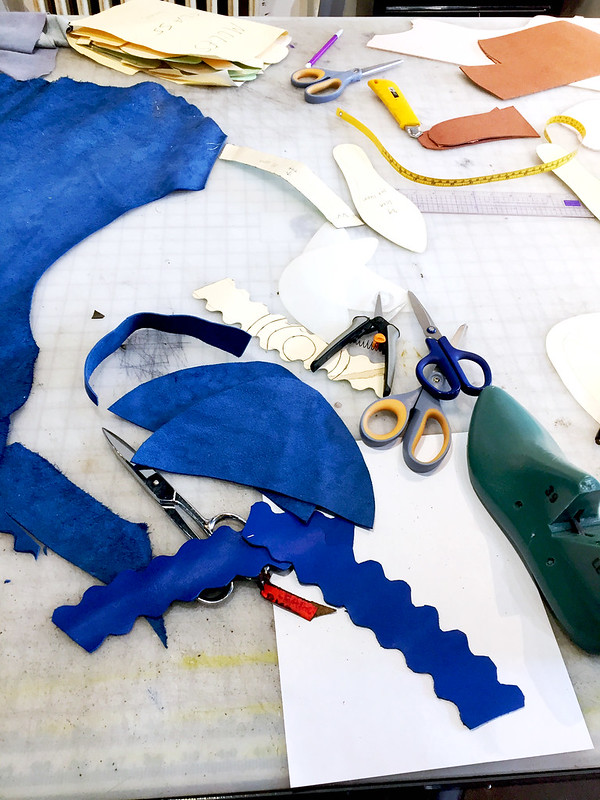
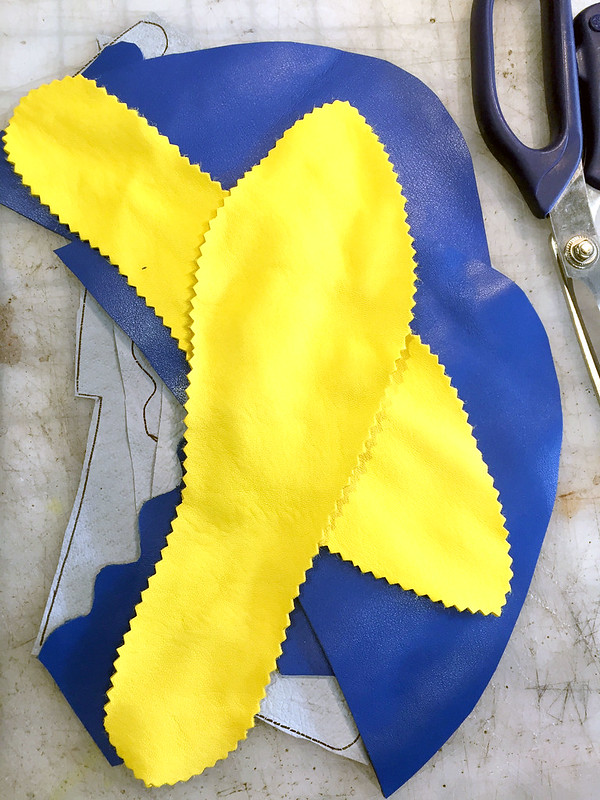
I really wanted these shoe to look unlike anything you would find in a store, so what’s better than bright blue and yellow shoes? The pattern was pre-made for the class, which made it easier since I didn’t have to worry about drafting the pattern (although I want to learn how to do this now). I cut out a pair of uppers, wavy straps, and a midsole binding from the blue leather, a pair of uppers and wavy straps from light blue pigskin suede for the lining, and using my pinking shears I cut out the yellow leather for the sockliner.
I didn’t get any photos of assembling the midsole with the midsole board, leather board, and skiving and gluing the leather around the midsole component, but the lasting part was a lot more interesting anyway lol. All of the upper and lining pieces were glued together; the upper of the shoe was only glued to the lining about an inch from the edge, and the strap and lining piece were completely glued together.
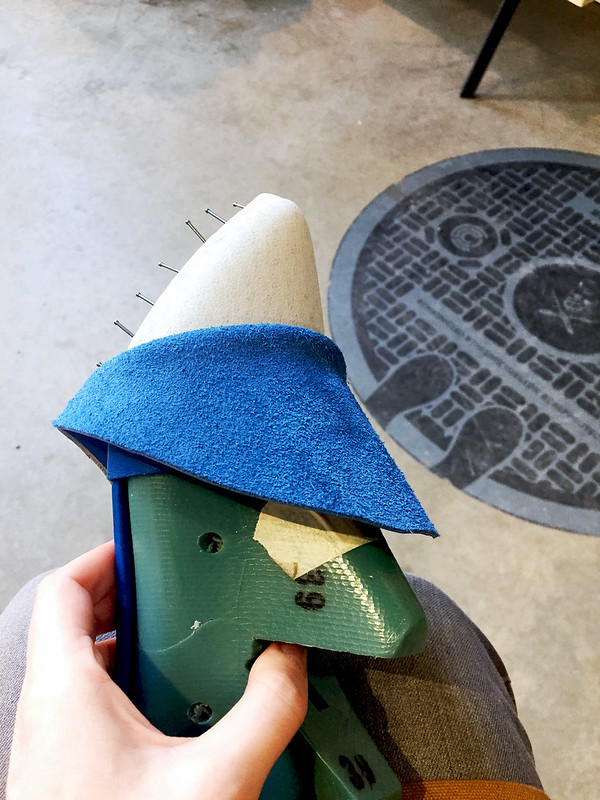
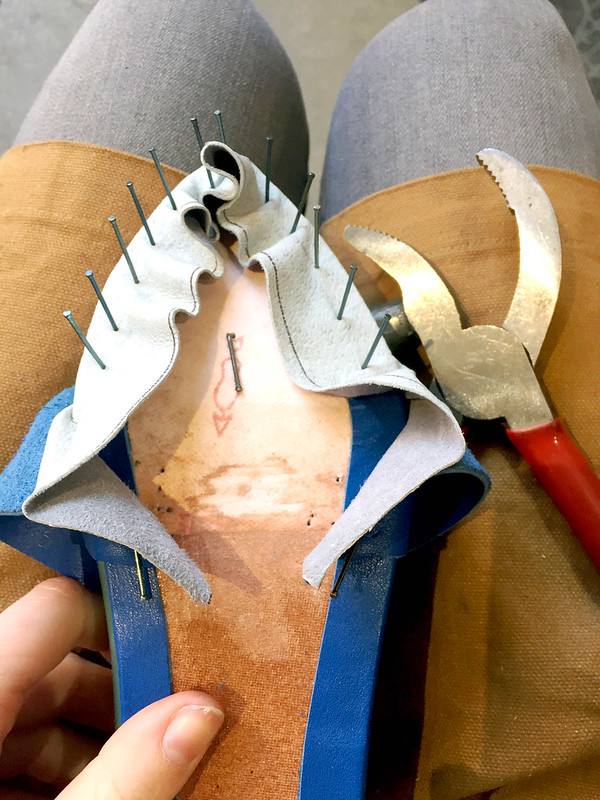
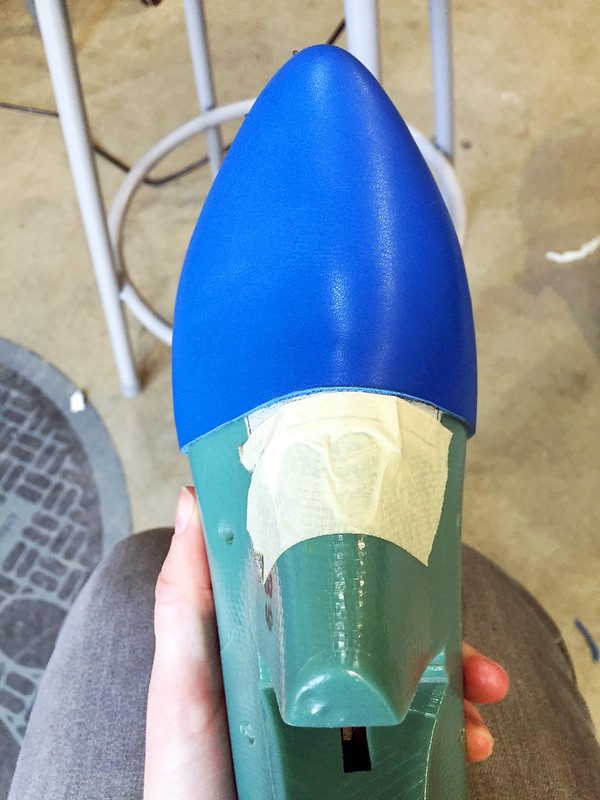
After the midsole was complete, I nailed it into the bottom of the last – literally, into the plastic last! – and then secured the tab from the lining to the top of the last with some nails and tape. Then, it was time to last the lining. I don’t know what I thought I’d be doing to make shoes, but I was surprised at how much hammering is involved in shoe making, and how much work is actually done on your lap. Using pincers (those red plier-like things in the above photo), I pulled and stretched the pigskin suede over the toe to the bottom of the shoe, nailed it in place, and alternated the same procedure on each side. The idea is to get the lining completely smooth with no wrinkles, and the stretching and nailing shapes the leather. After everything is smoothed into place, cement is applied to adhere the leather to the midsole, nails are removed, and then you go to town hammering out the leather and smoothing everything out some more!

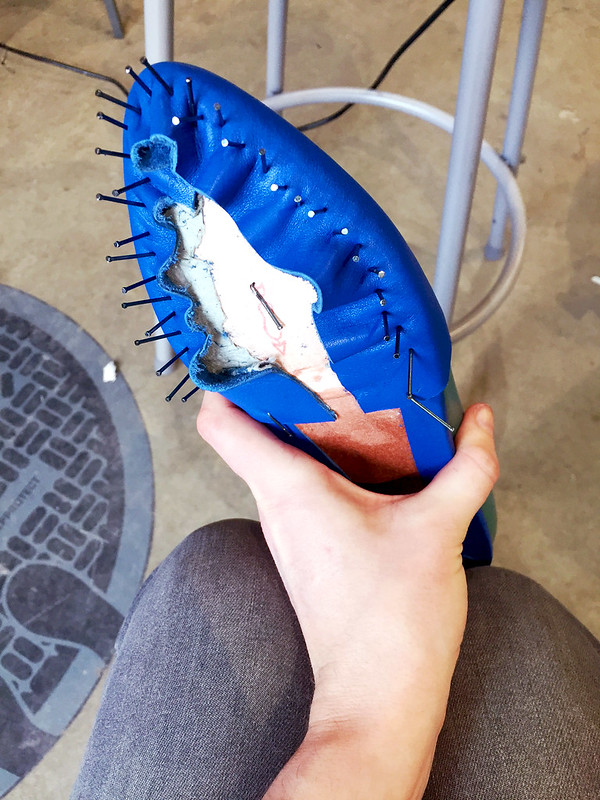
Same procedure for the upper leather, but this time it was much harder because the leather for the upper is thicker than the lining leather. I had a bit of a hard time with this step because I wasn’t used to using the pincers and trying to get the leather pulled tight enough over the last and nailing it in place at the same time was a bit tricky. I needed a lot more nails for the upper to work out all of the extra ease and wrinkles.
Also, between the lining and upper layers is something called a toe puff – it’s a heat-activated thermo plastic that holds the shape of the toe, making the shoe stiff. It’s pretty cool, had no idea that’s what’s keeping the shape of our shoes intact.
That’s a pretty looking shoe, if I may say so myself!
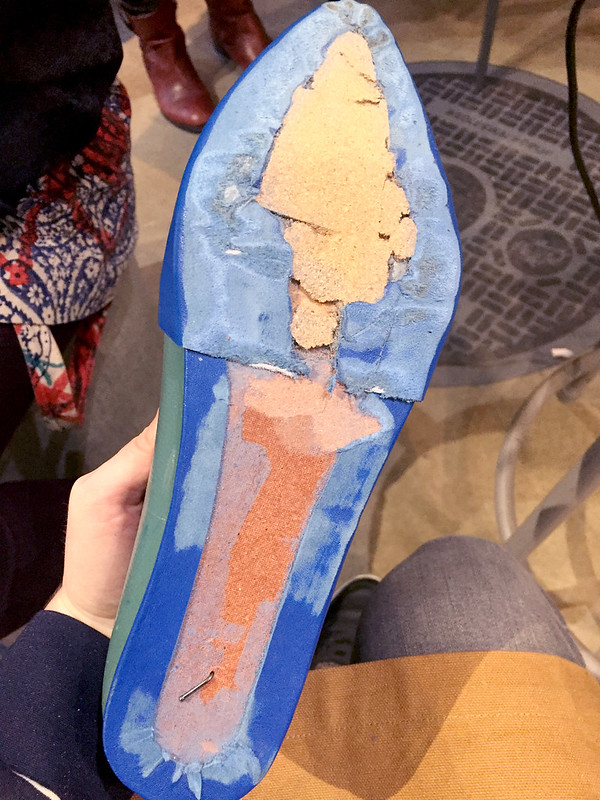
Since there’s a bit of a gap at the ball of the foot from where the leather meets the midsole, pieces of cork are glued in to make the bottom of the midsole nice and even. The edges of the leather around the midsole are sanded so when it’s time to cement the leather sole to the midsole, it will adhere better.
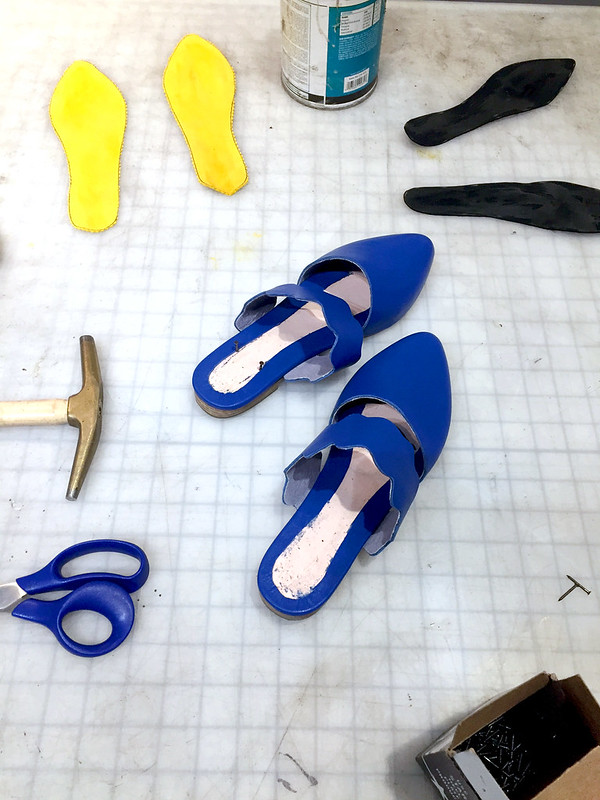
Looking like a pair of shoes now! The straps were stretched over the last and nailed and then glued in place before affixing the leather sole with super-duper strong cement. You can also see in the photo above the yellow sockliner pieces along with some black neoprene, which is used as an extra cushioning between the sockliner and the midsole board.

These also have a small heel made of two layers of soling leather and a piece of heel rubber. I stamped my initials in the bottom of the leather sole before adhering the sockliner and cushion to the inside of the shoe, because why not? Not shown in these photos, but the heel of the shoe was nailed in place at three points from the midsole into the heel. Then, using an anvil, two nails were hammered on each side of the strap on the outsole to get a stronger strap attachment. The anvil was handy for when the nail was coming in through the midsole, since it would stop it, and then the nail was trimmed on the outsole as close as possible and hammered flat.
The very last step after everything was glued, cemented, and nailed in place, was to give the leather soling a finish with a burnishing tool and some beeswax, which smoothed the leather out some more and gave the leather a nice, shiny brown finish.
This was a super-intense class – it was a whole day, and to be honest if it wasn’t for the fact that my instructor was helping me as I went with these shoes, I wouldn’t have completed them in that time. I was so slow! But I wanted to make sure that I made these the best I could, and it was such a different way of working with my hands than when sewing or even knitting.
Now that I made my first pair of shoes, I can’t wait for the weather to warm up so I can take them for a spin. But on the flipside, I want to keep them nice! I’m so worried about the possibility of getting them messed up or scuffed, and these shoes are special. For now, I’m wearing them around my house a little bit to break them in and I keep staring at them where I keep them near my couch, hahahaha.
I’ve been bitten by the shoe making bug – I’m currently waiting for a sandal making kit from Rachel Sees Snail Shoes, I found some lasts on Etsy in my size that are on their way, I’m compiling a list of places to source all of the materials and tools I’ll need (little by little, the costs can add up), and I’ve been watching shoe making videos and reading leather working books. I definitely want to try and make my way back to Brooklyn Shoe Space later this year for another class, and I would love to save up my pennies and travel to Toronto next year for a 5-day shoe making workshop. Now I find myself staring at people’s shoes, wondering how they were made!
If you ever have the chance to take a class at Brooklyn Shoe Space, or even to take a shoe making class in general, I highly recommend it – it’s addictive!

I love them! The color, the wavy band, the toe, the heel! Perfect! Congrats!
These look fantastic! I would also want to wear them everywhere yet feel totally scared to damage them!!
they are gorgeous – well done
Love these! I’ve been trying to figure out how to make shoes using sewing materials at home, but it may be time to take a class!
Love those shoes.