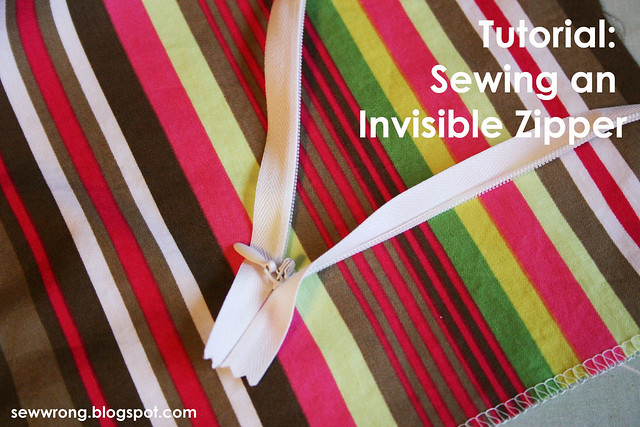
Ahh, the invisible zipper. I blame the instructions that come in the invisible zipper package for scaring off stitchers from using them; they’re quite easy to stitch into any garment and I find them easier to insert than regular zippers (actually, I forget how to sew regular zippers!). Almost all of my zippered garments that I sew have invisible zippers – they just look nicer, neater, and less Beckie-Home-Ec-y. I like that they don’t draw attention to the seam line and maintain the continuity of the pattern design. They are my zipper of choice and when I can, I use them over a standard zipper.
My tutorial is a bit more time consuming (a couple extra steps) than the typical instructions for inserting invisible zips, but I find the final result to be worth it in the end.
Materials:
1 invisible zipper (length depending on your garment)
Invisible zipper foot
Zipper foot
Sewing machine
Coordinating thread
Sewing needle
Pins
Iron
Directions:
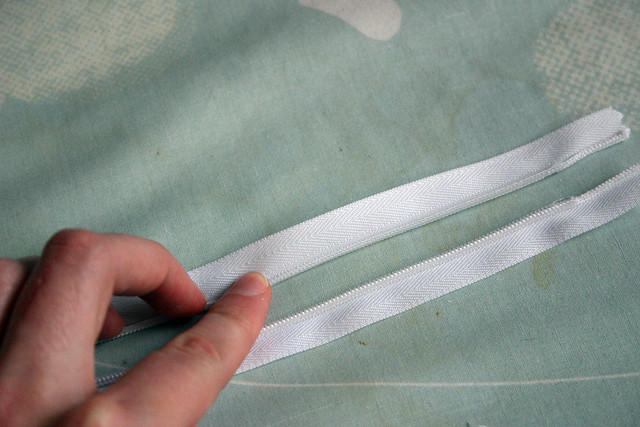
Step 1. With your zipper wrong side up (zipper pull facing down) and your iron set on the “synthetic” setting, gently press the coils of your zipper flat on both sides. This will make it easier to stitch closely to the teeth when we sew the zipper into the garment.
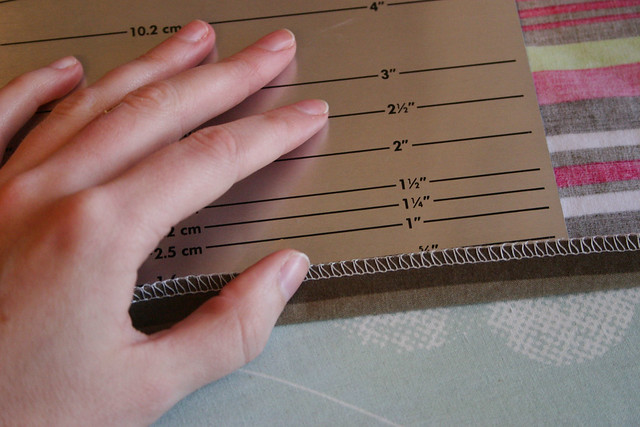
Step 2. Press under the seam allowance of your garment where the zipper is to be sewn to 5/8″ or whatever your seam allowance is for your pattern. This will make a nice, crisp seam after your zipper is inserted and stitched.
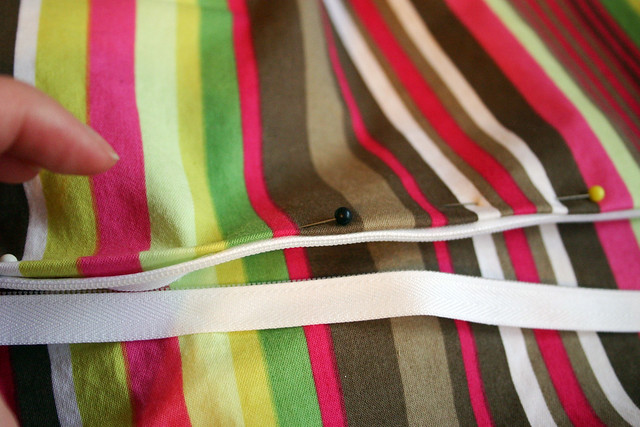
Step 3. Pin baste your zipper to the seam allowance exactly how it will appear from the right side with the zipper pull facing up. This step may not seem necessary, but it makes it less confusing when it comes to stitching the correct side of the zipper in place. Repeat this step for the other side so that you get the following:
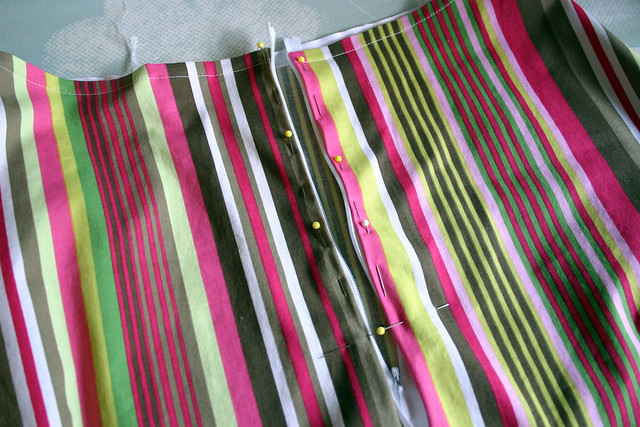
All pinned!
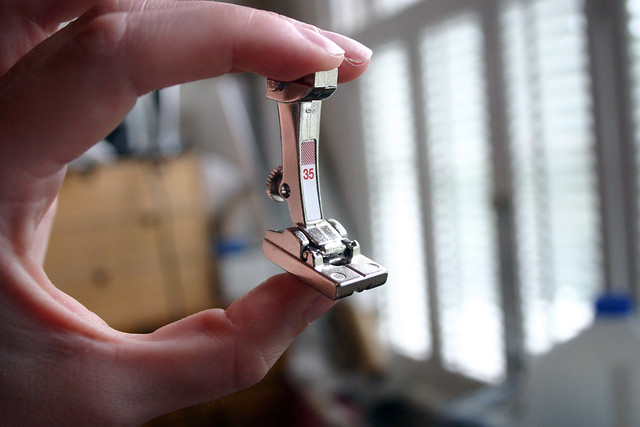
This is the kind of invisible zipper foot you’ll want to use for sewing the zipper to your project. Plastic feet exist that you can buy at fabric stores, but they aren’t all that great. The best kind of foot is the one that’s compatible with your machine. I bought mine at a local Bernina dealer that sold feet for my particular model, but you can also find feet easily online. They’re more expensive than the plastic feet, but well worth it when it comes to avoiding major headaches.
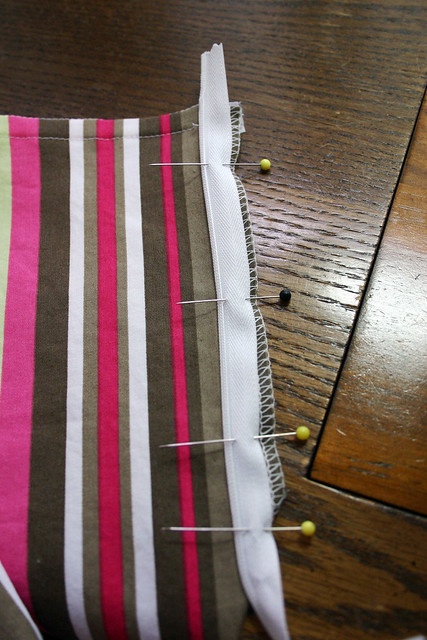
Step 4. Unpin and unfold one side of the side seam and pin the zipper along the pressed crease, lining the teeth up with the crease.
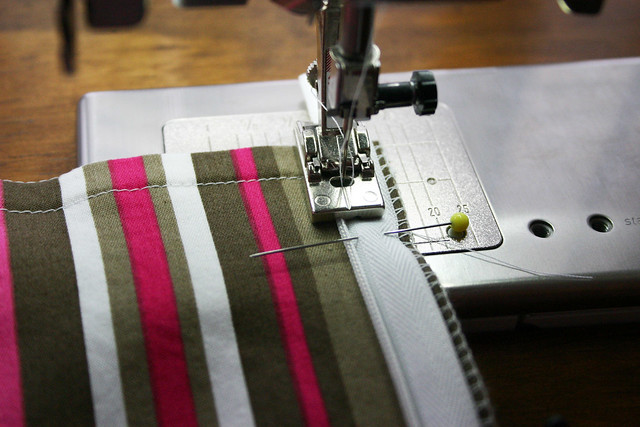
Step 5. Align the groove of the invisible zipper foot over the teeth of the zipper coil, using the groove that will allow you to stitch as closely as possible to the coil. Stitch in place, slowly, to however long your zipper should be and back tack at the end.
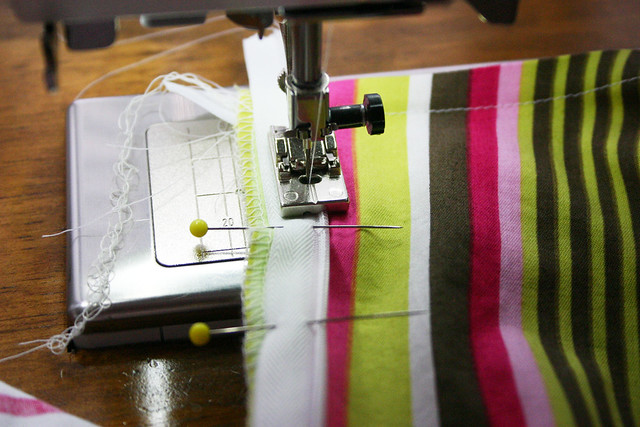
Repeat for other side.
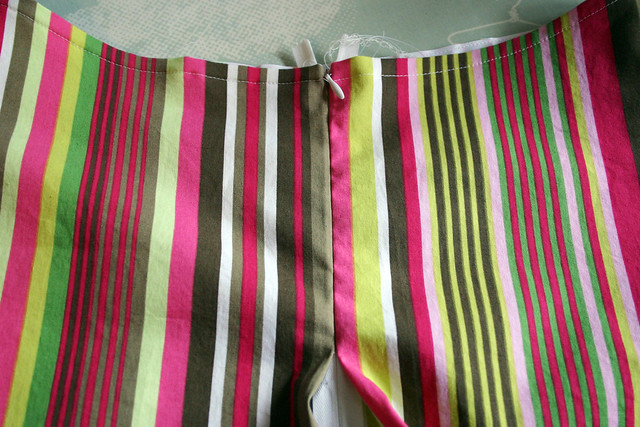
Doesn’t that look nice and professional? Zip up your zipper to make sure it works properly before continuing on to the next step.
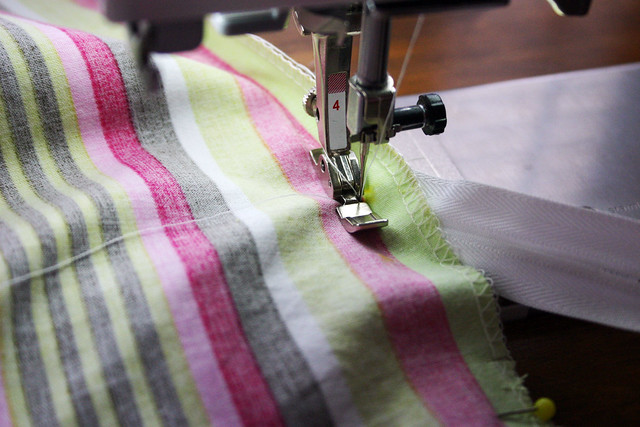
Step 6. Switch to your regular zipper foot. Holding your remaining zipper tail out of the way, stitch to the left of the zipper, starting at the end of the original zipper seam. Try and get as close to the original seam as possible – you won’t be able to get right next to the zipper because of the bulk the zipper creates. This part is tricky, I usually have to stitch it a few times to get it just right. You only need to stitch with the zipper foot for about an inch or so. Then, switch to your regular straight-stitch foot and finish sewing the seam. Press seam allowance open.
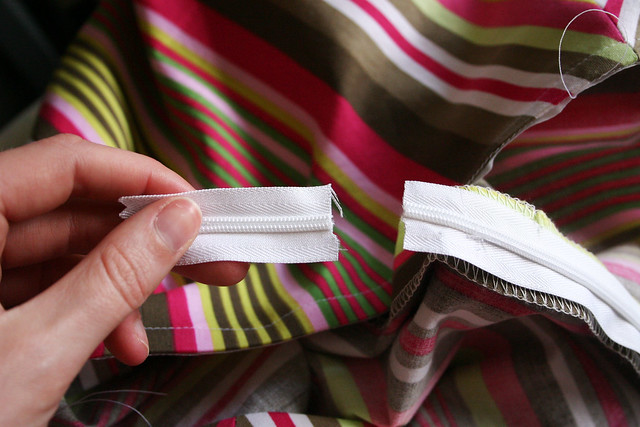
Step 7. For this zipper, I didn’t need to use the whole length. I cut off the excess with a pair of craft scissors (not my good Gingher shears!).
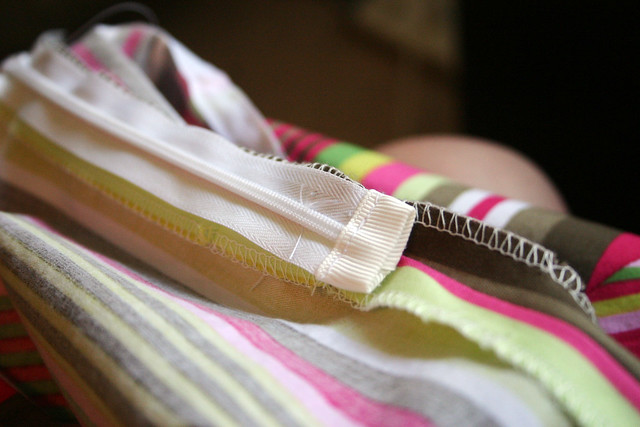
I found some grosgrain ribbon in my stash and covered the zipper end with it. It gives it a nice, finished look and prevents the zipper from coming off the track. Much nicer than stitching over the zipper teeth to create a zipper stop!
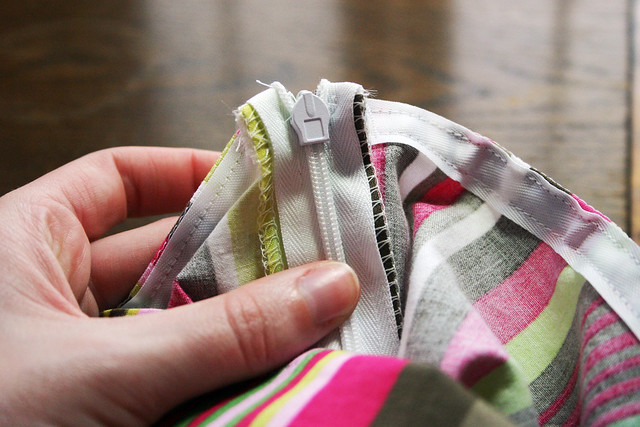
Step 8. Fold the top of the zipper tape over the seam allowance and tack into place to prevent the zipper tape from sticking out at the top.
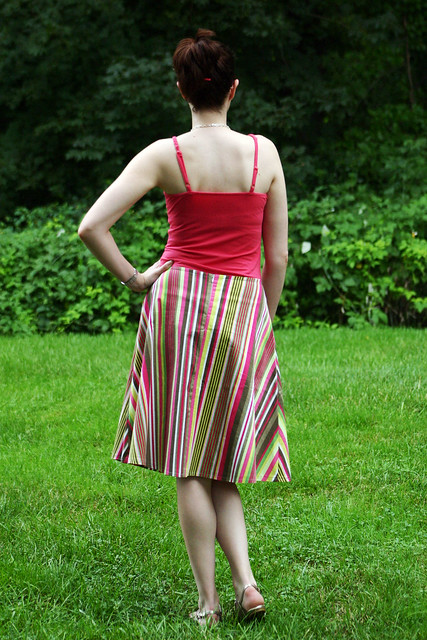
Zipper perfection! I hope this tutorial gives those of you who are intimidated by invisible zippers the confidence to go ahead and give them a shot. The end results are really worth it.
Oh, I never knew they made an invisible zipper foot for Bernina machines! I have always lightly ironed the zippers open and just pinned open and rolled as I sewed, but this might make invisible zippers even easier.
BTW, have you noticed all of the clothing (and Project runway dresses this season) that feature very obvious and decorative zippers running down the back of skirts and dresses?