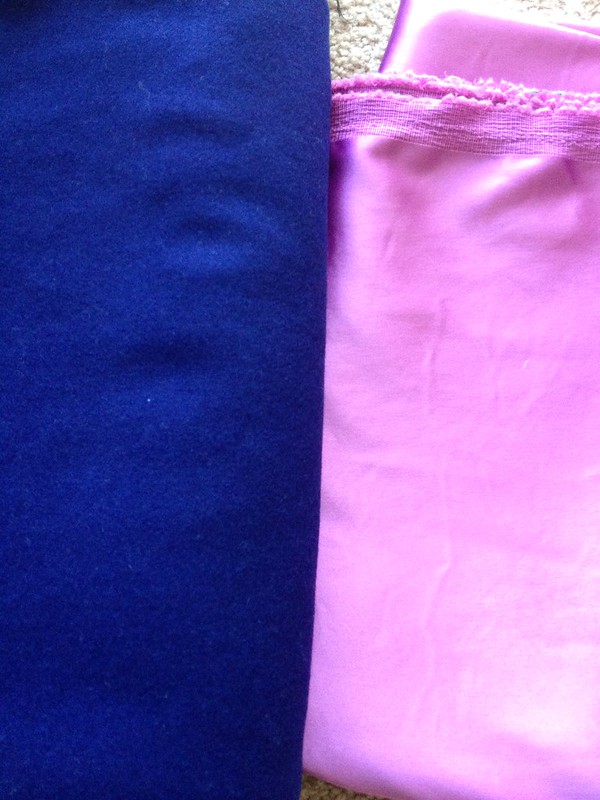
It was hard to get the colors right, but the left is a dark violet/indigo wool (from Metro Textiles), and the left is a lilac poly sateen for the lining (from Fabric Place Basement). I originally bought a white gold acetate for the lining, but learned from some research online that it’s a weak fabric, should be used on garments that won’t be worn often, and shows water/sweat marks. No thanks! I’ll save that fabric for lining skirts. As much as I really wanted to use silk charmeuse for the lining, I couldn’t justify spending that much money on the lining, and I’m pretty happy with what I found instead. I preshrunk my wool using the dryer shrink method Sarai explains on the sewalong page, and washed my poly in cold water with some of my other clothes. This jacket is going to be drycleaned, so I’m not too worried about shrinkage (and I’m notoriously bad about taking my coats to the cleaners).
All that’s left is to find nicer fusible weft interfacing than what I found at Joann’s (not convinced that it’s right for my fabric), and buttons that will coordinate. Grey’s Fabric has some weft interfacing that I’m going to pick up this week, and the buttons can always wait until I’m finished with the coat – no bound buttonholes for me on this project.
On to the fitting photos! I’m pretty pleased with how it turned out, but I have a few concerns. There’s quite a few iPhone photos below:
The front looks pretty good! Not too tight in the bust and plenty of room in the hips.
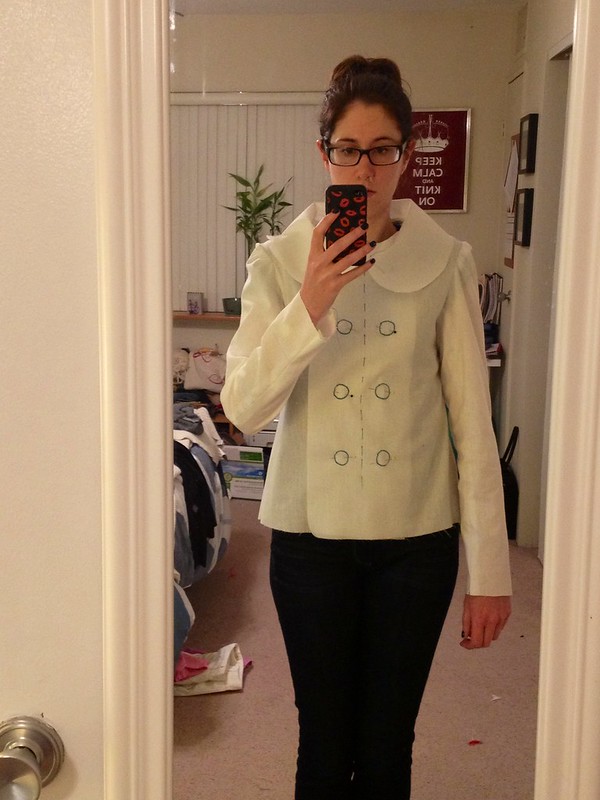
Further away, full front photo. Yes, it’s hair up/glasses on on the weekends, hahaha.
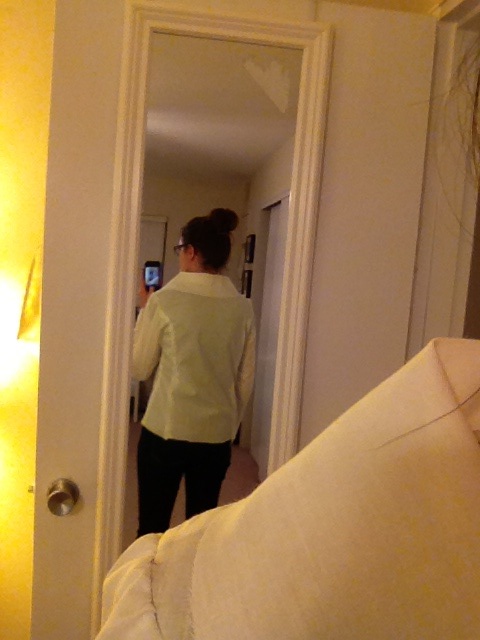
View from the back, looks good. No extra fabric or bagginess, definitely easy to move in.
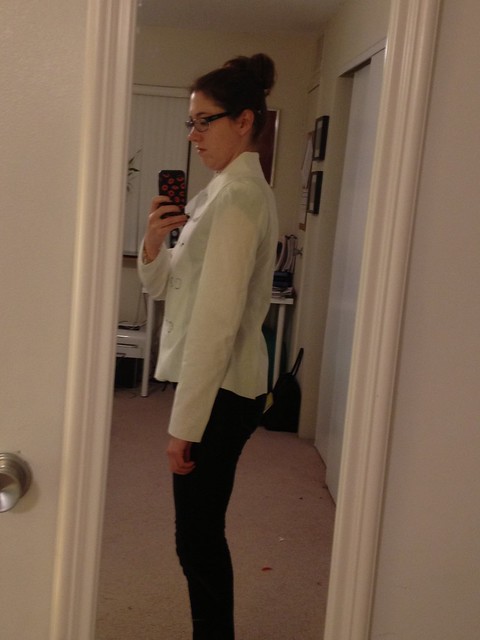

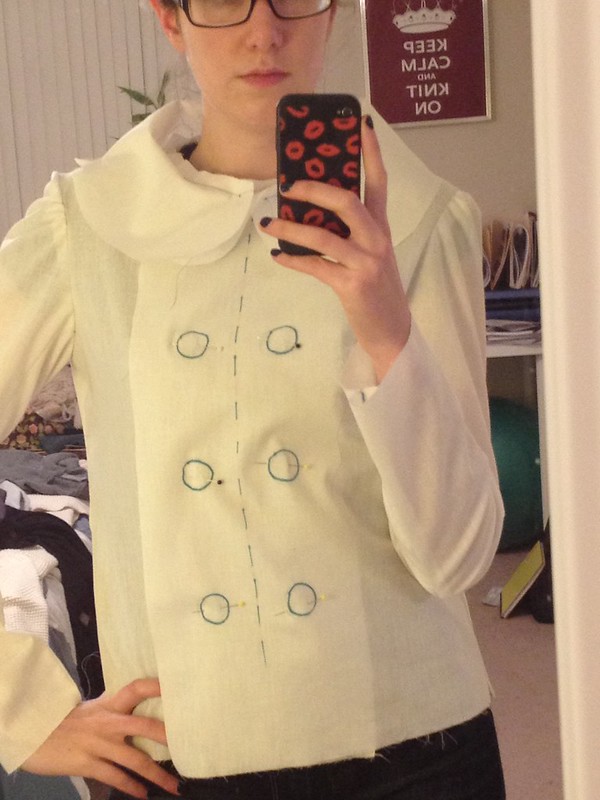
This is where I’m not sure about the fit – the sleeves. Granted, I did a crappy job inserting the sleeves, there was soooo much ease in the front of the sleeve cap and I didn’t do the greatest job inserting them. However, it seems like there’s excess fabric at the cap because of the drag lines I’m seeing. Here’s some other views:

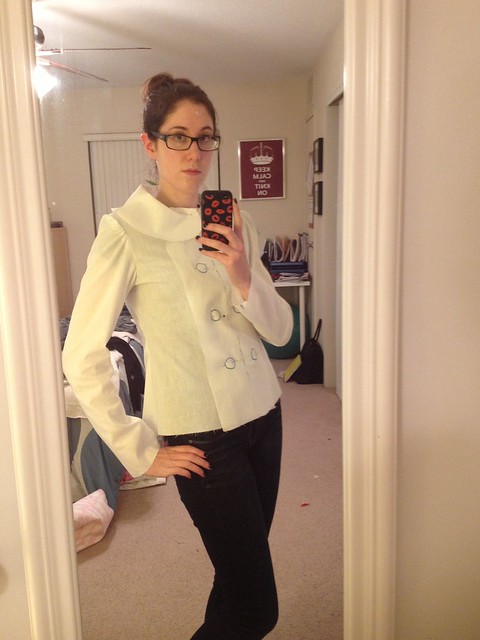
Lololol bitchy resting face.
See? It’s dragging in the front. I pinned my shoulder pads in to the muslin as well to see if that would help. I’m hesitant to make any changes to the cap, and if it’s really because I didn’t distribute the ease properly (it seemed like there was a ton of ease up front and a little in the back, according to how the markings lined up), I may go back and redo the sleeves to see if that changes anything. When my arms are relaxed, it’s not as apparent. I’m also going to make a sleeve head when I sew my final garment, so maybe that will help.
Suggestions on the sleeves? Anyone else run into this when making their Anise?
I was going to say the sleeves aren't quite as well fitting as the rest of the jacket. I think it's going to be a pretty cool jacket though! Love the fabric choices!
I know, it's a bummer – I think I'm going to take out the stitching and try to sew the sleeves again.
Are the sleeves properly rotated? I was reading something recently about that happening with sleeves when you set the sleeves in backward or when you didn't match all the notches correctly. Just a guess, though! I'm not the best with diagnosing such things.
Everything matches up, which is why I was so perplexed. Usually, with the sleeves I've set, the majority of the ease is in the back of the sleeve instead of the front. I'm going to give it another go tonight.
the fit looks pretty good! i was browing the threads channel on youtube recently and Angela Wolf had a segment about sleeves. she suggested sewing the underarm first (from notch to notch) then pin the cap in while wearing the garment. that way you can adjust exactly where you need the sleevecap to sit. also, wool will be infinitely easier to ease!
That's a great idea, I'm going to give that a try! Thanks!
Wow, that's a great tip! I'll have to try that!