Floral Tania Culottes

Tania Culottes
 

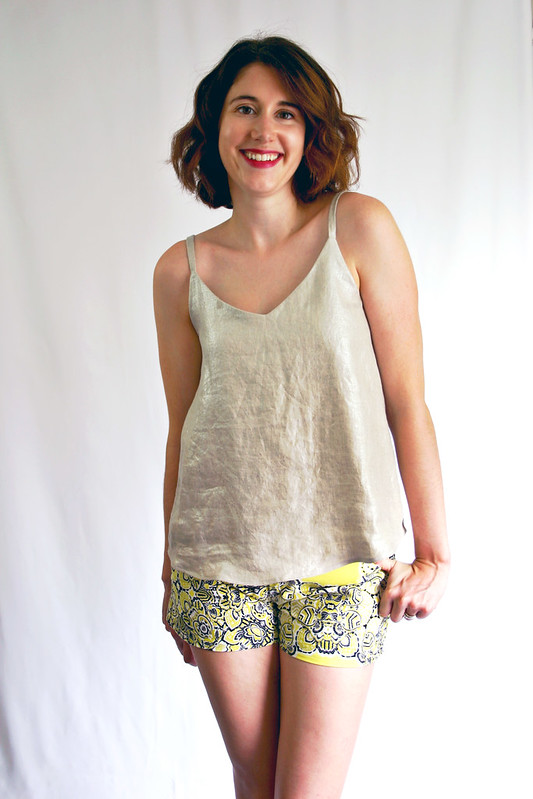
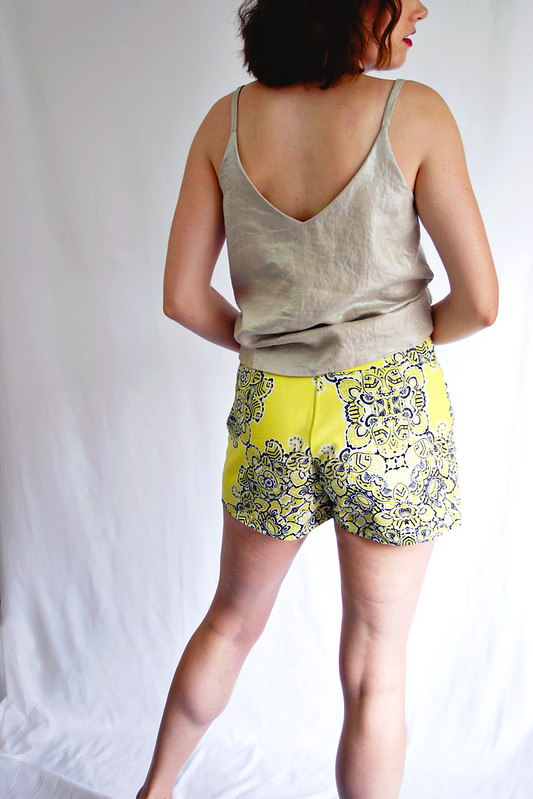
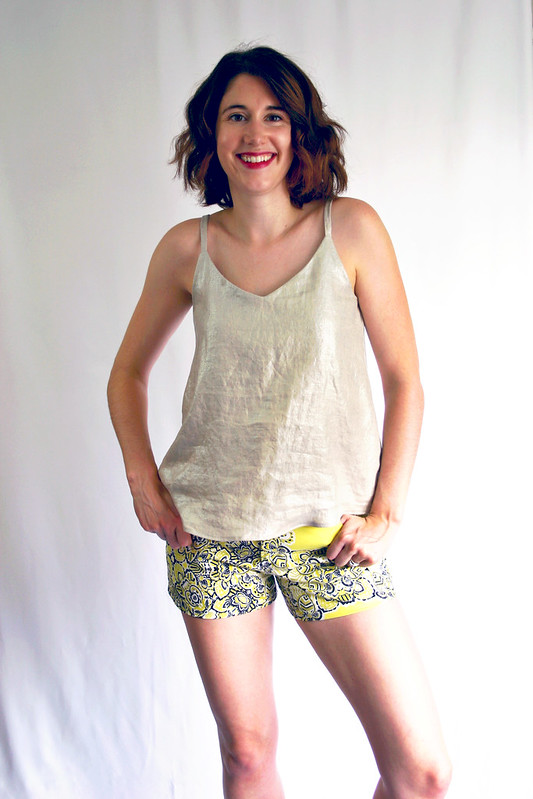
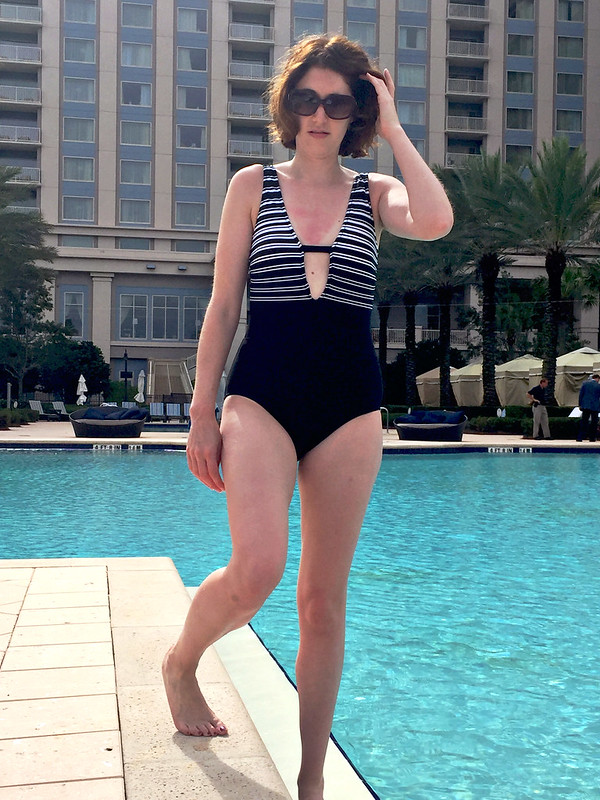
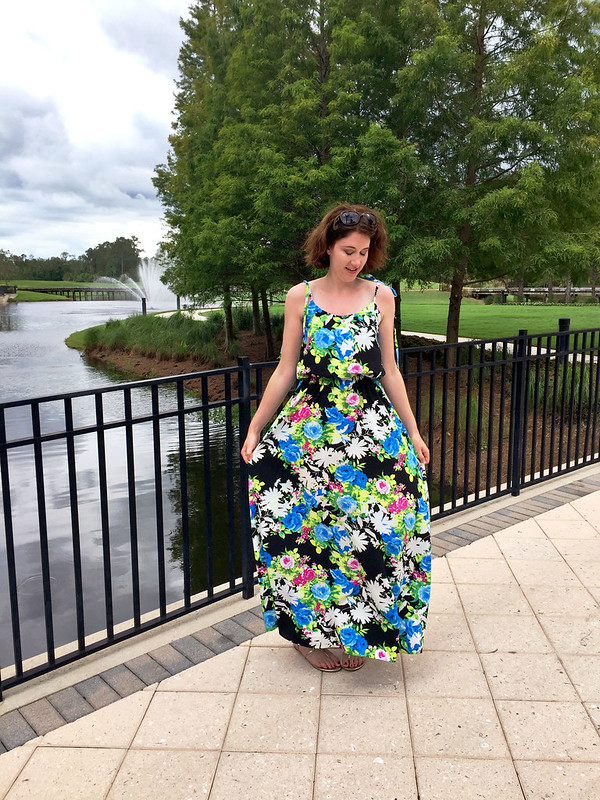
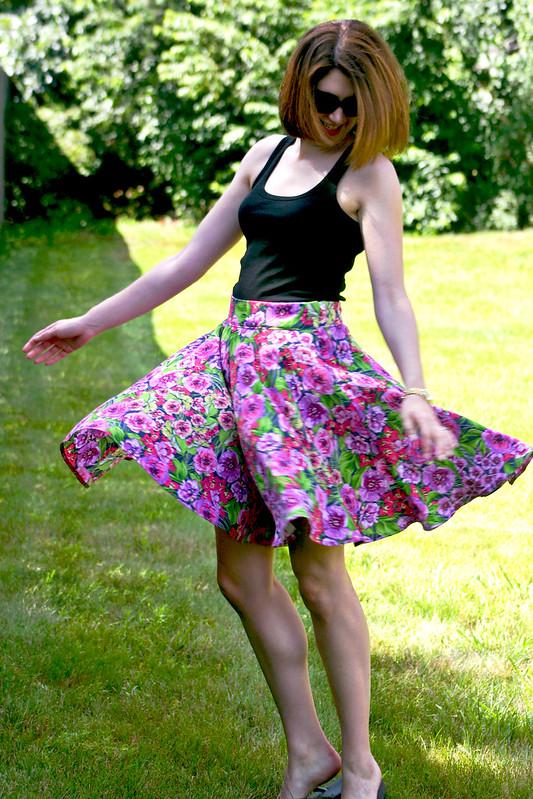
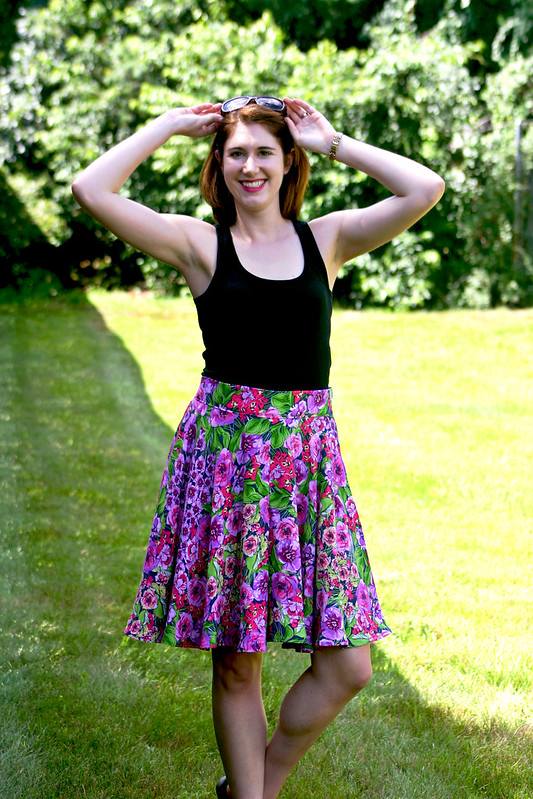
Culottes are fabulous and I need a collection of them ASAP. Of course, these are not the culottes of my childhood in the late 80’s/early 90’s, these are the brilliant and fashionable Tania Culottes designed by Megan Nielsen.


Tania Culottes


When the Tania Culottes came out about three years ago, I instantly fell in love with the skirt-meets-shorts styling and practicality, and ended up seeing them made up all over the sewing blogosphere.  For whatever reason, maybe because I never seemed to find the right fabric, they got pushed out of my memory and I forgot all about them until seeing the pattern again on Indiesew.  Culottes and wide-leg pants are having a moment right now (is the fashion pendulum swinging away from the skinny pants and jeans we’ve worn for the past 10+ years?) and I saw lots of stylish women wearing some iteration when I was in NYC over the weekend.  So, bring on the culottes!


Tania Culottes
 

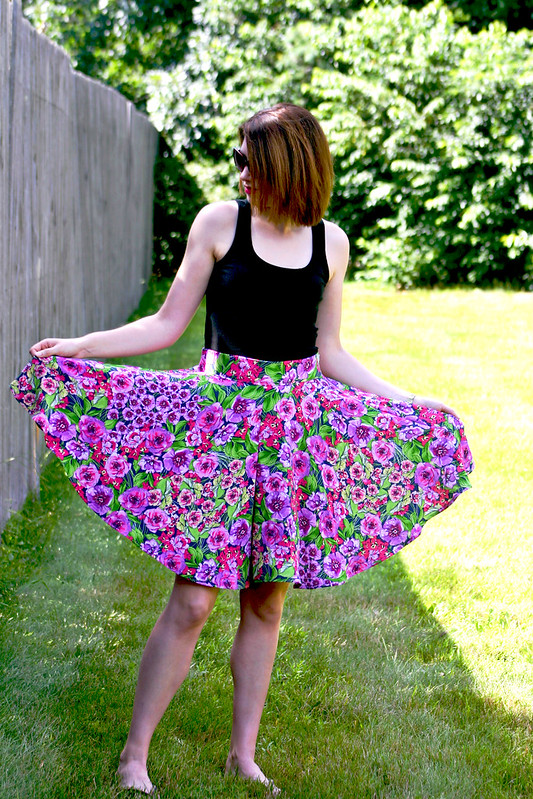
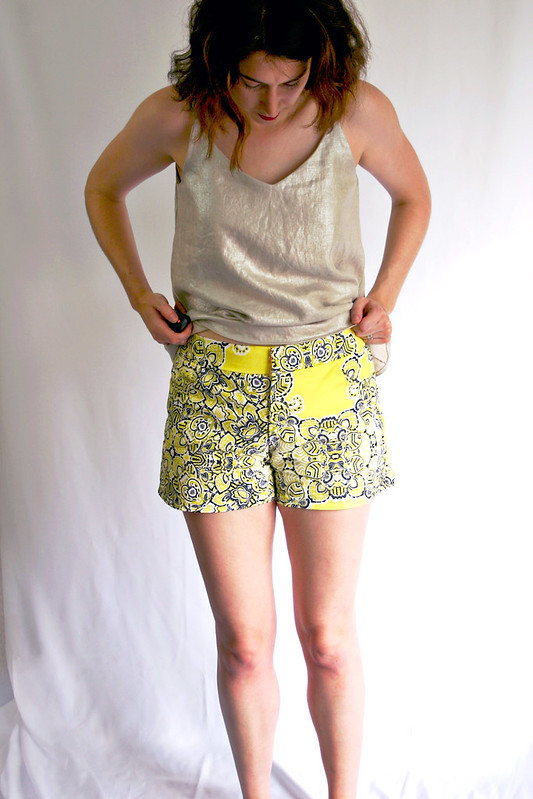
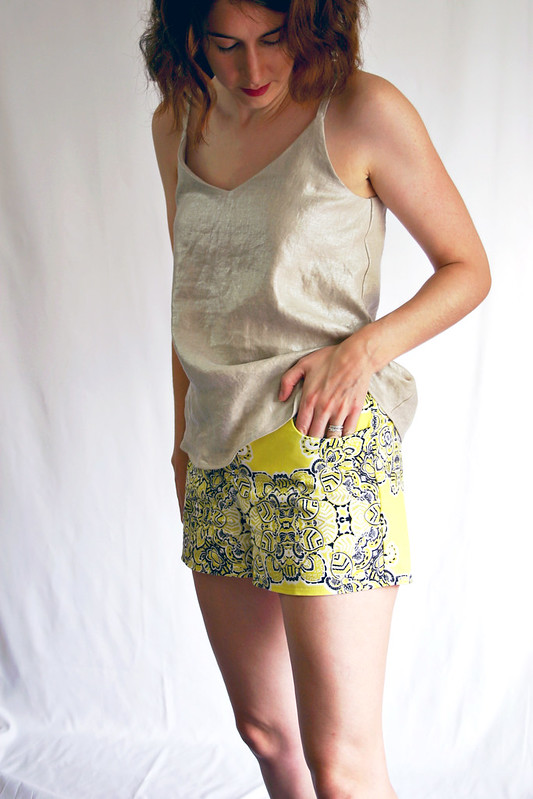
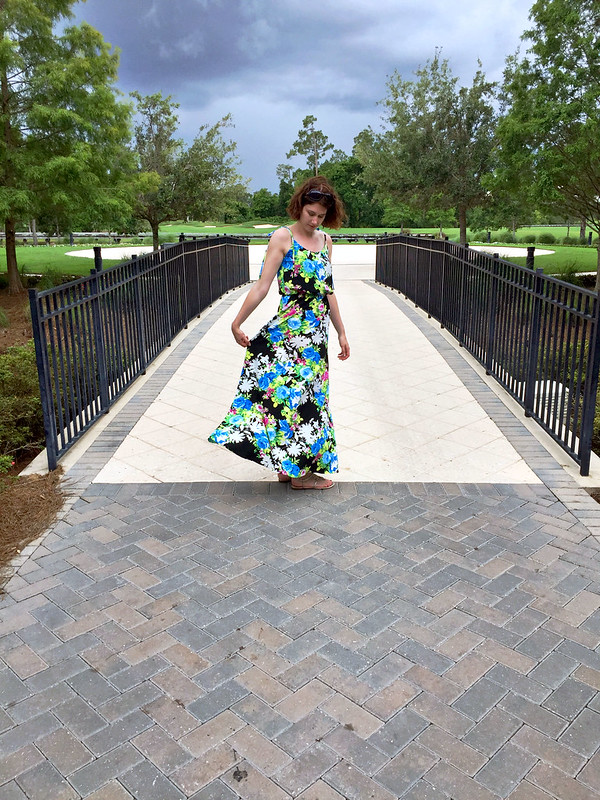
I love that these culottes look like I’m wearing a floaty circle skirt when in actuality it’s just really full shorts. The pattern drafting is genius; to make it look like it’s a skirt in the front and disguise the leg holes, two darts are sewn on either side of the front and the back that add fullness and folds of fabric across the front. So smart! The construction was super easy, but it was the hemming of these culottes that was a nightmare, as to be expected from anything a) rayon and b) cut on the bias.


Tania Culottes
 

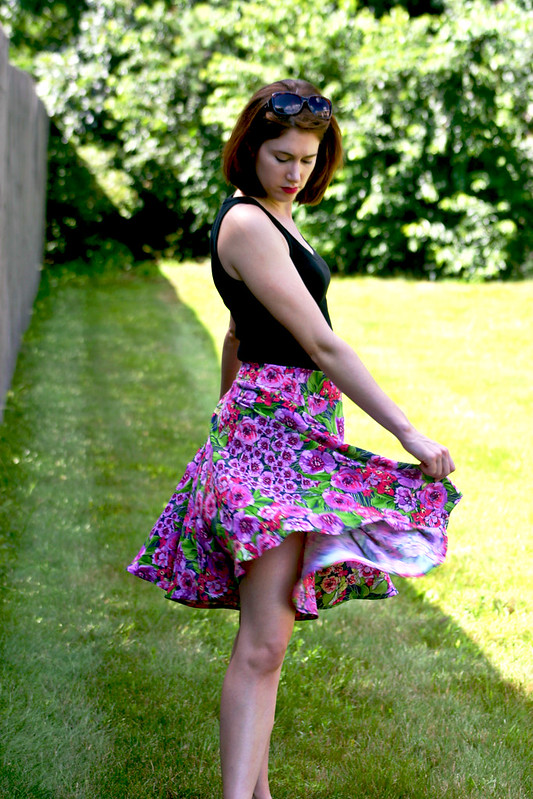
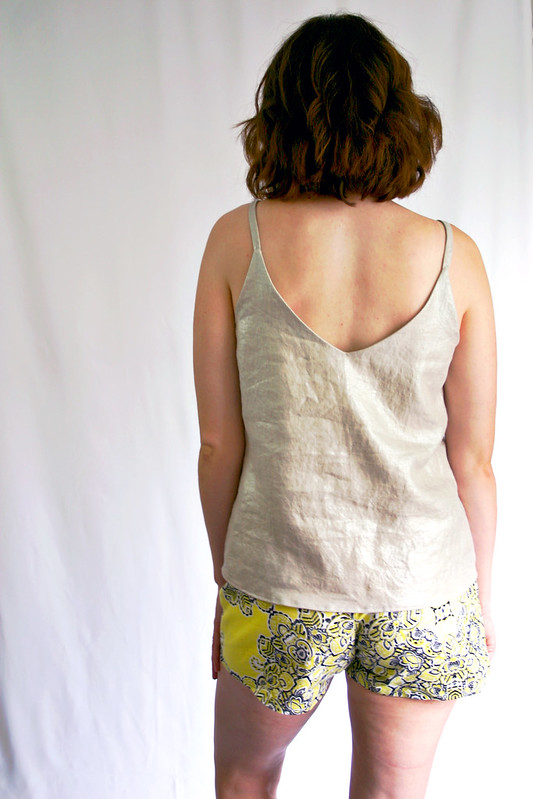
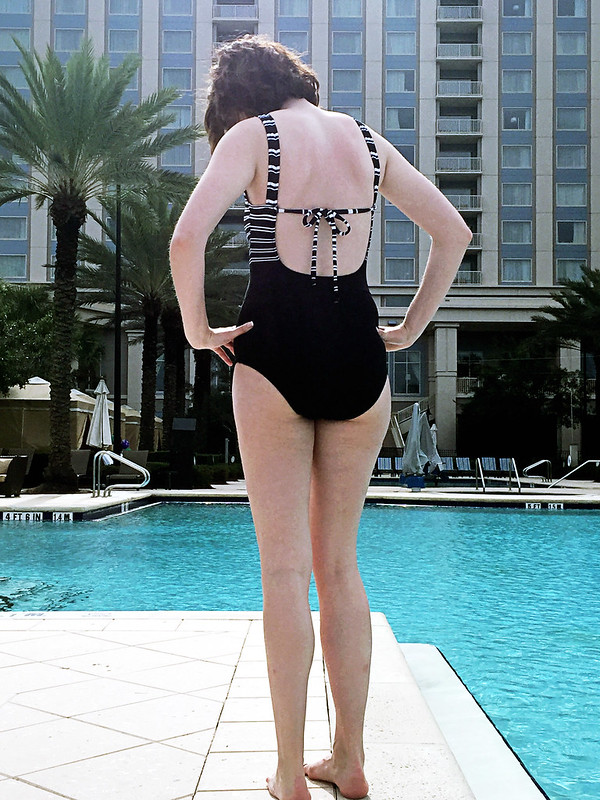
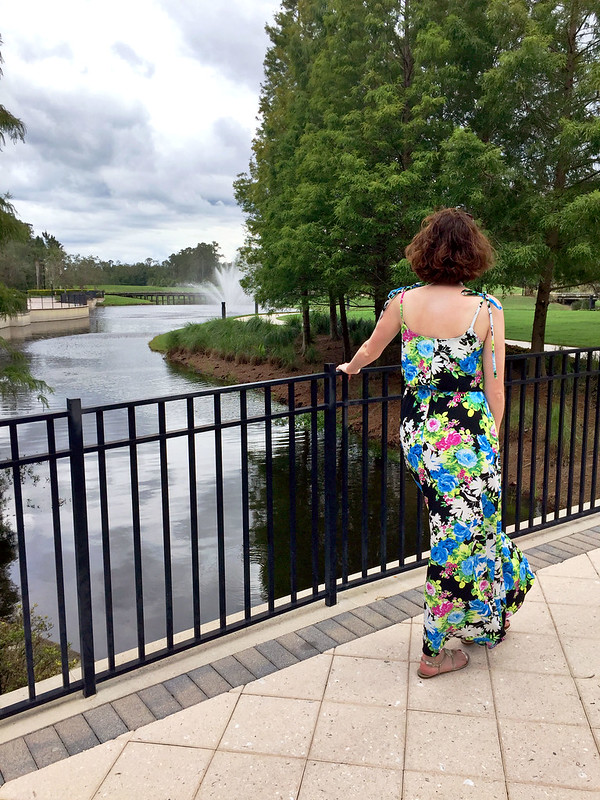
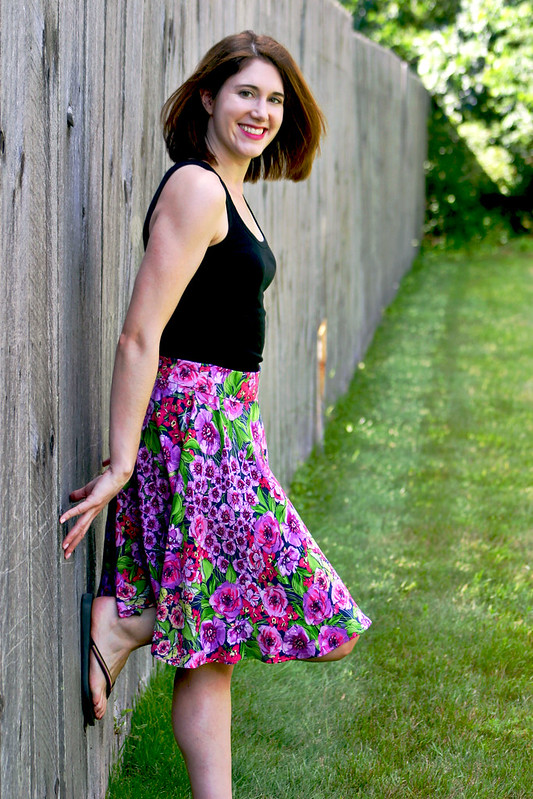
Because I knew that the hem of the culottes would get all kinds of wonky because of the bias, I made the knee-length version of the pattern to allow enough “margin” if I needed to really whack off a lot of fabric to even out the hems (plus, I read all of the reviews about the shortest length – I want to be able to wear these to work and not flash my bum!). I hung the culottes up for about 24 hours to allow the bias to settle and wow, these got pretty crazy. Evening them out was a struggle, I hung them up in a door frame, taped one leg to the side of the door frame, and used my shears to eyeball and cut an even hem. That wasn’t enough, so my husband saved the day and evened up the hem with my scissors while I wore them. I honestly don’t know how I would have hemmed these without his help, and I know for sure that this isn’t the most even hem, but I think it passes for being ok-looking!


Tania Culottes
 

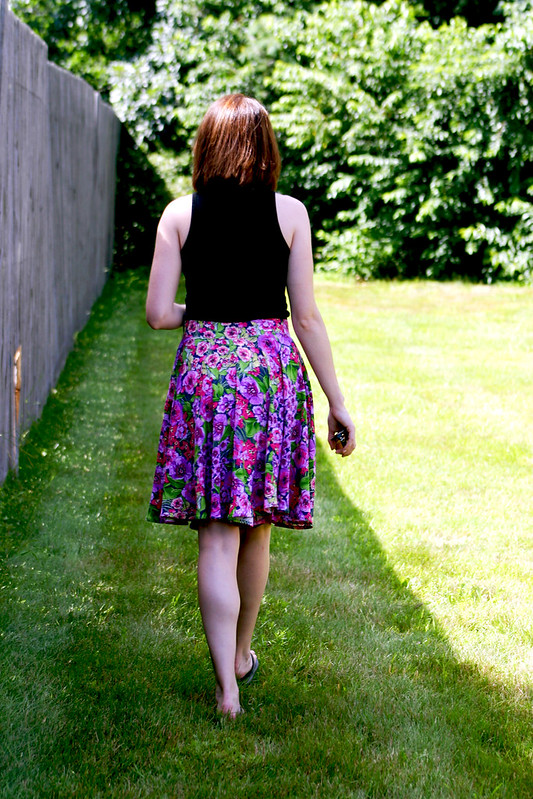
You can tell a little bit from the back that the hem is not quite even, but heck with it 🙂  I made a baby hem by serging the edges, using the stitching as a guide for turning up the hem 1/4″, and then turned the hem again for a total of a 1/2″ hem.  Its the same kind of hem I used for my wedding dress and it’s a pretty easy way to finish the edges on lightweight fabrics.


Tania Culottes
 

Would I make these again? I don’t know…with the hem being such a headache, I probably wouldn’t make another short version but would potentially contemplate making the long length out of some kind of light wool crepe. I’m really digging wide-leg pants right now and want to make some for fall (maybe Megan’s Flint pants?). These kinds of shorts/pants are total man-repellers, but I love them!


Tania Culottes

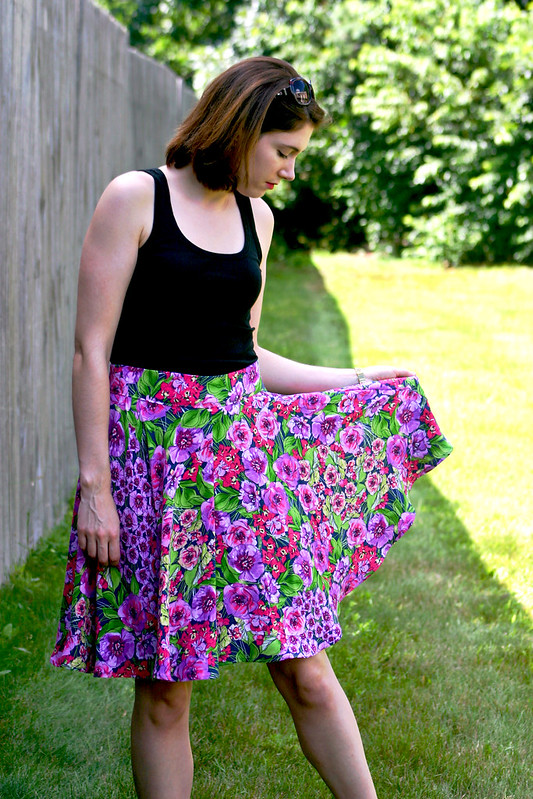
Pattern: Tania Culottes by Megan Nielsen, Version 2
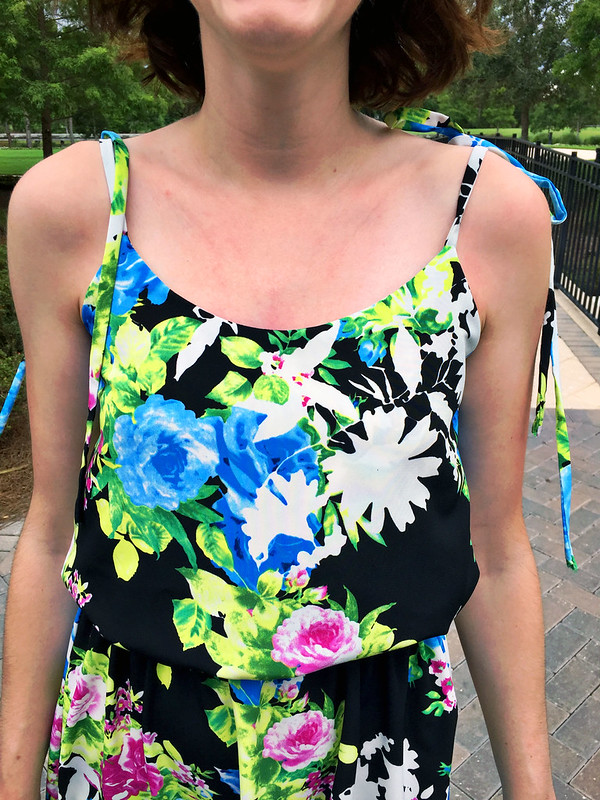
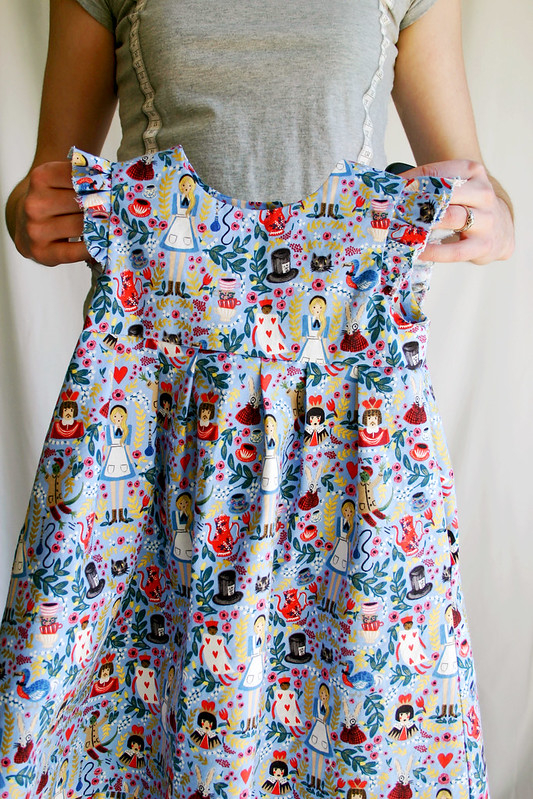
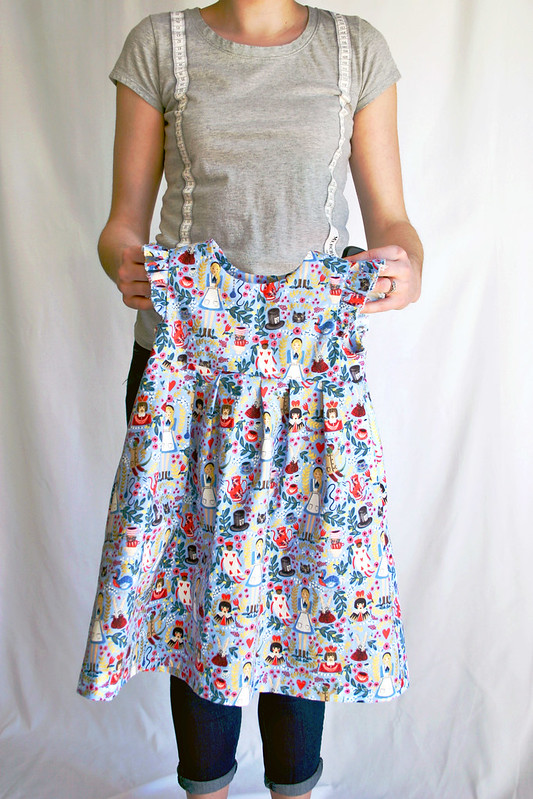
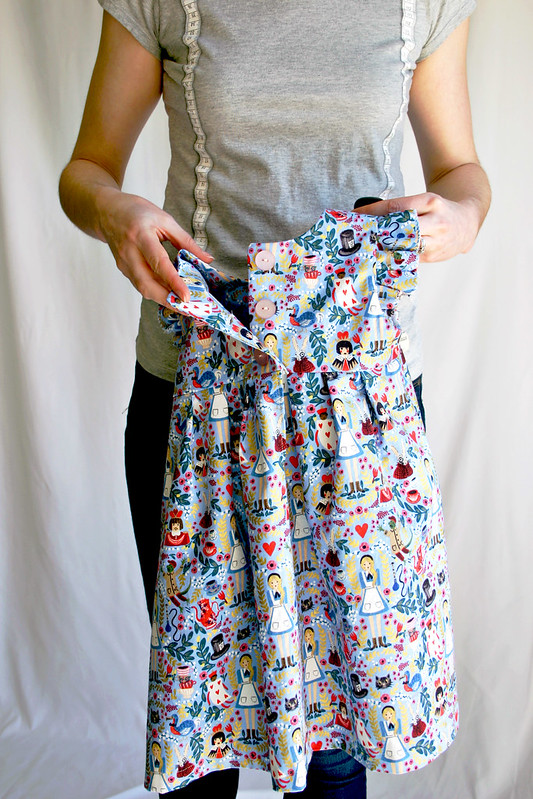
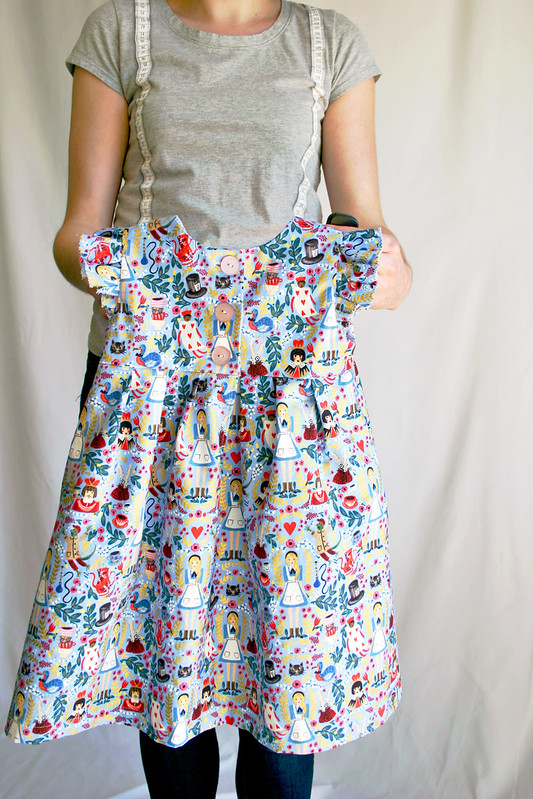
Fabric: cotton/rayon from Burkholder Fabrics
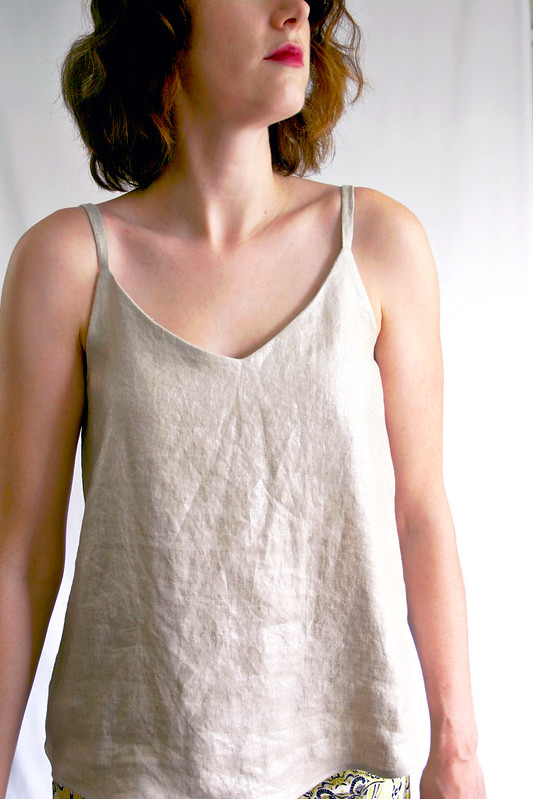
Tank Top: Gap
Flip Flops: Old Navy
Sunnies: Tommy Hilfiger


This post is part of the Indiesew Blogger Network – pattern or fabric may have been provided by Indiesew, however all thoughts and opinions are my own

Follow:

Summer of Basics – Ogden Cami Edition + Maritime Shorts

Ogden Cami
 

I had my eye on the Ogden Cami when Kelli released the pattern last year, but I wasn’t urged to a make it until participating in Me Made May this year and realized I’m sorely lacking in tank tops. The Summer of Basics sew-along is a great way to fill those wardrobe gaps (I may need to do one of these for the fall!) and this cami is my first finished project for the sew-along.


Ogden Cami
 

After recently organizing my stash and “discovering” a length of gold metallic linen I bought a few years ago to make, yes, a camisole, I committed to sewing it up right away for this summer. I love the sheen and how it catches the light! It does wrinkle quite a bit, as is the nature of linen, but it adds to the overall casual style of the cami.


Ogden Cami
 

The cami went together in a snap, nothing like cutting out and making a project to wear out to dinner later that night.  Sew up the sides, make the straps, attach the straps, sew on the facing, sew the hem – boom, done.  I like the fact that the neckline is finished with a long facing that won’t flip out, and the way the straps are sewn in is pretty smart.  After attaching the straps to the front I tried on the tank with the straps pinned to the back to check the length and the straps were spot-on.  Honestly, I wouldn’t change a thing with this pattern and plan on making more for my wardrobe.  This would be a good stash busting project!


Maritime Shorts
 

These shorts aren’t part of my Summer of Basics plan, and I actually made them last year, but I never blogged them and thought they looked cute with the Ogden Cami.  These are my first pair of Maritime Shorts and they are so.  Stinking.  Perfect.  I still haven’t had luck with sewing pants, but these shorts are 100% a perfect fit on me and there wasn’t a single thing I needed to change.  Wowzers.  I wore these to death last summer and they’re on heavy rotation right now, with another pair cut out and ready to go on my sewing table.


Maritime Shorts
 

I used a cotton sateen that I found last year at Fabric Place Basement, it’s a BCBG border print-type fabric that I played around with, trying to maximize as much of the printed portion versus the solid of the fabric. Because of the print, I opted for no back pockets but definitely will use back pockets on my future versions. I need a whole assortment of these for the summer, they’re so much nicer and a better fit than my J Crew chino shorts.


Maritime Shorts
 

The rise on these shorts is also nice, it’s a mid-rise that keeps everything contained, if you know what I mean.  Not shown in any of the photos I took, but I used a bicycle-printed coral fabric for the inner waistband and pocket lining. It’s kinda wacky, but I find it fun and amusing when there’s little surprises like that inside garments. I’m using seahorses on the inside of my next pair!


Ogden Cami
 

Patterns: Ogden Cami by True Bias, Maritime Shorts by Grainline Studio
Fabrics: Cami – metallic linen; Shorts – cotton sateen; both from Fabric Place Basement


This post is part of the Indiesew Blogger Network – pattern or fabric may have been provided by Indiesew, however all thoughts and opinions are my own

Follow:

Vogue 9192 Stripey Swimsuit

Vogue 9192
 

2017 is the year of the one-piece bathing suit for me.

To be quite honest, I’m over the teeny triangle bikini tops and swim bottoms that you need to hold onto when a big wave breaks in the ocean.  Maybe it’s that I’m older now and I just want to be comfortable in a fuss-free swimsuit at the beach and pool.

In preparation for our Florida vacation at the beginning of June, I started scouring the internet looking for one-piece swimsuits and had a hard time finding anything that wasn’t too frumpy or mumsy looking.  I ended up buying one from J.Crew that’s pretty cute, but it still wasn’t fitting the bill of what I wanted: a low back, some kind of print or pattern that looked slimming, and something “helpful” in the bust area that I’m severely lacking.  Fortunately, Vogue 9192 checks off just about all of those boxes.


Vogue 9192
 

This is an awesome pattern (I want to make the other one-piece from this pattern) but the fabric is really what’s making the suit – a border print with variegated stripes on both ends and black in the middle, found in a swimsuit remnant bin at Fabric Place Basement.  Playing around with the pattern placement, I placed the bodice pieces on the fabric so that the stripes ended right where the V stops and cut the bottom portion of the suit out of the solid black part of the spandex.  That way, the stripes would draw more attention upward, with some of the larger stripes going across the bust, and the bottom part of the suit in black would have a slimming effect.  My stripe placement isn’t perfect at the side seams, which you’ll see in other photos, but I’m pleased as punch with how the stripes match across the front and back bodice pieces!


Vogue 9192 5
(I got the worst sunburn on my chest the very first day, no way to color-correct that in Photoshop!  That’s what I get for not reapplying in time!)


Obviously, this is a verrrrrrry low cut swimsuit in the front (and the back) and I was worried that it might not be, ahem, that secure when I wore it in the pool.  To be quite honest, I felt really comfortable and confident wearing it and would be more concerned if I had a larger bust that something might slip!  The straps across the middle are designed to anchor everything in place across the two cups; I eliminated one of them since the second one seemed too long for me and bunched up in the middle, guess I didn’t need that extra security.  I also added in some small swim cups for modesty between the lining and the outer fabric and tacked them to the lining, an exercise that took quite a lot of fussing to get the cup placement just right.


Vogue 9192
 

If there’s one thing I’d change about this swimsuit, if I was to make it again, it would be the order of construction when turning the seam allowances with the elastic and attaching the straps etc.  It’s very “homemade” to turn and sew the elastic, and then go back over the original stitching to attach the shoulder straps and front bodice strap.  Fortunately with black fabric and black thread it’s not noticeable, but it would have been with a lighter colored fabric.  I believe the directions are written this way because it makes it easier to construct the suit, but if you’re really looking for a professional finish, it would be best to try to do everything in one step with one line of stitching.  Just nit-picking, but it’s something I wish I thought of earlier on when I was sewing.

This design is right on-trend and exactly what I was looking for in a one-piece swimsuit pattern – c’mon Vogue, give us some more!


Vogue 9192
 

Pattern: Vogue 9192, View B
Fabric: spandex remnant from Fabric Place Basement

Follow:

Saltspring Maxi Dress

Saltspring Dress
 

Florida vacation + 3 meters of gorgeous fabric from Barcelona = excuse to make a maxi dress (although, does one need an excuse? Hardly!)


Saltspring Dress
 

We just celebrated our first wedding anniversary this past weekend (crazy, time flies!) and decided to do a little getaway trip to Florida for a couple of warm days by a fancy swimming pool, some welcome relief after the cold spring we’re experiencing in Boston.  Like a lot of sewists, I always try to make something new to take on a trip and wanted something special to wear on our anniversary.  I had a maxi dress in mind with this floral polyester crepe I bought in Barcelona last month, and with the Saltspring pattern on my “to sew” list for a while now, the two seemed like the perfect match.

This pattern is brilliant – the proportion of the blousing of the outer layer is just right and I appreciated the use of the waist seam allowances as a casing for the elastic!


Saltspring Dress
 

I followed the pattern to a “T,” but after reading a bunch of pattern reviews online, I opted to skip the zipper in the back – I knew I wasn’t going to have a hard time pulling the dress on over my head since the bodice looked pretty roomy.  I didn’t have enough fabric to cut the back bodice pieces on the fold, but that’s ok since the print is pretty busy.


Saltspring Dress
 

I got sunburned on my chest the first day we were there…oops.  It’s much worse than what you’re seeing!

The ties are pretty long and I know some people ended up shortening them, which I may do in the future after wearing it a few times if they start bugging me.  And let me tell you – using a bobby pin to turn narrow tubes is a life-saver in situations like this, I definitely recommend watching this video if you’ve never tried it.


Saltspring Dress
 

I don’t have much to say about this dress since the pattern is pretty much perfect, although I wish I looked at the skirt length before I cut out my fabric – it’s a little short for my personal liking as a maxi and I made a baby hem in the skirt to keep as much length as possible (for reference, I’m 5’8″).  Other than that, I’m thrilled with this new addition to my summer wardrobe – now if only the warm weather from Florida followed us back home!

Pattern: Saltspring Dress by Sewaholic Patterns, view B
Fabric: poly crepe from Ribes y Casals Barcelona

Follow:

Alice in Wonderland Geranium Dress

geranium dress
 

Have you ever sewn for little girls?  Let me tell you – it is so.  Much.  Fun.  Well, sewing for kids in general seems fun because everything goes together so quickly and you don’t need much fabric, but sewing for little girls is a delight because of all of the cute details and adorable fabrics you can use!

My niece turned two in April and I really wanted to make her something for her birthday.  My mom is having so much fun making little sweaters and hats for her and I didn’t want to miss out on the fun, and when I saw the Geranium Dress pattern on Instagram, it looked like the perfect pattern to try out for her birthday.

Plus, it gave me a reason to buy one of the adorable prints from the Cotton + Steel Wonderland collection by Rifle Paper Co!


geranium dress
 

There was a bit of a risk making this dress for my niece since she and my sister live four hours away in NJ and I had no idea if this was going to fit her well.  Fortunately, my sister measured her and she was spot-on the measurements for the 2T size.  Then, it was just a matter of crossing my fingers and going for it!  I guess the great thing about sewing for kids is that their bodies are like little rectangles, they don’t have all of the fitting conundrums we adults have with hips and shoulders and curves like that.

The dress was a snap to make, I used the dress view with the ruffle sleeves and self-lined the bodice instead of using lining fabric.  The ruffles were a little fiddly to make with zig-zagging the edges, I hope the stitching holds up in the wash and the edges don’t fray too much.  I would definitely try doing a narrow hem next time and see if that gives a nicer result.


geranium dress
 

geranium dress
 

The back closes with three buttons and a little placket below in the skirt for easy on-and-off (well, you’ll have to ask my sister if it’s easy to get on and off of my niece, haha!).  It was surprisingly hard trying to find the right buttons at Joann Fabrics that would either match or coordinate with the fabric and were the correct size – is it just me, or is the button section of Joann Fabrics so much smaller than it used to be?

Ok, enough about making the dress – here’s pictures my sister took of my niece wearing her dress on Easter!


geranium dress
 

geranium dress
 

I’m definitely planning on making her more of these, there’s a bunch of different ways to mix and match this pattern to create new looks!  The tunic view would be adorable on her.  Plus, this pattern goes all the way up to 5T and there’s an expansion pack up to 12y.


Pattern: Geranium Dress by Made By Rae
Size: 2T, dress view
Fabric: Wonderland in Periwinkle by Cotton +Steel

Follow: