On Kollabora? Heart My Garments for the BERNINA Ambassador Contest!

Screen Shot 2016-03-03 at 8.55.07 PM

February flew by, didn’t it?  Now that entries are closed for the BERNINA Ambassador search, the voting is now open.  Along with submitting an application for consideration in the program, projects are also voted on by the Kollabora community.

I could really use your help!  The above three garments are projects I entered into the contest and they could use a little love.  If you’re on Kollabora, please vote for any (or all!) of the below projects:

Eleanor Cardigan

Simplicity 1158 Hack

Floral Wrap Dress


Looks like it’s a pretty quick selection process, voting ends by next Friday, 3/10 and winners will be announced on 3/15.  Cross your fingers for me, and thank you for your help!

Coming next week – an update on the wedding dress (can’t wait to share)!

Follow:

Want to be a BERNINA Ambassador?

Bernina Ambassador

My love for Bernina should come as no surprise to anyone who reads this blog – I come from a Bernina family and have always sewn with a Bernina since I first started to sew at 9 years old.  My new 550 is a dream to sew with!

Have you heard about the Bernina Ambassador program?  Bernina has teamed up with the lovely peeps at Kollabora to look for new BERNINA Ambassadors  to join their content creators at WeAllSew, and are looking for talented sewists who like creating projects for all skill-levels from DIY-fashion to home decor.  The really cool part about the program is that you get a new Bernina machine to use for a whole year!  There’s also some neat networking opportunities with sewing industry pros and hello, you get to brag that you work with Bernina – how amazing is that?!

The deadline to throw your hat in the ring is coming up on February 28 and it’s super easy to enter – head to Kollabora to read more.


(And yes, I entered as well!)

Follow:

2015 – A Sewing Year In Review

My #2015bestnine featured lots of dress sewing and some fun fabrics
I’m going to sound like a cliche here, but holy crap, where did 2015 go?  At the end of each year for the past few years, I’ve written a round-up of “best of” posts or “top 5 hits/misses,” but this year, I honestly didn’t feel like doing one focusing on what I made – my sewing productivity in 2015 was much lower than in years past, and I didn’t blog everything I made either.

I’m ok with that – 2015 was the year I slowed down my sewing and took my time to enjoy the process instead of rushing to make something to share with everyone.  I focused on improving my skills and stitching, and making better quality garments.  Oh yeah, and there’s that thing called a “wedding dress” I’m making…that slowed things down considerably!

Instead, here’s some highlights of my sewing year:

View Post

Follow:

Sewing is All About the Details


fabrichaul

One of the many things I find gratifying about making my own clothes, other than being able to play fashion designer when it comes to building my closet, is the reaction I get from people when I tell them I made the shirt or dress I’m wearing that day.  Their mouths gape open and they look again, closer, because they’re thinking there’s no way a person can make clothes look as good, if not better, than something you’d find in a department store – surely anything made by a hobbyist should look Becky-Home-Ec-y (not!).  My sewing didn’t always used to be that way though; a lot of sweat and literal tears over the years went in to learning how get garments to fit right, seams to look seamless, and making fabric behave the way I wanted it to behave.  Heck, I still run into problems every now and then that test my sewing skills and stretch me further in my abilities.

At the end of the day, sewing is all about the details: it’s having the right tools to get the job done, the right supplies and materials for the garment at hand, and knowing how and when to use them.  You could have the most beautiful fabric in the world to work with, but if you’re using the kind of pins that leave holes in your fabric and a machine that chews up your seams, it doesn’t even matter.  Your results are going to look amateur, and who really wants that after spending so much time on a garment.

There’s a lot of tools and gizmos out there for sewing.  Not sure where to start or what you really need?  Don’t worry, I got a freebie for you with what I consider to be my 10 most important tools in my sewing box, along with links to the specific tools I use every time I sew.  I wouldn’t ever sew without them and you shouldn’t either (Spoiler: #10 is the most important).

Follow:

4 Essential Principals for Sewing Photography


I’m not going to lie: taking good quality photos for the blog is hard.  It was especially tough when I had a shaky plastic tripod and had to run back and forth to hit the timer button on my camera.  After writing the blog for so long, there’s a few photography tricks I learned that improved the quality of the photos I took, and thought would be worth sharing with readers as well.

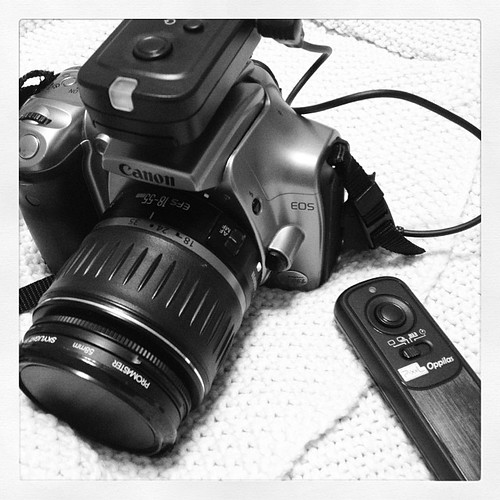
1. It doesn’t matter what kind of camera you have
Sure, a DSLR like the one pictured above is great, but it doesn’t mean diddly if you don’t know how to use it.  I use my iPhone regularly for blog photos and I used point-and-shoot cameras in the past.  In fact, the DSLR camera I currently isn’t even the latest and greatest technology, it’s over 10 years old.  However, I read the manual, played around with it, and even took a digital photography class to learn more about it.  The bottom line is: if you don’t know how to use your equipment, you’re not going to get great photos.

2. Timing is key for good outdoor lighting
This is something that I still struggle with, but after learning more about how to use light outside, my photos are improved.  Taking photos outside around noon is the worst time of day – the sun is directly overhead and casts a harsh light downwards and creates lots of shadows.  Instead, try to take photos during the “golden hour” or “magic hour” – it’s the first hour of light after sunrise and the hour before sunset.  The sun is low in the sky at this time and produces a soft glow of light that’s less harsh than during peak afternoon time.

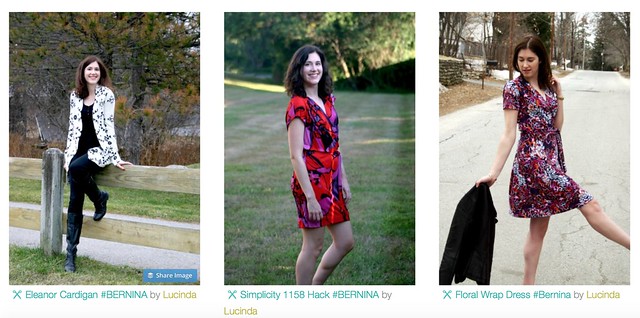
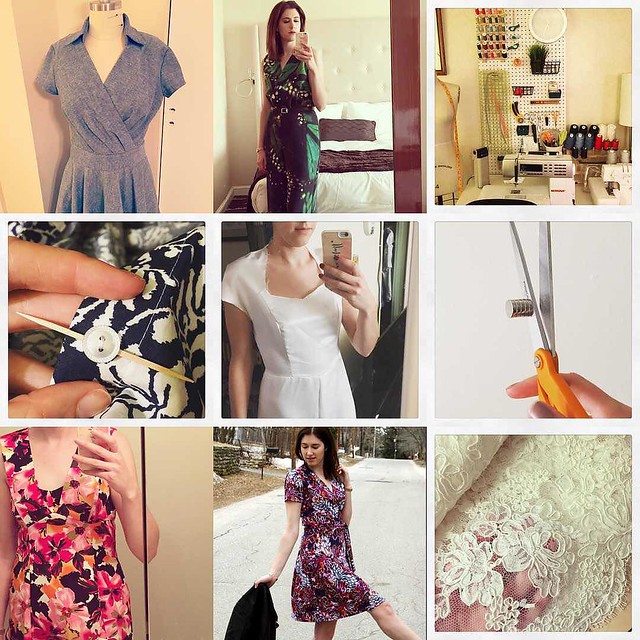
3. Change up your shots – try full-body, close-up, and detail shots
Variety is the spice of life, and shooting different types of angles will give more interest to your garment and create the story you want to tell.  Are you proud of your top-stitching?  Show it off!  Think about how the photos you’re taking will help your reader to understand the fit and details of the sewing pattern and garment, and make sure to capture all elements in your photos.

4. Use photo-editing software 
I live and breathe by Photoshop, and now it’s even more accessable as a monthly subscription to the Adobe Creative Cloud (only $10/mo).  I use Photoshop to tweak the color balance and exposure of my photos, and sometimes I need to do more advanced stuff like erase a sign or a person from the background of my images.  There’s other options, like Picmonkey and Flickr, that can do some basic photo adjustments and give pretty good results.  Regardless of what you choose, adjusting photos post-shoot really elevates the look and feel of your photography and makes them look more professional.

Those are some of the most important principals I always keeps in mind when I head outside to shoot for the blog, and I hope you find them useful as well.

Follow: