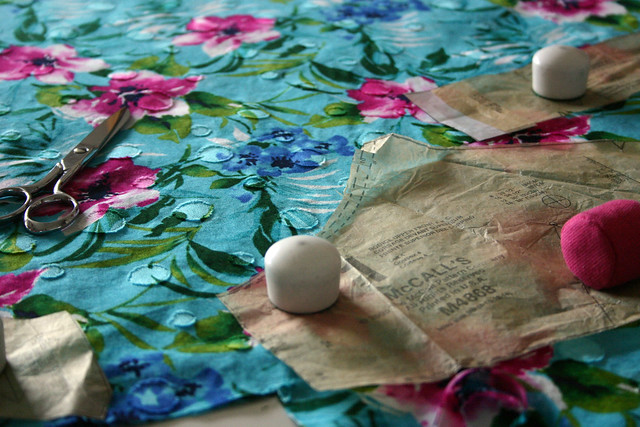
Pattern: McCall’s 4868 (OOP)
Fabric: Cotton, Metro Textile in NYC
Size: 8-10-12
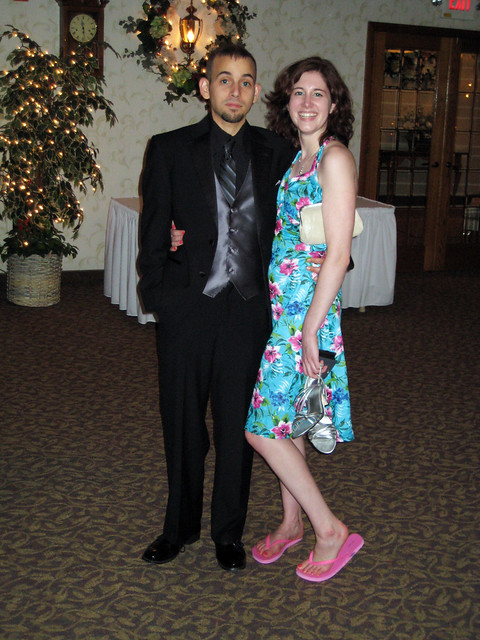
Shoes: Capparos
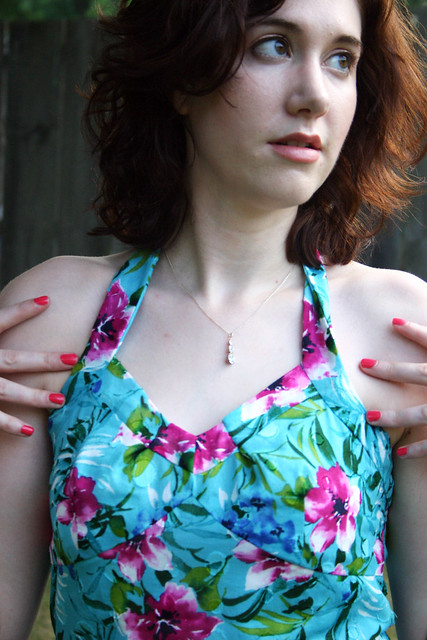
Necklace: gift from my sister (when I was in her wedding)
Clutch: Stila
If you haven’t read the fabulous blog Oona Balloona, do yourself a favor and get over there now. I’ll wait.
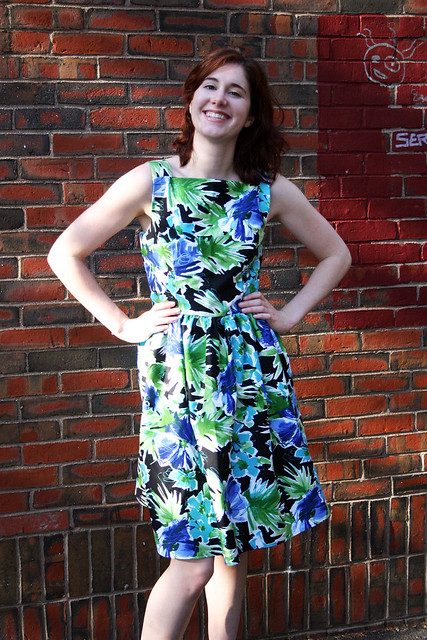
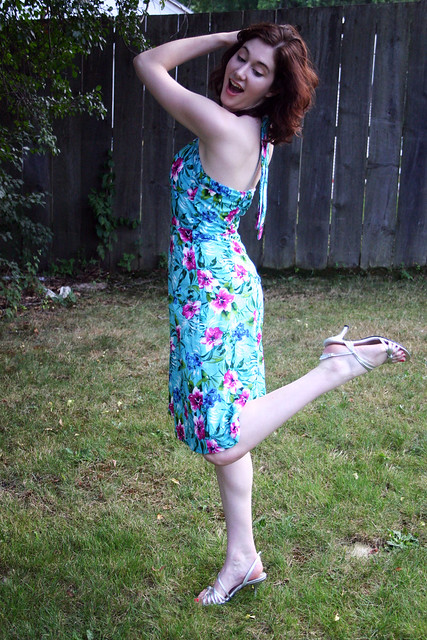
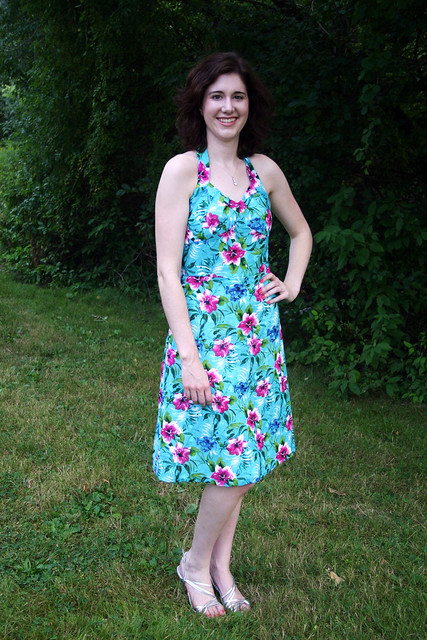
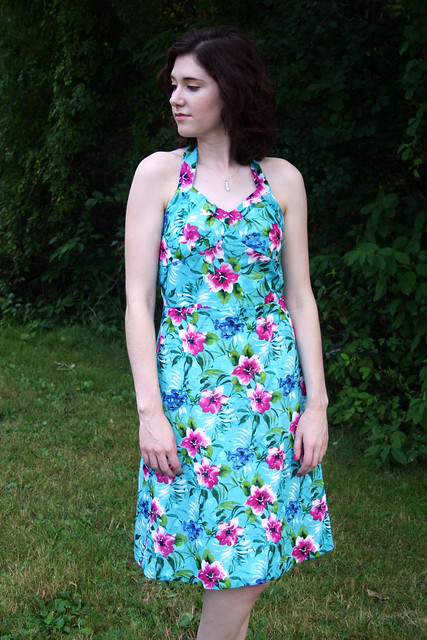
When Oona posted her idea to have a “Promaballoona” in honor of her birthday this year (how rad), it was the perfect excuse to make a fancy dress and getted dolled up. Plus, the timing was right spot on with a wedding that I was planning on going to this summer. Since Promaballoona and the wedding fell right smack dab in the sticky heat of early August, the key ideas were to keep the dress cool and breezy. When I stumbled across this fabric in NYC recently I knew what to make – it screamed “retro halter dress.” Perfect!
So a little backstory about me and prom…I never went. I always planned on what dress I wanted to wear (this one as a matter of fact. I sewed costumes for the spring play during my senior year of high school and made this dress for a few chorus girls), what color it would be, etc. but never got up the courage to ask someone (because everyone knows boys are chicken at that age. Most don’t grow out of it either. Le sigh.). It’s just as well, I ended up coming down with a cold that weekend and did some knitting instead. Looking back eight years later, I’m pretty sure I didn’t miss a thing. Except maybe some stupid drama that always seemed to happen at high school dances…yeah no thanks.
The Pattern
I went digging through my stash and since I was short on time to make this dress, I picked a pattern I made seven years ago, remembering that it went together fairly easily. I knew based on the original dress, I needed to make some alterations to the bodice pattern since it fit really loosely now.
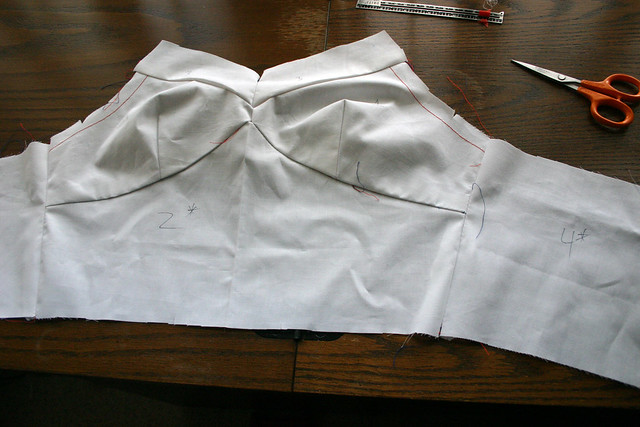
Um…I had to use three different sizes to get the bodice to fit. Wowzers, I think that speaks volumes to the fact that muslins are a non-negotiable when it comes to sewing. It involved making a size 10 for the bodice, trying it on, pinning it where it was loose and letting it out where it was tight, and redrawing the stitching lines. When I laid the pattern pieces on top of my fitted muslin, I discovered that it was an 8 at the top, went out to a 10 for most of the bodice, and then to a 12 at the waist. But sewing is all about getting the garment to fit the body and not the body to fit the garment, that’s what I love about it.
And the laws of science also apply to sewing: for every action there is an equal and opposite reaction. By my altering of the bodice pieces, I had to change just about every other pattern piece except for the skirt. Surprisingly, it wasn’t as hard as it sounds even though at the time it was terrifying.
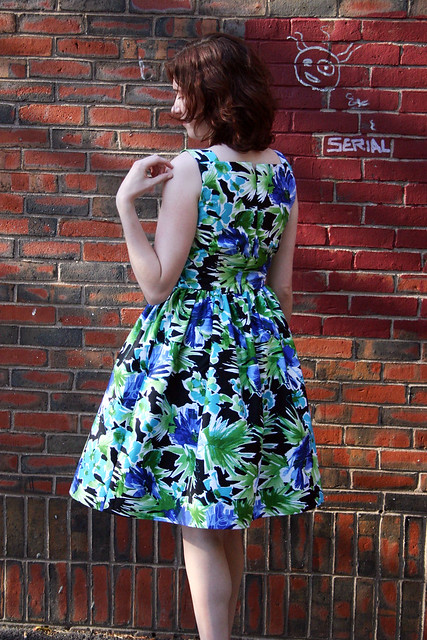
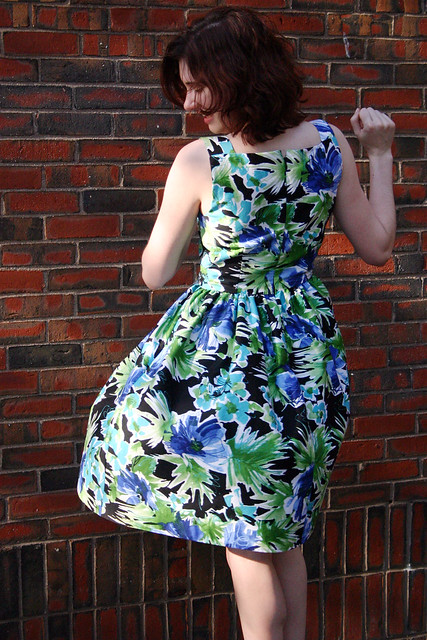
After all of the adjustments to the bodice, I thought I had a perfect fit, except for the fact that the band on the top of the bodice would gape out. I’d try and tie the dress higher up or lower, but it still didn’t fix the gape-age. I blame this on my lack of boobage, whatevs, but it triggered a memory as to why I made small tucks on the original dress bodice: the pattern did this the first time I made this as well. So as you can see in the picture above, I hand-stitched some tucks in place and it blends in just fine, also repeating the tucks in the back. No free show, thank you!
The Fabric
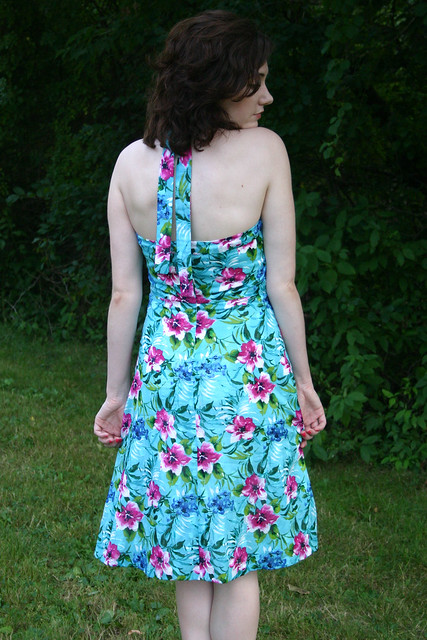
The fabric is a designer lightweight cotton with a weave that made it sheer like a voile. There’s also this really cool jaquard polka dot pattern woven throughout the fabric that looks neat when it catches the light, like in this picture of the fabric on my mom’s cutting table. I purchased a very thin white cotton to fully line the dress, attaching the lining to the top of the bodice band and hand stitching it to the invisible zipper and back bodice bands. It was a much better choice than a synthetic lining – it kept me nice and cool (relatively speaking) that muggy afternoon and felt better to wear.
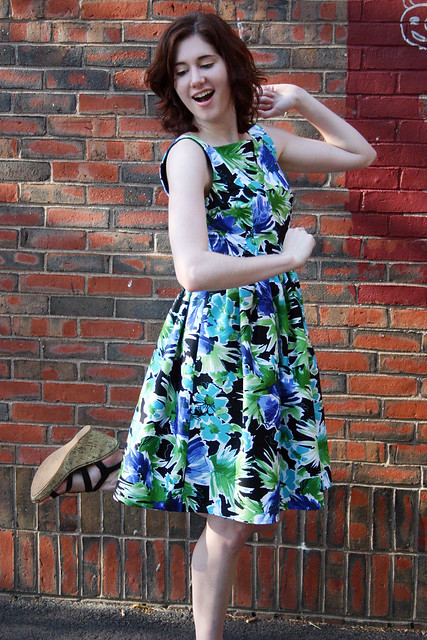
I had a blast that night! It made me wish that we got dressed up like this more often, but then again, how often do you need to wear a tux and fancy dress? And while heels are great and all, they don’t lend themselves well to dancing after a few drinks.
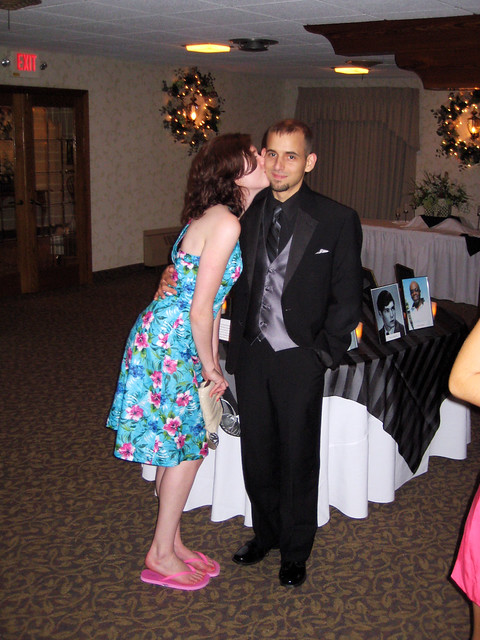
Or kissing your date.
Hope you all had a great Promaballoona! Let’s do this again next year!