Pattern Review: Rigel Bomber [Papercut Patterns]


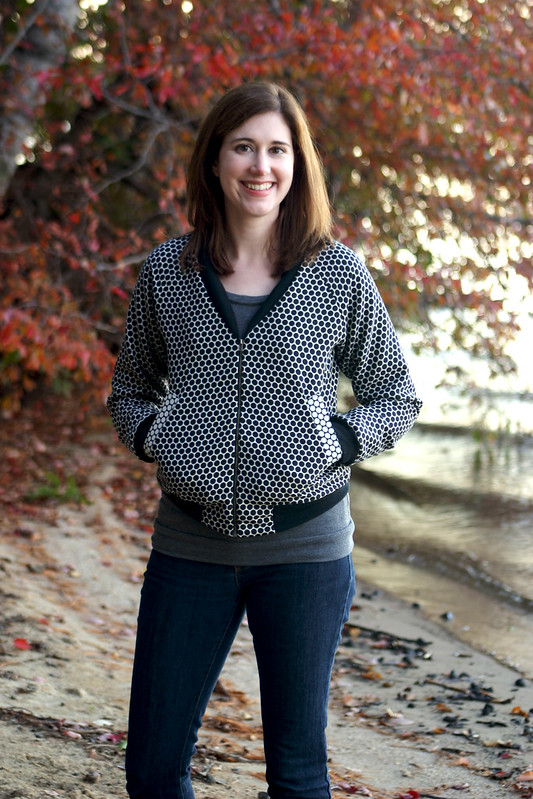
rigel 1


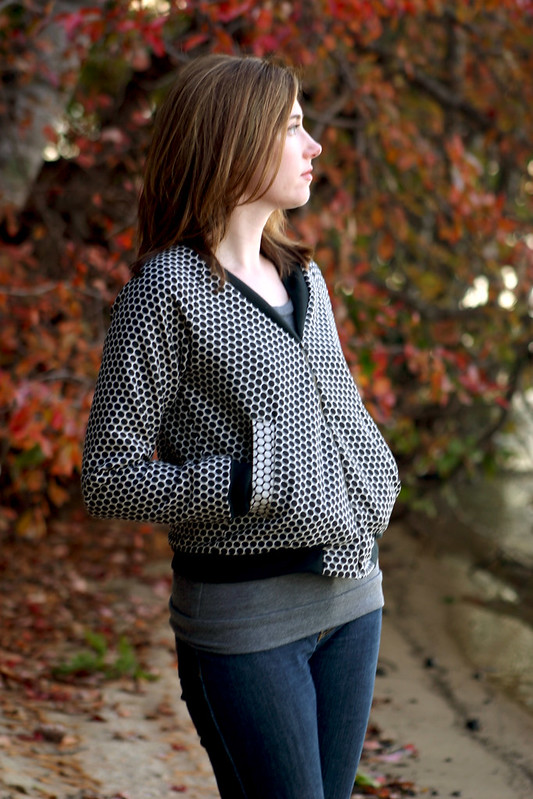
rigel 2

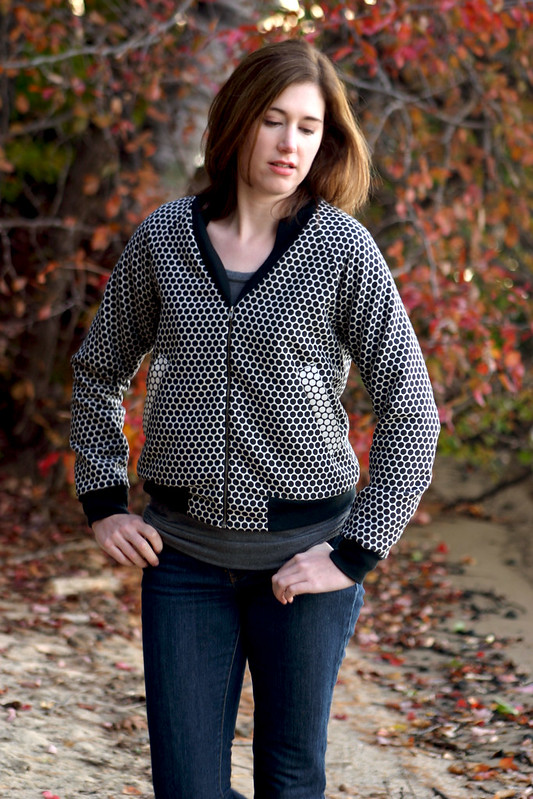
Pattern: Rigel Bomber by Papercut Patterns
Fabric: double sided cotton from Metro Textiles; wool ribbing from Mood Fabrics
Size: XXS

Sweatshirt: Sewaholic Renfrew
Jeans: Michael Kors

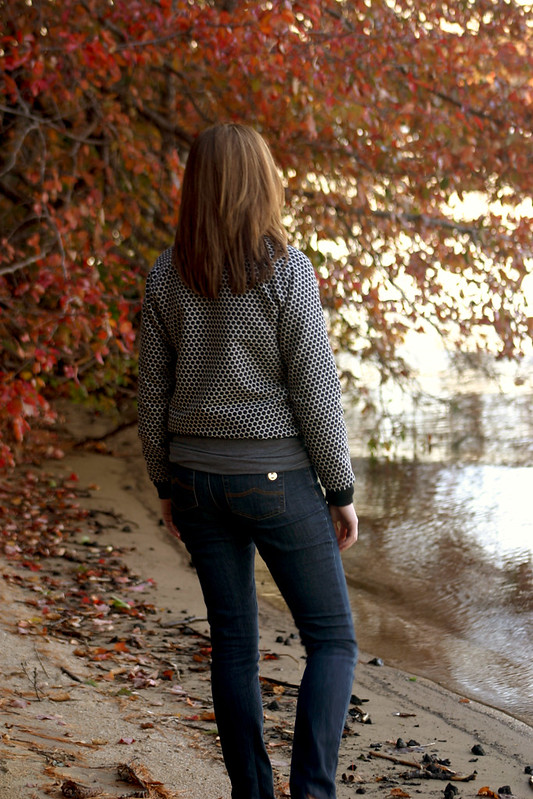
Words can’t describe how much I Love.  This.  Jacket.  It’s so versatile – I dressed it up with black pants to wear for an account meeting, and then wore it with jeans and a sweatshirt up in New Hampshire over the holiday weekend.  It’s just the right amount of weight for early fall weather, and I know it’ll be perfect when spring arrives next year.

The fabric also makes it – this is a medium weight cotton I bought at Metro Textile this summer, not knowing what I’d make from it.  My love for polka dots is unending, and this fabric is a double-sided woven with polka dots…swoon!!  How could I not bring this fabric home with me?


rigel 3

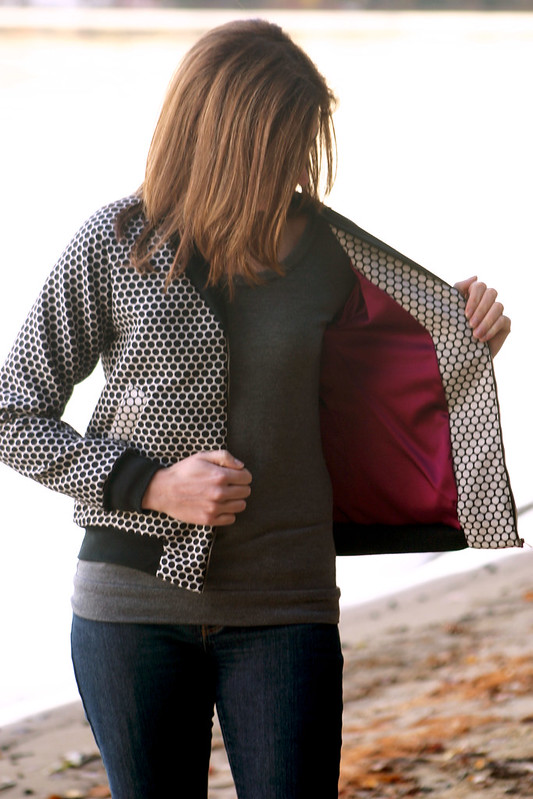
True to how Papercut Pattern sizing runs (way too big on me, that is), I cut out a XXS for the top of the jacket and graded to a XS from waist to hips.  What I can’t figure out for the life of me is why jacket patterns don’t come with linings by default (ok ok some patterns I can understand…but most, no).  I drafted my own, with a pleat in the center back, to attach to the facings because eww, I don’t want to see the pocket bags flapping around and exposed seams of my finished jacket.  Plus, linings help jackets stand up to wear much better.  It really wasn’t that hard to draft a lining, so I’m not sure as to why this wasn’t an obvious inclusion for the pattern.


rigel 5

See?  Pretty raspberry lining with the white polka dot side of the fabric, much better!  Also, you’d think I’d learn by now to not use stretch fabrics for linings.  This was a beeyatch to hem at the bottom and I had to make some small tucks in the lining fabric to get everything smooth and hemmed nicely.

If you’re planning on making this jacket, definitely take your time to get the zips to match up on either side – it’ll be really obvious at the neckline if the ribbing collar doesn’t match up.  I had to redo mine at least twice, but I’m glad I did.

Oh, this was my second time doing welt pockets – they were much easier on this fabric than the thick wool of my Anise!


rigel 4

The ribbing is a tubular wool ribbing I bought a while ago at Mood for a lightweight jacket project that fell through.  While sewing this project, I realized it probably wasn’t the best weight to use with the cotton, since the band at the bottom rolls up occasionally (like in the above shot) and the collars are a little floppy and don’t lay as flat as I’d like.

All of that aside, this jacket is going into heavy rotation for the remainder of fall.  On to sewing more jackets!

Follow:

Finished Project: Anise Jacket [Colette Patterns]


anise 1


anise 2

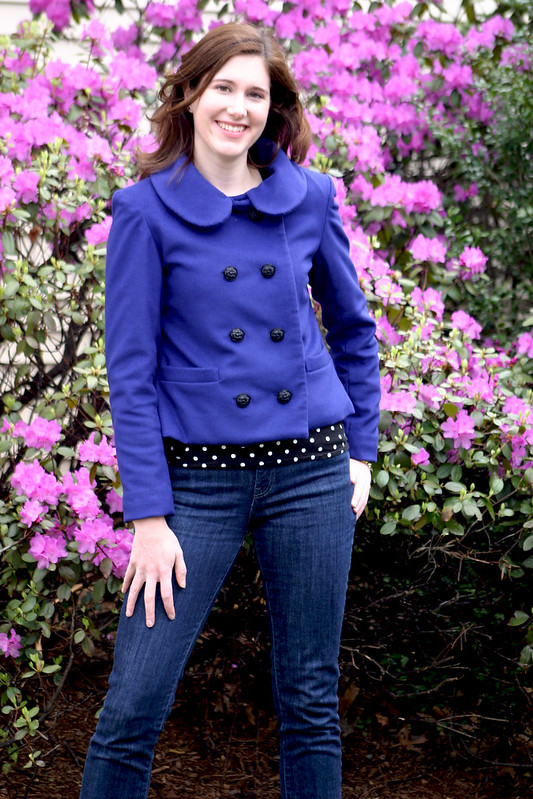
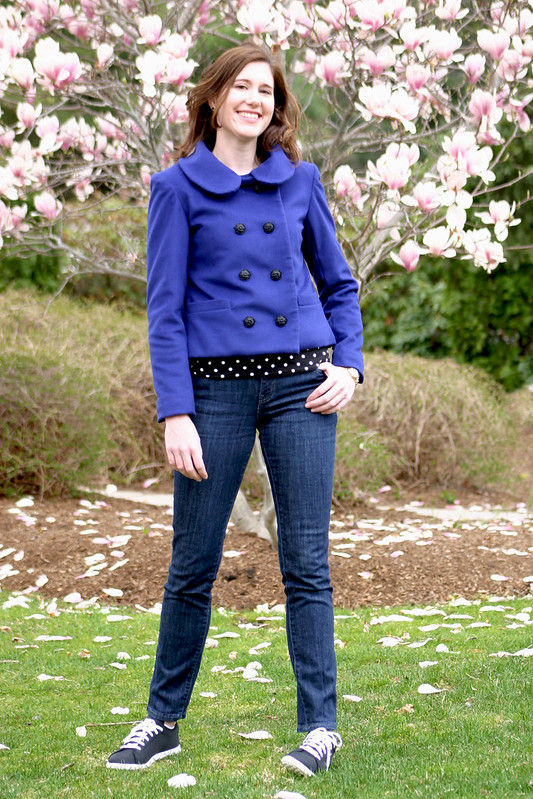
You guys – I reached the finish line!  Seriously, this is the most time-consuming, difficult garment I’ve made in my sewing career.  But I did it!

Pattern: Anise by Colette Patterns
Fabric:  main – wool from Metro Textiles in NYC; lining – stretch poly charmeuse from Fabric Place Basement
Size: 4 graded to a 6 at the hips

Shirt: Scout tee variation, unblogged
Jeans: Levi’s
Sneakers: Reebok

I want to thank everyone for their kind words and helpful comments as I struggled over the last month to make this.  Don’t get me wrong – I loved learning about the tailoring process, and I can’t wait to sew more tailored projects, but this pattern just didn’t work for me.  When I posted my last update on the jacket, I was actually 95% of the way done and too far beyond going back to fix some things that you all suggested, but they’re definitely worth exploring for my next go-round with tailoring.

So yes, this jacket isn’t perfect – but at this point, it really doesn’t matter to me.  I made a freaking tailored jacket, with welt pockets to boot!  I know my mistakes will be evident to experienced sewists looking at these photos, but I’m going to wear this jacket with pride, knowing that I learned soooo much doing this.


anise 3

1. I Have Narrow Shoulders – This is something I should have remembered from all of the blazers my Mom made for me for my first job.  She had to alter each pattern because the shoulder seams came way past where the shoulder seam needed to be.  This wasn’t evident when I made my muslin, but going back to try it on again, I could baaaarely see it.  Which also brings me to another learning – make my muslin in the same fabric weight as the final garment.  I’m sure if I had, the fit issue would have been more evident in a heavier weight fabric than light, flimsy cotton.

Having said all of that, I explored how to make my own shoulder pads, drafted sleeve heads for my jacket, and studied different kinds of shoulder pads for different types of garments (definitely need to give raglan shaped pads a try).  Maybe if I didn’t have this fit problem, I wouldn’t have learned all of these tidbits of knowledge.

Also, I could not for the life of me figure out why there was so much ease in the front of my sleeve cap.  No, it wasn’t inserted backwards.  I’m just…perplexed, and it’s not as smooth as I’d like.

anise 5

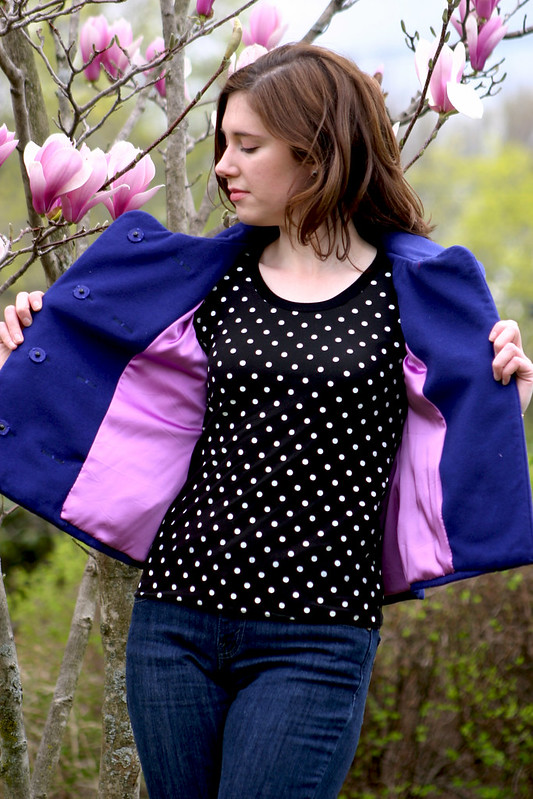
2. Stretch Fabric Isn’t a Great Idea For a Lining – but this one sure looks pretty!  The color is why I picked it, which is kind of silly, I know.  I thought the stretch would be an added bonus to give my jacket more movement and ease in the inside, but it ended up being more of a pain to cut out and stitch properly without getting runs in the weave.  It was anything but fun when it came to setting the sleeves in by hand, yuck!

However, this lining is an improvement over my original intended lining – a light gold acetate.  Acetate is a terrible idea for a jacket lining: it shows water marks and sweat stains (not good for my armpits, no way), doesn’t breathe well at all, and shouldn’t be used for garments with lots of wear.  I plan on wearing this jacket a lot, so no dice with the acetate.  I know poly isn’t a whole lot better in terms of breathability, but it was in my budget for this project.


anise 4

3. Press, Press, Press – I originally thought I did a great job taking my time when it came to pressing, really taking my time and pressing every seam like The Pressinatrix recommends, but I guess this jacket could have used a little more based on the above photo.  Having the right tools is imperative as well, I’m so glad I asked for pressing tools like a seam roll, clapper, and a tailor board last year for my birthday – they made getting to every area I needed to steam a lot easier.

anise 6

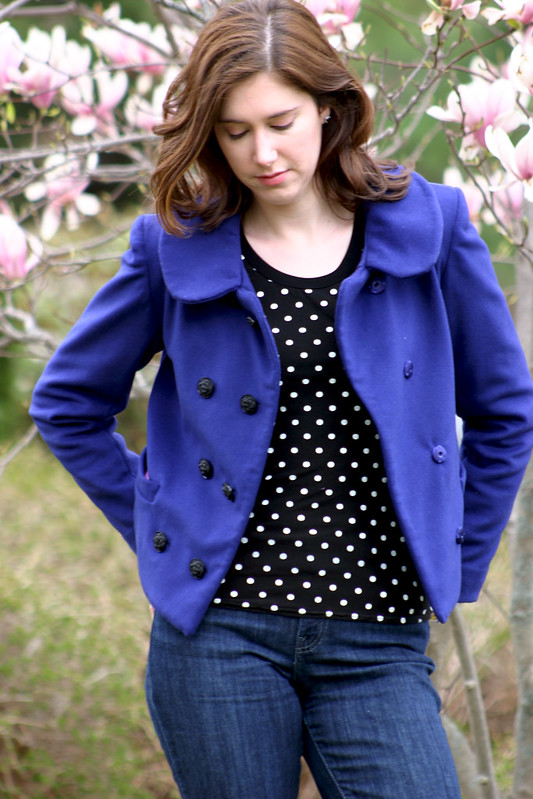
4. Creativity Is My Friend – you may have noticed in an earlier photo that I have snaps on the inside of my jacket.  This wasn’t the original plan, I had every intention of making buttonholes on my Mom’s wonderful Bernina (the automatic buttonhole feature is killer) when I was visiting a few weeks ago.  However, the bulk at the edge of my jacket front threw off the calculations of the machine and I ended up with some wonky looking, uneven buttonholes that wouldn’t pass muster.  That’s when the light bulb went off in my head that I could use snaps instead to close the jacket, and my Mom suggested covering the snaps in a coordinating lining fabric.  Problem solved, and a new technique under my belt.

anise 7

5. Perfectionism Is My Enemy – I was really close to not even finishing this jacket when I realized the problem with the shoulders, and the fact that how I made my welt pockets caused the front to pull.  There were tears, I threw the jacket in the corner, and I didn’t touch the project for over a week.  I wanted everything about this jacket to be crisp and perfect, I wanted people to ask me where I bought my jacket – I didn’t want it to look “home-made.”  But in the course of trying to achieve something “perfect” looking, I realized I needed to cut myself some slack – this was my first ever tailoring project.  How could my expectations be set so high for something I’ve never done?  I trudged on with the shoulder pads, the lining, the hand hemming.  There was way too much time invested in this project to give up – I steadily worked on this for a month, and to not have anything to show for all of that time would be sad.  From here on out, I need to chill and just enjoy the process of making clothes, and not get all hung up on details that will probably be evident to only me.

I’m so glad I didn’t let my perfectionist tendencies when it comes to sewing prevent me from finishing this jacket!  I wore it for the first time this past weekend, and it may be my last until fall since the weather is finally getting warm in Boston.  I never thought I would sew a project like this, let alone enjoy something that seemed so tedious to me like tailoring.  But now that I’ve taken my first step with this project, I’m determined to master the skills it takes to tailor well.
Follow:

Finished Project: Plaid Archer Shirt [Grainline Studios]


plaid archer1

Pattern: Archer by Grainline Studio
Fabric: cotton flannel from stash (bought at Joann Fabrics a few years ago)
Size: 2 graded to a 4 at hips
Snaps: Dritz

Jeans: Michael Kors

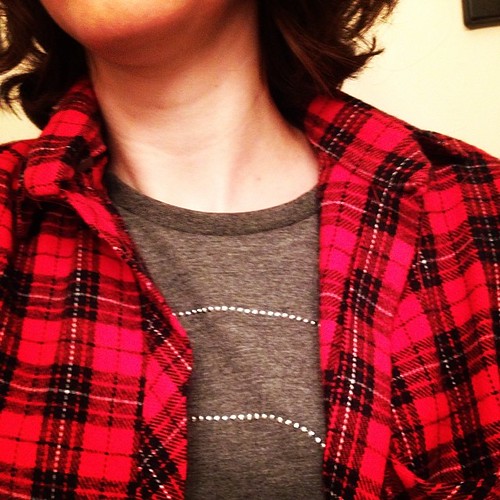
Well, I think I successfully used my new camera remote for these pictures!  It was a little tricky, especially with the late winter afternoon lighting, but I’ll get the hang of it.  I’m just glad I finally got pictures of my Archer, because:


archerbutton

I really wanted a plaid Archer shirt after seeing Lauren’s awesome Lumberjack (or Lumberjane?) Plaid Archer on her blog.  Let’s be real: plaids scared the crap out of me before I attempted this shirt, and to try to match them up not just at the side seams but also at the front?  Getouttahere.  But her tutorial was awesome on how to cut out plaids and I owned this plaid LIKE A BOSS.


plaid archer2

I think the trick is to really take your time and breathe when cutting out plaid.  Oh, and cutting out the pieces on a single layer really helps as well.  Being that this fabric is flannel, which can be tricksy and shifty, added another dimension of difficulty to cutting this out, but after the pieces were prepped it was smooth sailing with the sewing.


Oh hey there, pretty perfect collar stand #grungesewalong #archershirt #grainlineatudio

I will always use Andrea’s tutorial on collar stands from now on.  Andrea, you rock!!  This shirt would not have been a success without your awesome step-by-step instructions.  Muah!


plaid archer3

I have the sleeves rolled up in the other photos because I haven’t installed the snaps yet on the cuffs!  This was the first time I tried using snaps as a closure on a garment, and while it’s super-fun to rip off my shirt Hulk-style, they kind of were a pain to install properly.  I had the handy Dritz pliers, too, and I kept screwing up snap after snap, so I gave up on the cuffs.  I probably won’t use snaps again, but it’s something I can at least say that I tried – I didn’t find them easier to do than buttons.


plaid archer4

The bias cut pieces were another key part of plaid success.  Certain pieces, like the yoke and pocket, would be a bitch to cut out and match up, so I cut those two pieces as well as the button-band on the bias.  It broke up the striping of the plaids and added interest, and forget trying to get all that stuff matched up.

I absolutely love this shirt and have worn it several times since I finished it around Thanksgiving.  Maybe I’ll make a striped one now?  But it’s a definite: I never need to buy a slouchy J Crew button-down ever again.  Look out, 2014: there’s a boat-load of Archers headed your way.

Follow:

Pattern Review: Archer Shirt [Grainline Studio]


archer 1

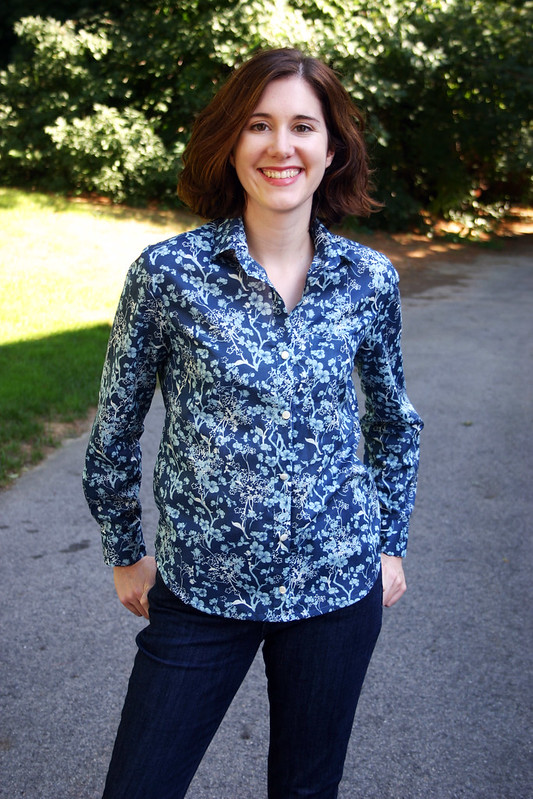
Pattern: Archer Buttonup Shirt from Grainline Studio
Fabric: Art Gallery Fabrics cotton voile in “Branch Silhouette,” from Grey’s Fabrics
Size: 2 graded to a 4 from waist to hips

Jeans: Levi’s

This is my third Grainline Studio pattern and I’m not stopping anytime soon.  I love Jen’s design aesthetic – modern wardrobe staples with a minimalist approach.  Which reminds me, I need to crank out some more Moss Minis for fall/winter this year since the one I made last year was not enough (plus I need to make one a bit longer so I can wear it for work, eeep).  She’s an expert pattern designer and writes great instructions, so I knew I’d be in good hands using this pattern as my first serious foray into shirt-making.

So, this shirt isn’t perfect by any means, and I’m ok with that.  I realized after the fact that I haven’t been stretching and challenging myself with my sewing skills – I love me some knits pretty hard, and that’s great for whipping out basic tees and cute dresses for my closet.  But if I want to grow – and truly become a better sewist – I need to start taking on more projects with more challenging techniques.

Let me put it this way – that collar stand kicked my ass.


archer 2

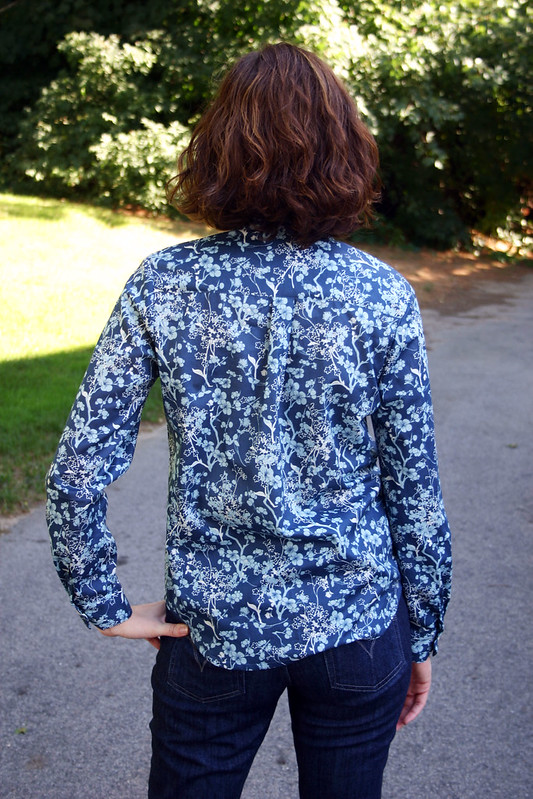
To borrow a term from Lauren, who borrowed a term from Clueless, this shirt is definitely a “Monet:” it looks good from a distance but up close, it’s kind of a mess (thank goodness for prints).  Everything started out all fine and dandy: sewing the side seams together, attaching the yoke, adding a pocket (I was going to put on two, but after I added one, I decided not to since it just gets lost in the print, as demonstrated in the picture above).  And then came the sleeve plackets….they’re kinda meh.  I think I may have goofed with them overlapping the wrong way, but it doesn’t seem that noticeable to me.  The button bands went on smoothly, cuffs were attached ok…

And then that goddamn collar stand.


archer 3

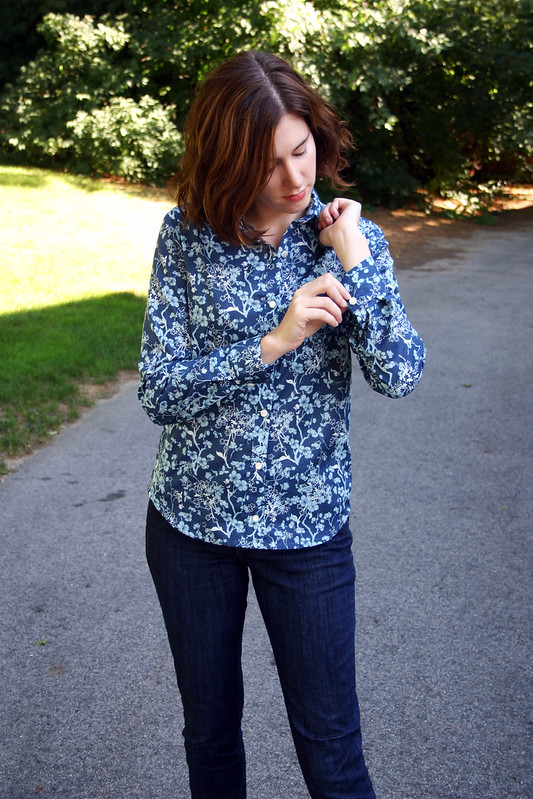
Ok, shame on me for not at least *practicing* how to attach a collar stand to a shirt.  I’ve made a couple of collared shirts in the past out of cheap shiny poly and other wonderful fabric choices from Joann Fabrics, but they were just the simple kind of collar that attaches to the neckline.  Dust-your-hands-off-and-call-it-a-day kind of collars.  So, I thought, how difficult could this be?  It’s not awful looking…it just doesn’t match up well at the one side, it kind of juts out from the button band.  And hell, my stitching looks awful in the inside of the collar – there’s some fabric that got tucked and sewn in place, and I didn’t have the heart to rip it out and sew it again, and I figured it wasn’t too noticeable when the collar is open (ehhh it kind of is).  Plus, when I was turning the collar right side out, I poked a little too hard with my point turner, made a hole in the edge of the collar stand, and it started to fray – greaaaat.  Some Fray-Chek solved that, but again…it’s just more little details that make this not the best thing I’ve ever made.

Oh, and I totally did not understand how to make the top buttonhole in the collarstand, even after studying one of my own RTW shirts…I was way off with that shit.


archer 4

Amazingly, my buttonholes came out ok!  They were actually the least stressful part of sewing this shirt, I got the placement right and didn’t screw up stitching any of them on my Bernina 1005…I really miss the automatic buttonhole feature on my mom’s Bernina, it makes a world of difference when it comes to buttonhole precision.

So, try, try again, right?  Totally.  I WILL master making button-down shirts – they seem like part of the perfect uniform of skinny jeans and boots for my new job.  And I like the fit of this shirt, too, it’s not too boxy and it doesn’t have any bust darts I have to worry about moving up.  I think I may lengthen it a little next time…I feel like it could be a slightly longer.  I’m also going to try using Andrea’s tutorial on sewing collar stands for my next shirt, I feel like she’s an “Archer Expert” with all of the fabulous shirts she’s cranked out from this pattern.  My next fabric: a Marc Jacobs tiny floral print cotton shirting.  And maybe on my next shirt, I’ll be proud enough to show some close-up shots of the stitching detail!

Follow:

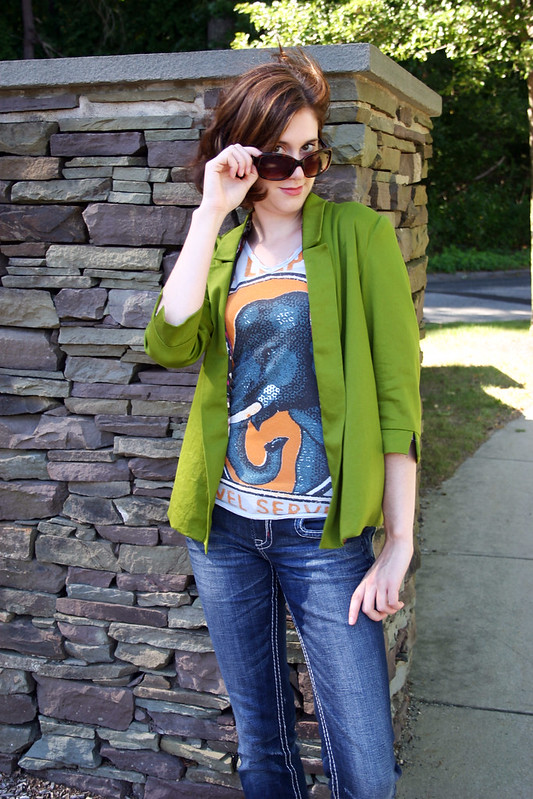
Pattern Review: Victoria Blazer [By Hand London]


victoria blazer 1

Pattern: Victoria Blazer from By Hand London
Fabric: Shell – cotton sateen from Grey’s Fabric Lining – poly charmeuse from Joann’s
Size: 4

Shirt: Lucky Brand
Jeans: Mek Denim
Flats: Michael Kors
Shades: Tommy Hilfiger


victoria blazer 2

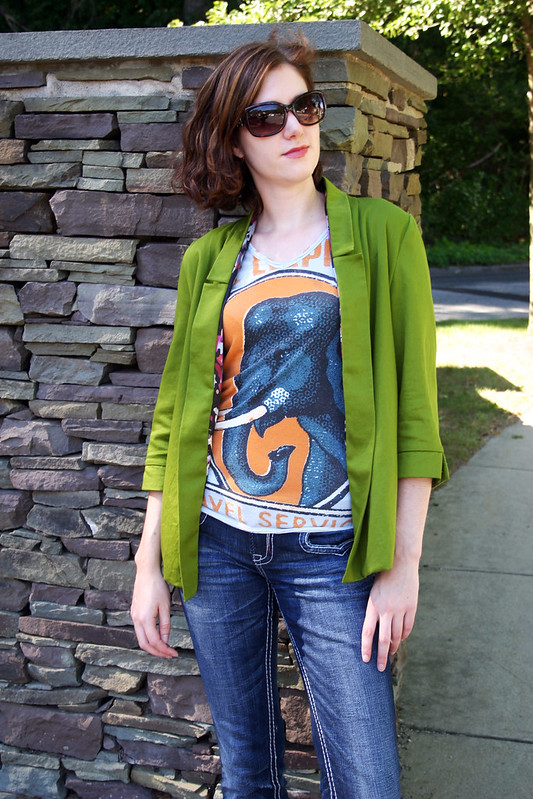
Green is my favorite color, so it was a no-brainer to make this blazer out of a green cotton sateen I spotted at Grey’s when I went fabric shopping with my friends (Ana bought the same fabric but in a gold color to make her own version).

I don’t have a whole lot to say about this blazer since I’m not crazy about it.  I love the colors and it was easy to put together, but I’m not too sure if it’s “me” or not.


victoria blazer 4

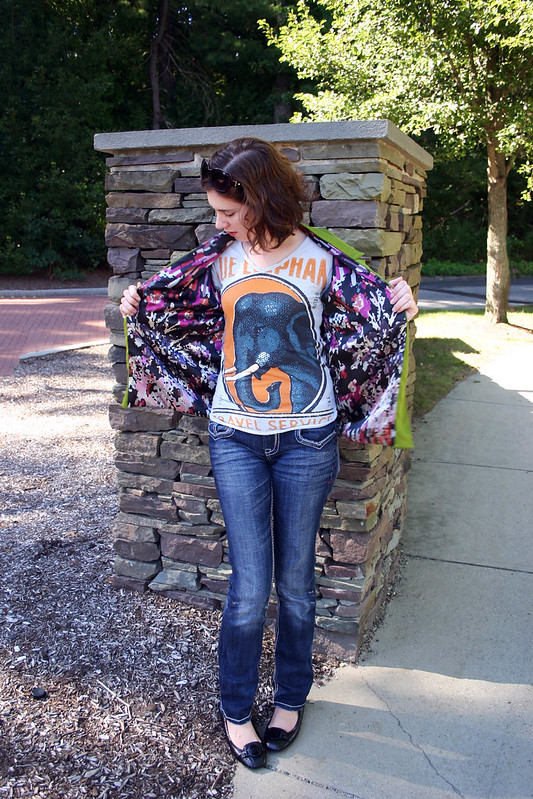
I totally lucked out on the lining, I found it in the remnant bin at Joann Fabrics for $5.  I decided to fully line the jacket so it would be easy to take on and off.

Even though the pattern didn’t call for interfacing, I wish it had.  I kept obsessing over pressing and pressing the collar and lapels, trying to get them to stay crisp and flat.  Do BHL patterns just not call for interfacing?  I only made the Charlotte skirt so far, and was also surprised that there was no requirement for interfacing in the waistband.  I also kicked myself for not understitching after I attached the lining to the jacket.  Again, not called for in the instructions, and it bothers me that the lining rolls out from time to time and can be seen along the blazer lapels and bottom hem.  I was surprised that that wasn’t a construction step, but I’m also mad that I didn’t think to do it myself.  Again, something else that I’m not happy about with this blazer.


victoria blazer 3

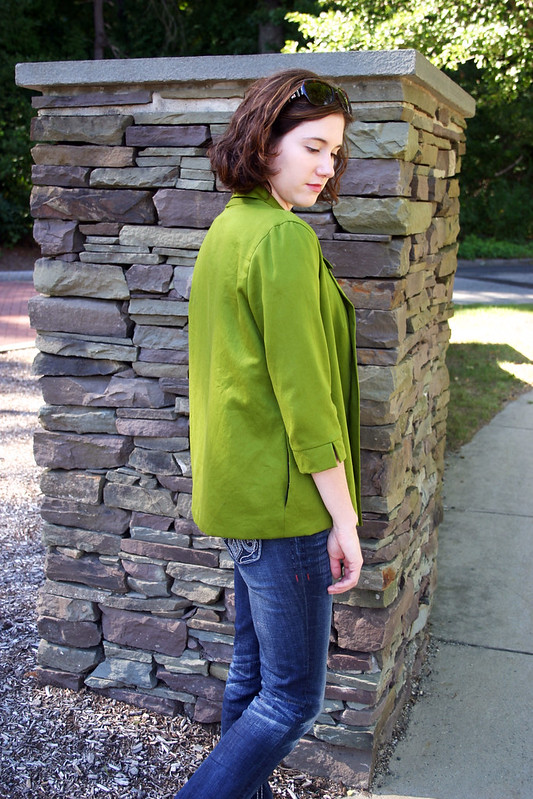
If I was to make another one, I’d probably omit the pockets – they’re not the type of pockets that you can put your hands in and walk around, they’re set back a little too far.

I’m not sure if this jacket is exactly my style, especially at this length – I feel like it was one of those patterns that everyone was making so I decided to as well.  I’m more of a structured, pulled-together kinda gal, and this blazer has a very casual, sloppy kind of feel to it.  Perhaps if I did a shorter length with the above mods I would get a different result.  Now that I’ve made one blazer, I don’t have any fear about sewing a more complicated jacket pattern down the road.

Follow: