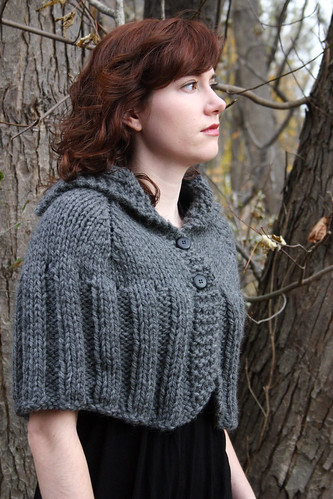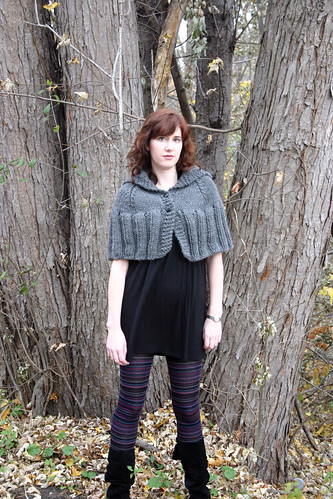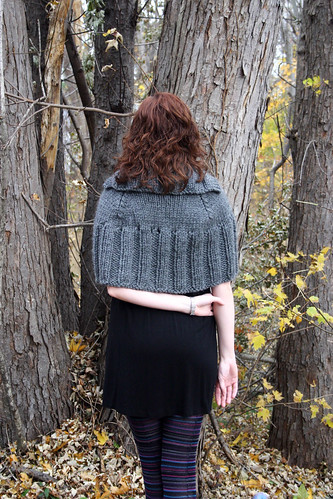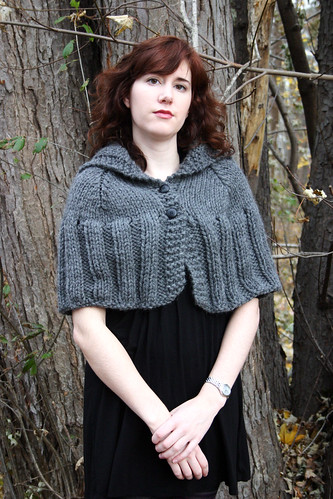
Pattern: Simplicity Sew Stylish 2657, View C
Size: 8/10 for the bodice, graded to a 12 in the skirt
Fabric: Cotton Twill from Joann Fabrics (an awesome find)
This pattern has been in my stash for two years since it was the feature pattern in the
Spring 2009 issue of
Sew Stylish Magazine, a younger and hipper version of
Threads Magazine geared towards the sewing newbie. When doing research on this pattern before I committed to making it, I was surprised on how few people had made this pattern. There were the few sewers who made alterations to this pattern for maternity wear, which wasn’t exactly a turn-on, but I decided to give it a try. I figured once I mastered the fit on this dress, I’d have a great base for a sundress for future dress projects.
 1) The Bust
If you’ve been reading my blog, you know that I’m challenged when it comes to fitting the bust in any type of top/dress pattern. This pattern was featured in the issue to show how to fit a bust using princess seams. Amazingly, the bust fit perfectly on my muslin and I didn’t have to do any type of alteration to the curve of the seams. Instead, I added on to the bodice pieces for more coverage; I added about half an inch on to allow that I can wear a regular bra and not a strapless. Somehow when I widened the front, and consequently the straps as well in the same amount, it created a different neckline than the original pattern, which I like better. The points at the top of the bodice pieces create an unintentional retro look. I swear I did my math right; I have no idea how it happened!
I also need to tack down the surplice, it’ll make the top more smooth looking than in the pictures and prevent it from gaping open slightly.
2) The Straps
Because I widened the front pieces, I had to widen the straps as well. I’m glad I did so since I can wear my normal bras with the dress and not worry about an strappage peeking out. If I really wanted to, I could have made lingerie straps to secure my bra straps in place. Of course, I was too lazy to do so.

3) The Back
I’ve never had this happen before: the back piece was almost two sizes too large. Like I said, it’s always the front that is an issue to fit, not the back. Solution? I cut an 8, instead of a 10, for the back piece. Plus, I had to grade it in slightly as I got to the waist seam where the skirt joins the bodice. But after I did so, it fit perfectly.

4) The Zipper
A side zipper – yikes. I’d never put one in before until this dress and wasn’t a fan of the fact that it was a standard zipper the pattern called for, not an invisible zipper. Side zippers seem to be really popular now on RTW dresses since they’re hidden in the side seam and don’t destroy the continuity of a pattern’s design; it’s a hidden construction element. I disregarded the instructions for the regular zipper and assembled the front and back skirt and bodice pieces to each other, installed the invisible zipper, and then sewed the side seams. I also made sure that the zipper stop went all the way to the top of the side seam so I wouldn’t have to sew a hook and eye (dislike), and tacked down the facing in the inside to the side seams.
So summer is coming to an end, I’ve already started thinking about my fall sewing wish list, and I probably won’t look at this pattern again until next year. I can definitely see myself making this pattern again, either as a maxi dress or as a cute tunic top. Once I got the fit down, this was a breeze to sew.
(Pictures are at Ogunquit Beach in Ogunquit, ME)
