Little Zipper Bag – Attempt 2

Little Zipper Pouch - Attempt 2

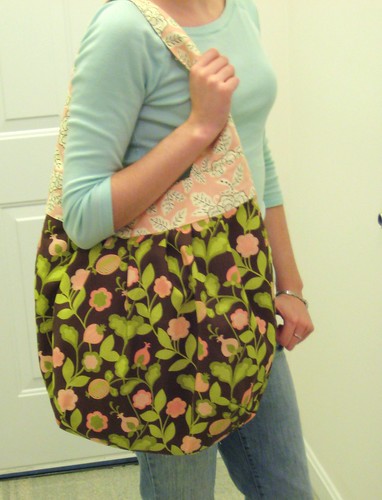
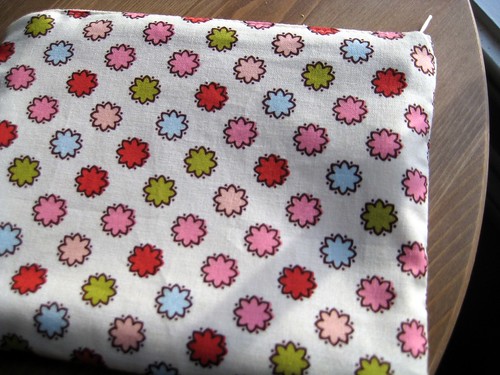
In this round, even more Michael Miller Ginger Blossoms fabric was used. Still don’t have everything right though….

Attempt 2 lining

Funny enough, this fabric was going to be the outside of the bag, but once I sewed it together, I took it apart and made it the lining fabric instead. Looks much better this way, but now the lining is interfaced instead of the outer fabric.

Zipper still a bit wonky...

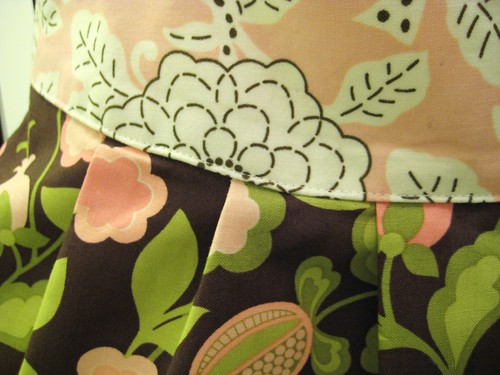
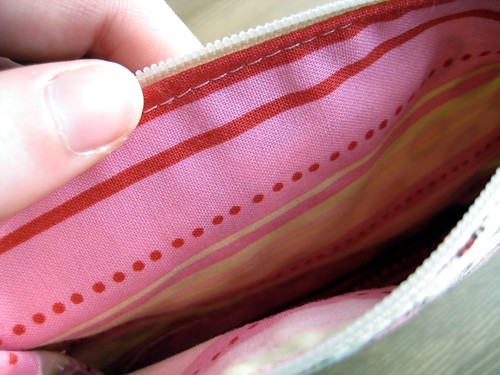
This still didn’t turn out right the second time. I hate how the fabric looks all bunchy! I don’t know if it’s because of the interfacing or that I didn’t trim the seam allowances or what. Or is it supposed to be like this??

Much better this time.

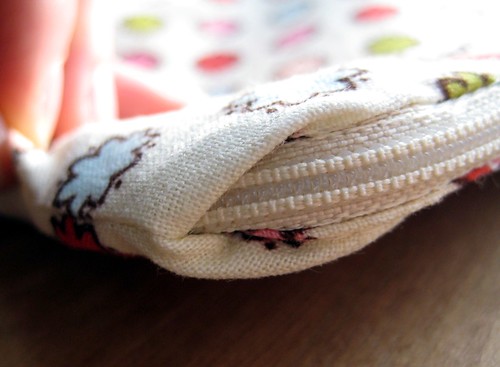
The zipper turned much better this time but still, it’s not perfect. It needs to be so!

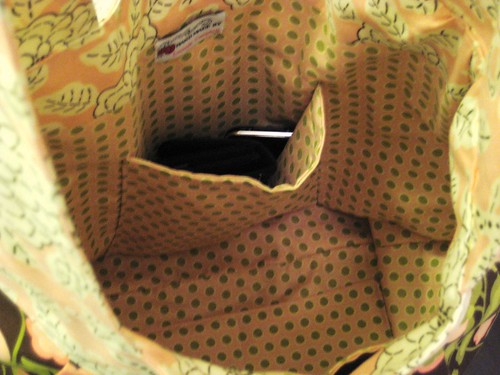
Here’s some hunches I have on how to make this turn out better for Round 3:

1. Use lighter weight interfacing
2. Interface the outer fabric and not the lining (it was a matter of circumstance this time)
3. Trim seams before turning the bag and lining right side ou

Any suggestions on how to get this bag look better are more than welcome!

Follow:

Next Sewing Project – Amy Butler Sophia Carryall

Since I had so much success with my previous Amy Butler bag, I’m going to give another go at one of her patterns. I think her Sophia bag has such a cute, retro shape and would look great in a print from Free Spirit fabrics or maybe on of Amy Butler’s prints.

Follow:

Amy Butler Birdie Sling

Birdie Sling

It’s been a little quite here on the craft front for some time now. I was finally inspired to get back to my sewing machine, after about three failed projects, when I saw this Amy Butler pattern at a quilt shop in Concord. Love love love this bag!

Pattern: Amy Butler’s Birdie Sling
Fabric: all by Benartex

This was my first Amy Butler pattern and I found it easy to follow and it could be a great first project for beginners. This was exactly the project I was looking for: fail proof. I needed a sewing pick-me-up and it delivered.

I think the picture is deceptive in how big this bag is – it’s HUGE! I could easily fit a giant turtleneck sweater project in the sling and have room to spare. It also really holds its shape well.

Birdie Sling - pleating detail

The pleating is really my favorite part of the bag. It was fun to do, and really makes the bag look interesting even though the pattern is pretty basic.

Birde Sling - inside pocket

There’s also room for lots of storage. The small pocket is great for holding a phone and some keys…

Birdie Sling - other inside pockets

…and the other narrow pockets would be perfect for storing knitting needles. These pockets are essentially a big square sewn down the middle to create two tall, narrow pockets on the opposite side of the bag.

The only change I made to the pattern was that I used regular Thermolan Plus fleece instead of the fusible Thermolan Plus, only because my Joann Fabrics near me didn’t have the fusible kind. I used a spray adhesive to temporarily attach the fleece to the fabric before I stitched everything together, and it worked out just fine. I did read on Patternreview that some people didn’t care for the fusible fleece, so this could be an alternative. In retrospect, I would have also added a magnetic snap to the lining band since it tends to gape open a little bit. I’ll have to remember that for next time.

Follow:

Lesson Learned.

It really does pay to read reviews on Pattern Review. It could have saved me time from making this:

Vogue 8138 - View A

Pattern: Vogue 8138 – View A
Fabric: Matte Jersey from Gorgeous Fabrics
Size: 10

Granted, the front view looks ok. Actually, it looks kinda cute. But let’s exam further, shall we?

Nothing like adding more to the tummy area

Now why would I want to wear something that adds more protrusion to my tummy area, an area I try to conceal? Really, this looks much better on Ethel than on me. Let’s try another look with this cardigan:

Let's draw more attention to my stomach, please!

Even trying to wear it another way still doesn’t make it look any better. More fabric going across the stomach, and the folds of the fabric draw the eye down to zero in on the lumps and bumps.

Pooing fabric?

…and then I’ve got the “pooing fabric” effect in the back as well. There has to be something redeeming about this garment!

Love that sleeve seam hanging off

I’m not seeing it. The sleeves are completely pulled off the body due to the stretch of the fabric and the drag of the length of the front.

While Erika B has had success with this cardigan, I guess I’ll have to add myself to the list of those who were most disappointed with this pattern. There’s no way I could convince myself after keeping this on for a half hour that I would love it and wear it. At least the fabric is salvageable to make a little top for work to wear under my blazers.

Follow:

Pinstripe Work Shirt

Pinstripe Shirt

Pattern: Simplicity 7086 (out of print, I think)
Fabric: Polyester
Size: 10-14

Pinstripe Shirt

This material was a devil to work with. Of course, it didn’t help that I didn’t line up my stripes correctly (I’ve never worked with stripes before). So the darts look funny because the stripes aren’t even on both sides. I also lengthened this about two inches on the pattern because I knew it would be too short for me to tuck in to pants and have it stay put. I feel pretty meh about this, because I should have picked a better fabric to work with. For now, I’m saying “no” to slippery fabrics until I get some more confidence in my sewing.

Follow: